erewhon
Active Member
- Joined
- Dec 17, 2012
- Messages
- 118
- Reaction score
- 35
- Location
- Atlanta, Georgia
- Country
- United States
- Dash Cam
- BlackVue DR500GW-HD & DR650-1CH
The original thread is now quite long. The reasons for wanting a polarizing filter were well discussed in the original thread.
http://dashcamtalk.com/forum/viewtopic.php?f=6&t=1241
Here is a possible solution that might warrant a new thread.
The original thread seemed to conclude that the CPL filter needed to be at least 30 mm to avoid vignetting (black border around the video image), due to the BlackVue wide-angle lens.
Here's a 36 mm filter that is super high quality (mine arrived just today).
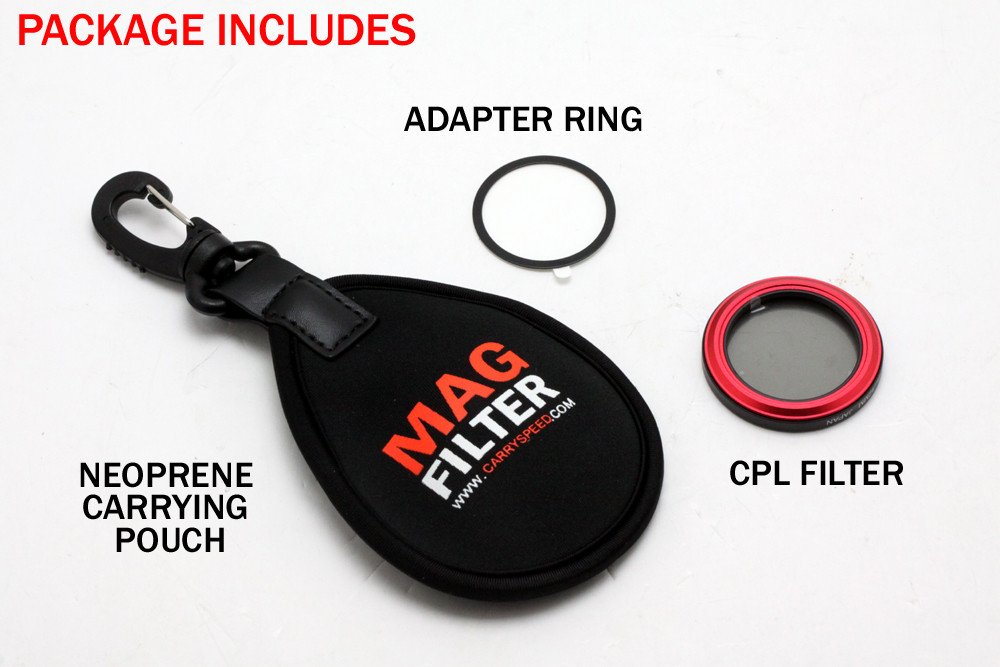
Available at Amazon.com: http://www.amazon.com/Carry-Speed-MagFilter-perfect-Canon/dp/B0093YC6ME/ref=sr_1_1?s=electronics&ie=UTF8&qid=1377396662&sr=1-1&keywords=Carry+Speed+MagFilter+36mm+CPL
A nice video of the filter is at: http://oliviatech.com/magfilter-the-magnetic-circular-polarizing-filter-for-point-and-shoot-cameras
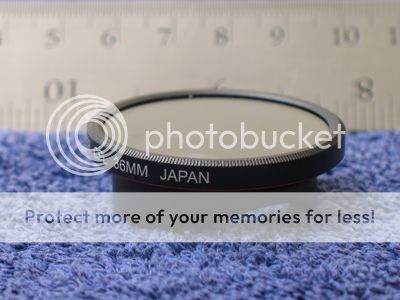
I hand-held the filter on the BlackVue and verified that there is no vignetting. I rotated the filter and verified that it eliminated almost all reflections.
The adapter ring is 28 mm inside diameter and 32 mm outside diameter. (The filter attaches magnetically to the adapter ring.) So, how do you attach the adapter ring to the BlackVue?
I discovered eMachineShop at: http://www.emachineshop.com/
You can download CAD (Computer Assisted Design) software from them and design your own part. You then specify material, tolerances, other stuff, and then you can get an automated quote in seconds. Just one part is expensive, but price per part drops drastically for a dozen or so parts.
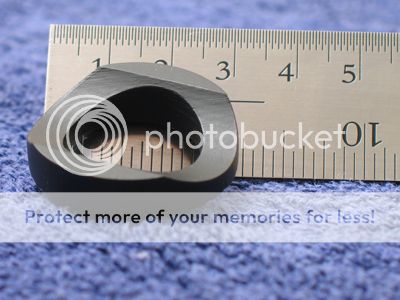
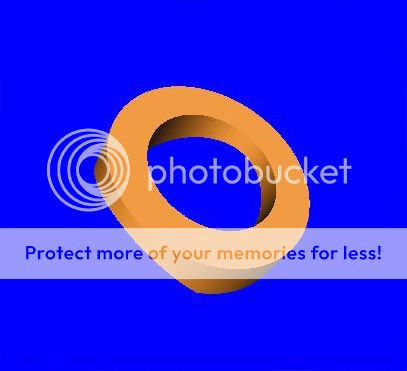
I designed this bracket to fit around the BlackVue lens projection. Notice the hole for the lens. This is a top view. The outside diameter is 32 mm for the filter adapter ring.
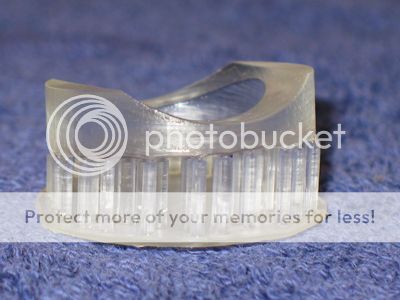
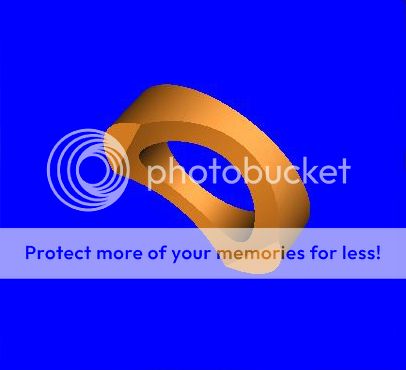
Here is a bottom view, showing the curved surface to fit around the body of the BlackVue. You can also see the cut-off areas so that the bracket will not cover the security LED just below the BlackVue lens.
I'm going to check all my measurements and the design dimensions, and order the bracket (in aluminum). I'm anticipating doing a bit of light sanding with fine grit sandpaper to custom fit it, followed by black spray paint. I'll use a bit of very thin Teflon tape around the BlackVue lens projection to get a snug press fit.
http://dashcamtalk.com/forum/viewtopic.php?f=6&t=1241
Here is a possible solution that might warrant a new thread.
The original thread seemed to conclude that the CPL filter needed to be at least 30 mm to avoid vignetting (black border around the video image), due to the BlackVue wide-angle lens.
Here's a 36 mm filter that is super high quality (mine arrived just today).
Available at Amazon.com: http://www.amazon.com/Carry-Speed-MagFilter-perfect-Canon/dp/B0093YC6ME/ref=sr_1_1?s=electronics&ie=UTF8&qid=1377396662&sr=1-1&keywords=Carry+Speed+MagFilter+36mm+CPL
A nice video of the filter is at: http://oliviatech.com/magfilter-the-magnetic-circular-polarizing-filter-for-point-and-shoot-cameras
I hand-held the filter on the BlackVue and verified that there is no vignetting. I rotated the filter and verified that it eliminated almost all reflections.
The adapter ring is 28 mm inside diameter and 32 mm outside diameter. (The filter attaches magnetically to the adapter ring.) So, how do you attach the adapter ring to the BlackVue?
I discovered eMachineShop at: http://www.emachineshop.com/
You can download CAD (Computer Assisted Design) software from them and design your own part. You then specify material, tolerances, other stuff, and then you can get an automated quote in seconds. Just one part is expensive, but price per part drops drastically for a dozen or so parts.
I designed this bracket to fit around the BlackVue lens projection. Notice the hole for the lens. This is a top view. The outside diameter is 32 mm for the filter adapter ring.
Here is a bottom view, showing the curved surface to fit around the body of the BlackVue. You can also see the cut-off areas so that the bracket will not cover the security LED just below the BlackVue lens.
I'm going to check all my measurements and the design dimensions, and order the bracket (in aluminum). I'm anticipating doing a bit of light sanding with fine grit sandpaper to custom fit it, followed by black spray paint. I'll use a bit of very thin Teflon tape around the BlackVue lens projection to get a snug press fit.
Last edited by a moderator: