venezian
Active Member
- Joined
- Dec 7, 2012
- Messages
- 265
- Reaction score
- 103
- Location
- Los Angeles
- Country
- United States
- Dash Cam
- A139Pro
copy pasta from my TacomaWorld post.
I've been and still am a huge fan of Street Guardian brand of dash cams, even before dash cams were cool in Russia.
Anyway, i've had multiple models and finally got my hands on the latest version, a dual channel model with wifi.
There are a lot of good cams out there, but I stick with SG because it's been the most reliable and stable of the bunch.
First, Specs:
https://streetguardian.cam/sg9663dc
Second, the install. It took me about 1 hour to complete.

The kit includes power cable with 90* plug, 3m (~9.8 feet) usb cable to connect remote camera, GPS Antenna, extension cable with 90* plug for GPS Antenna extra 3M VHB double sided tape, wire clips, stickers, Clip-on CPL Filter, dash trim prying tool and a quick start guide.
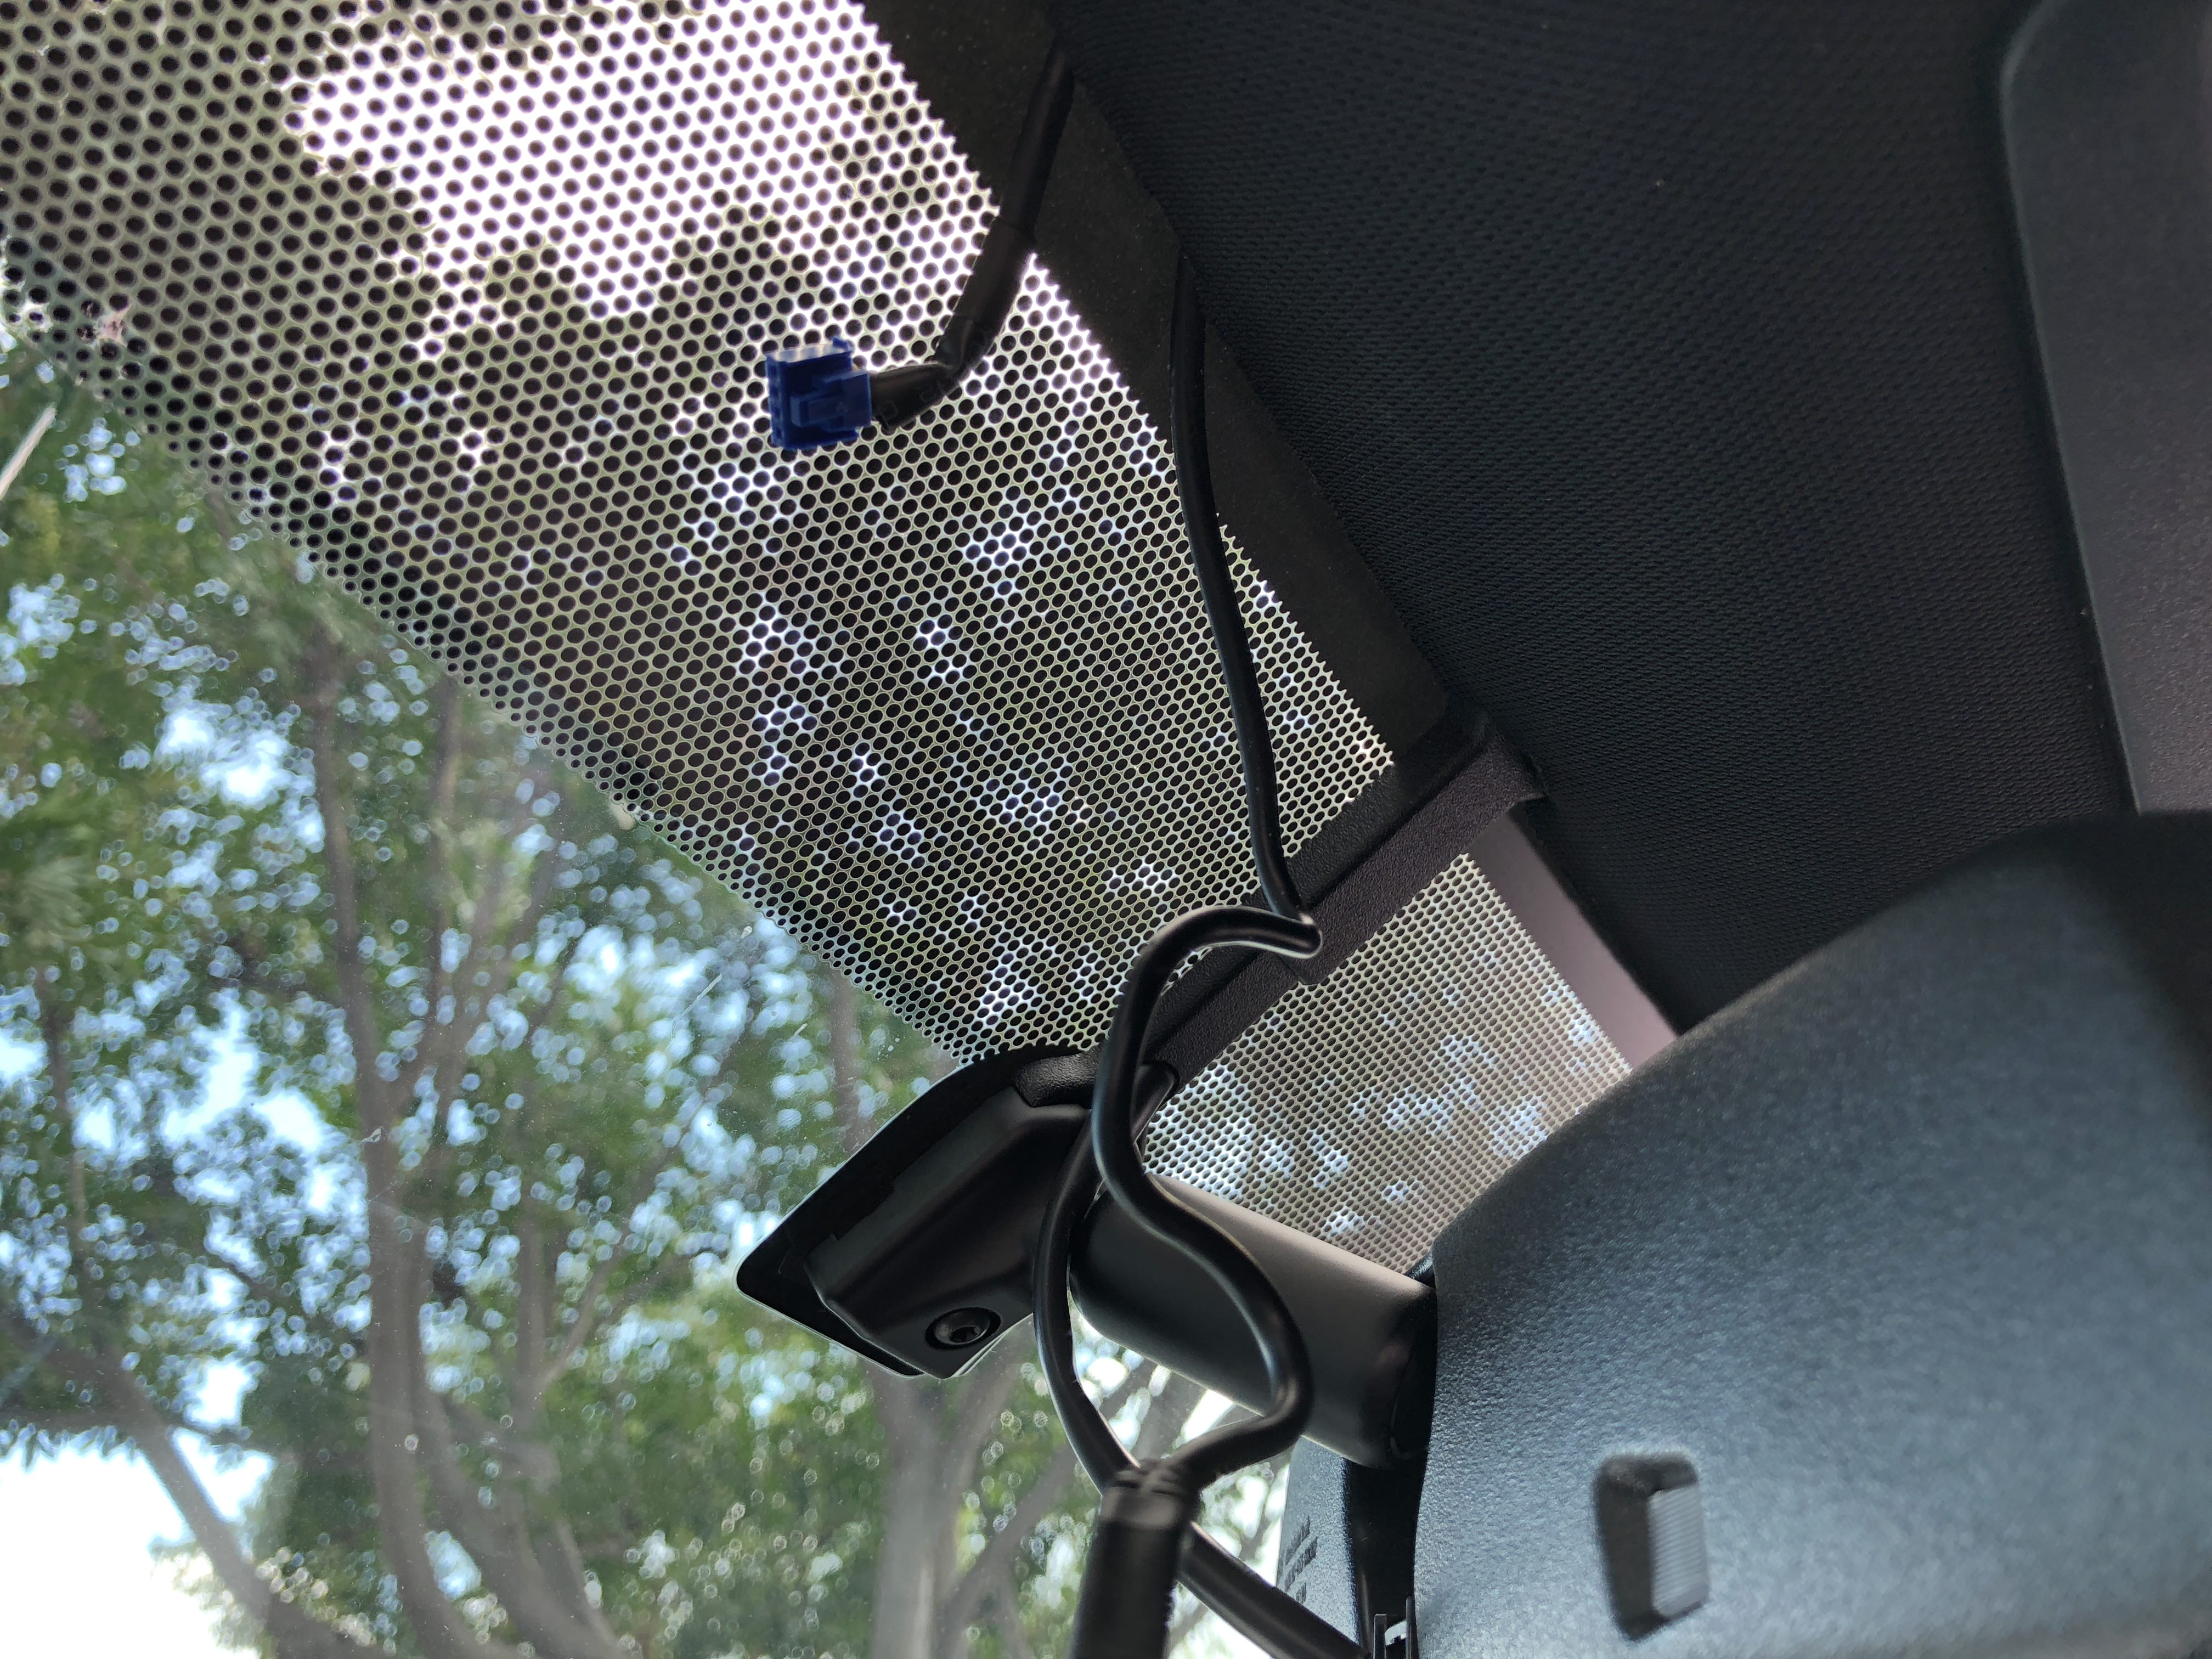
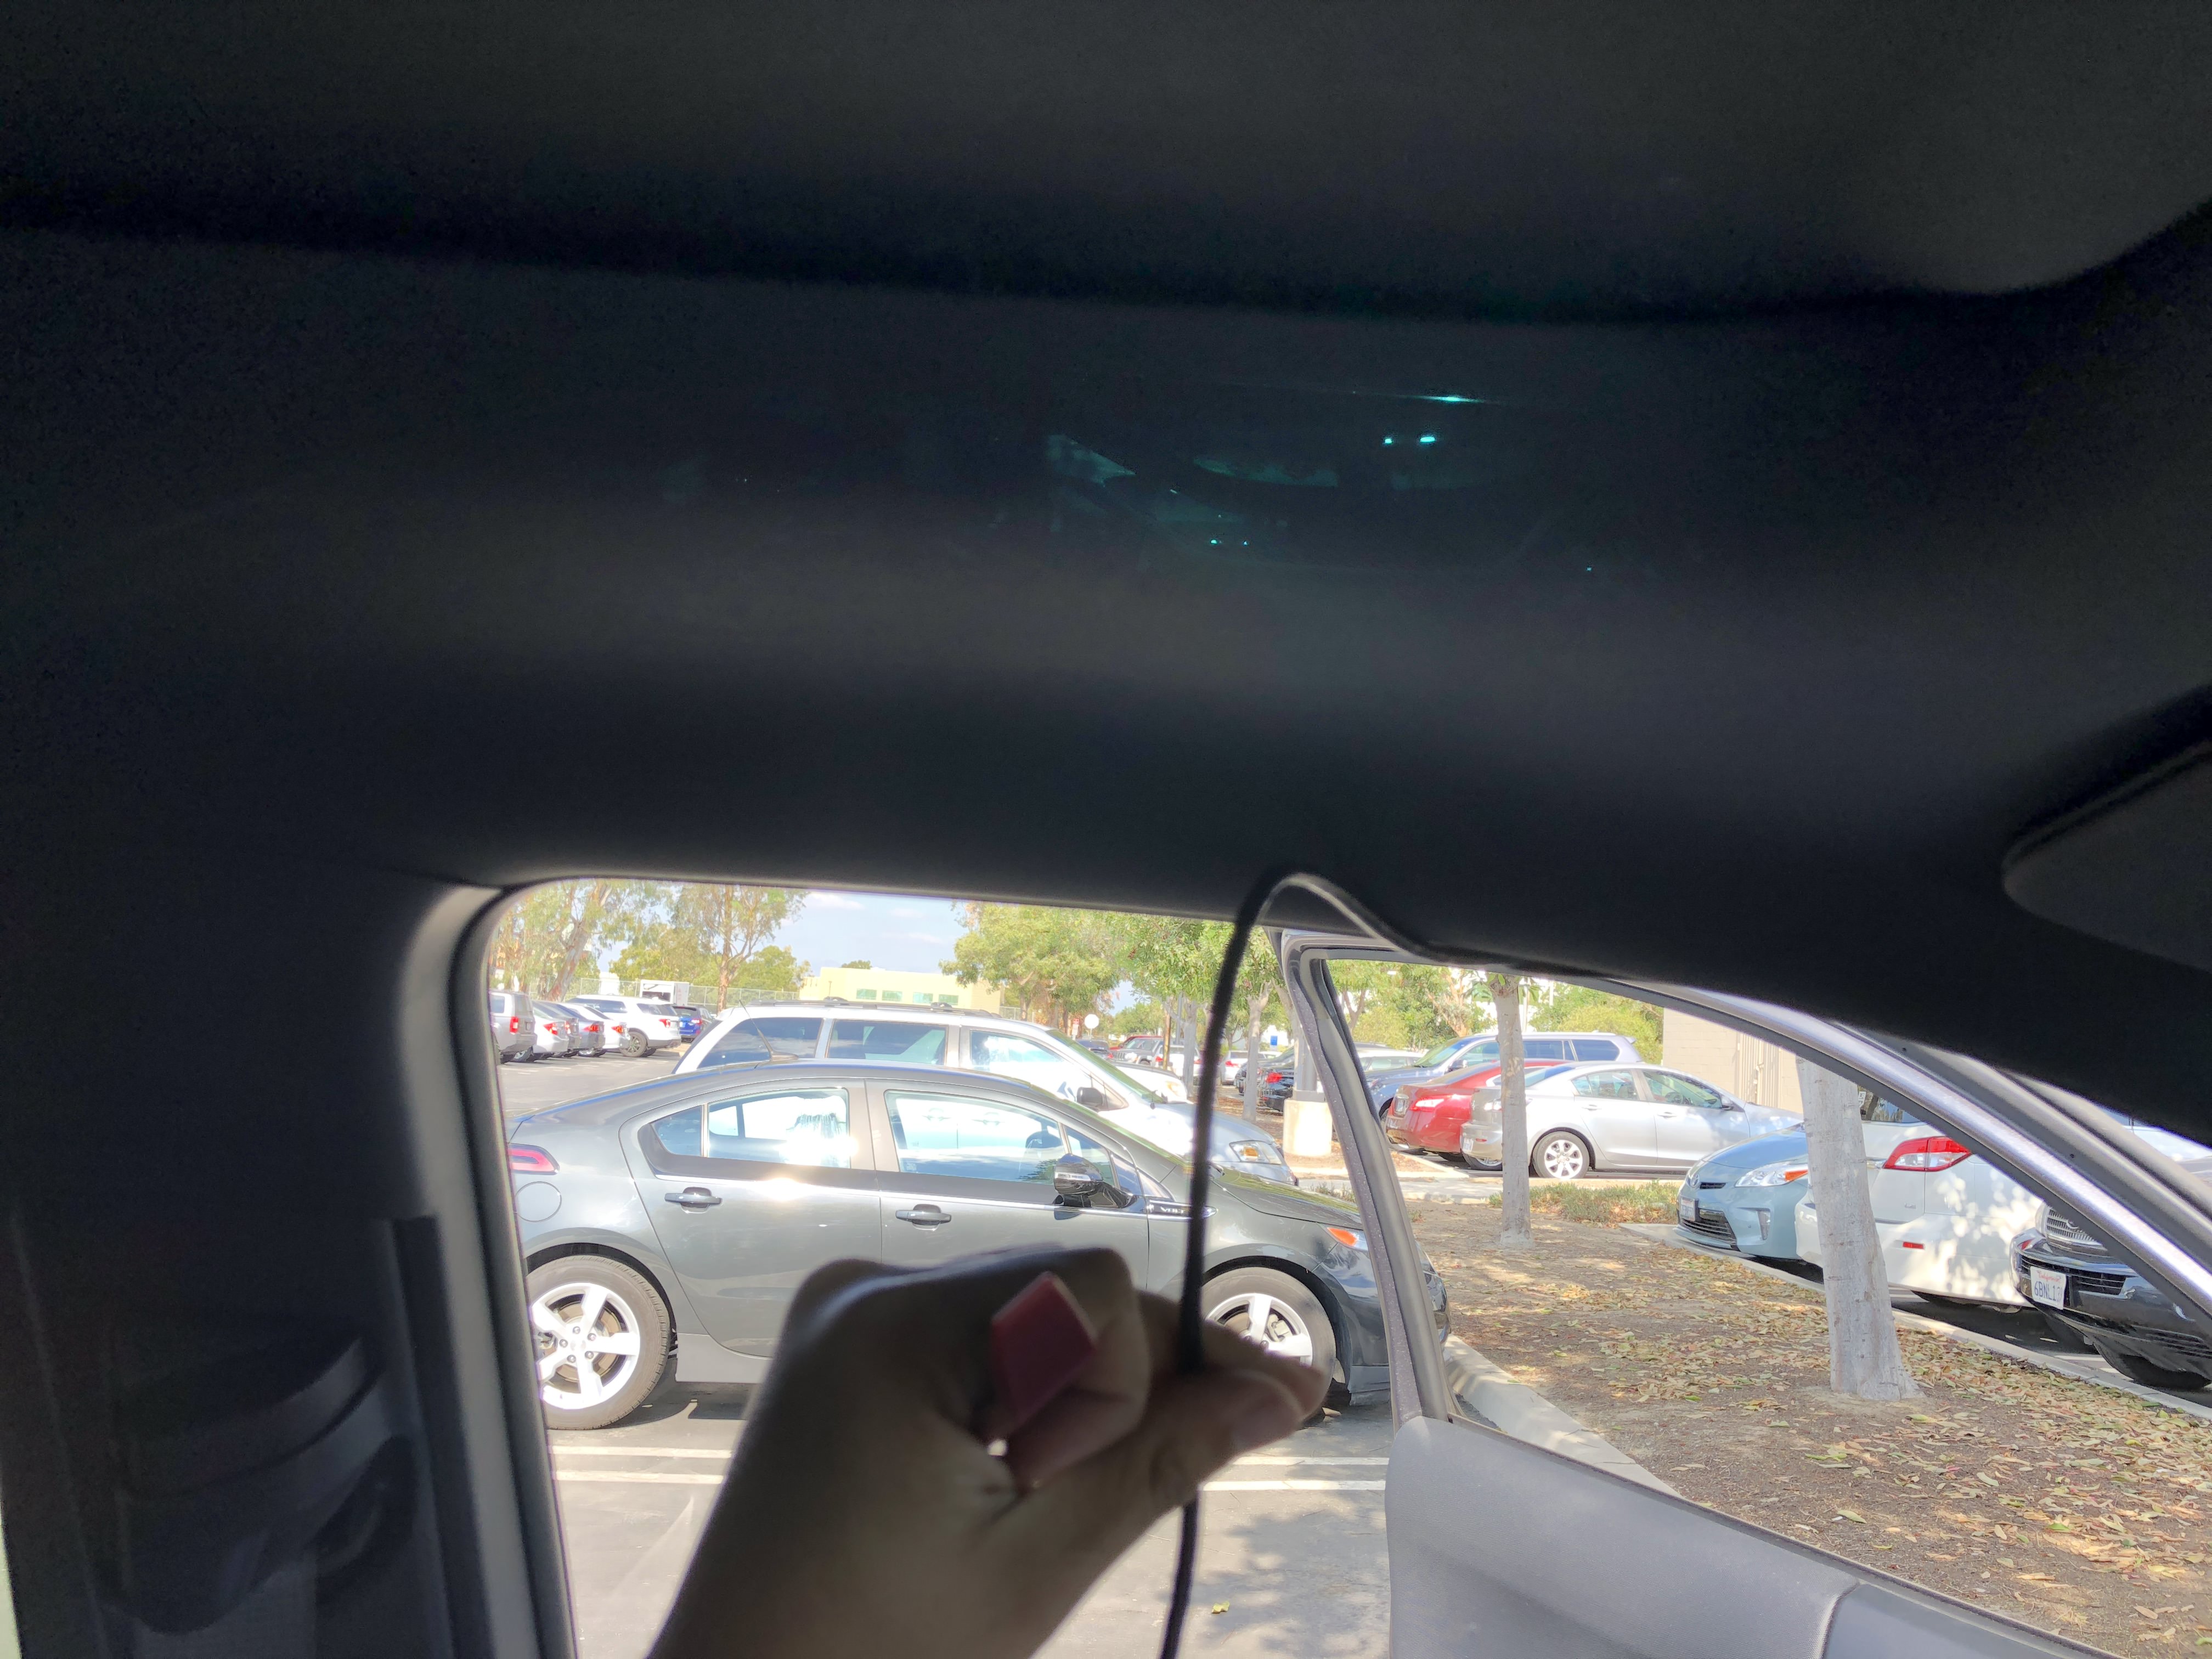
Cable with blue clip is not part of the dash cam install. It's for my Drone Mobile GPS antenna. Using the tool provided, I simply tucked the wire into the headliner towards the A Pillar.

Once I reached the A Pillar, I used the trim/prying tool to put the cable behind the plastic cover going to the rubber seal.
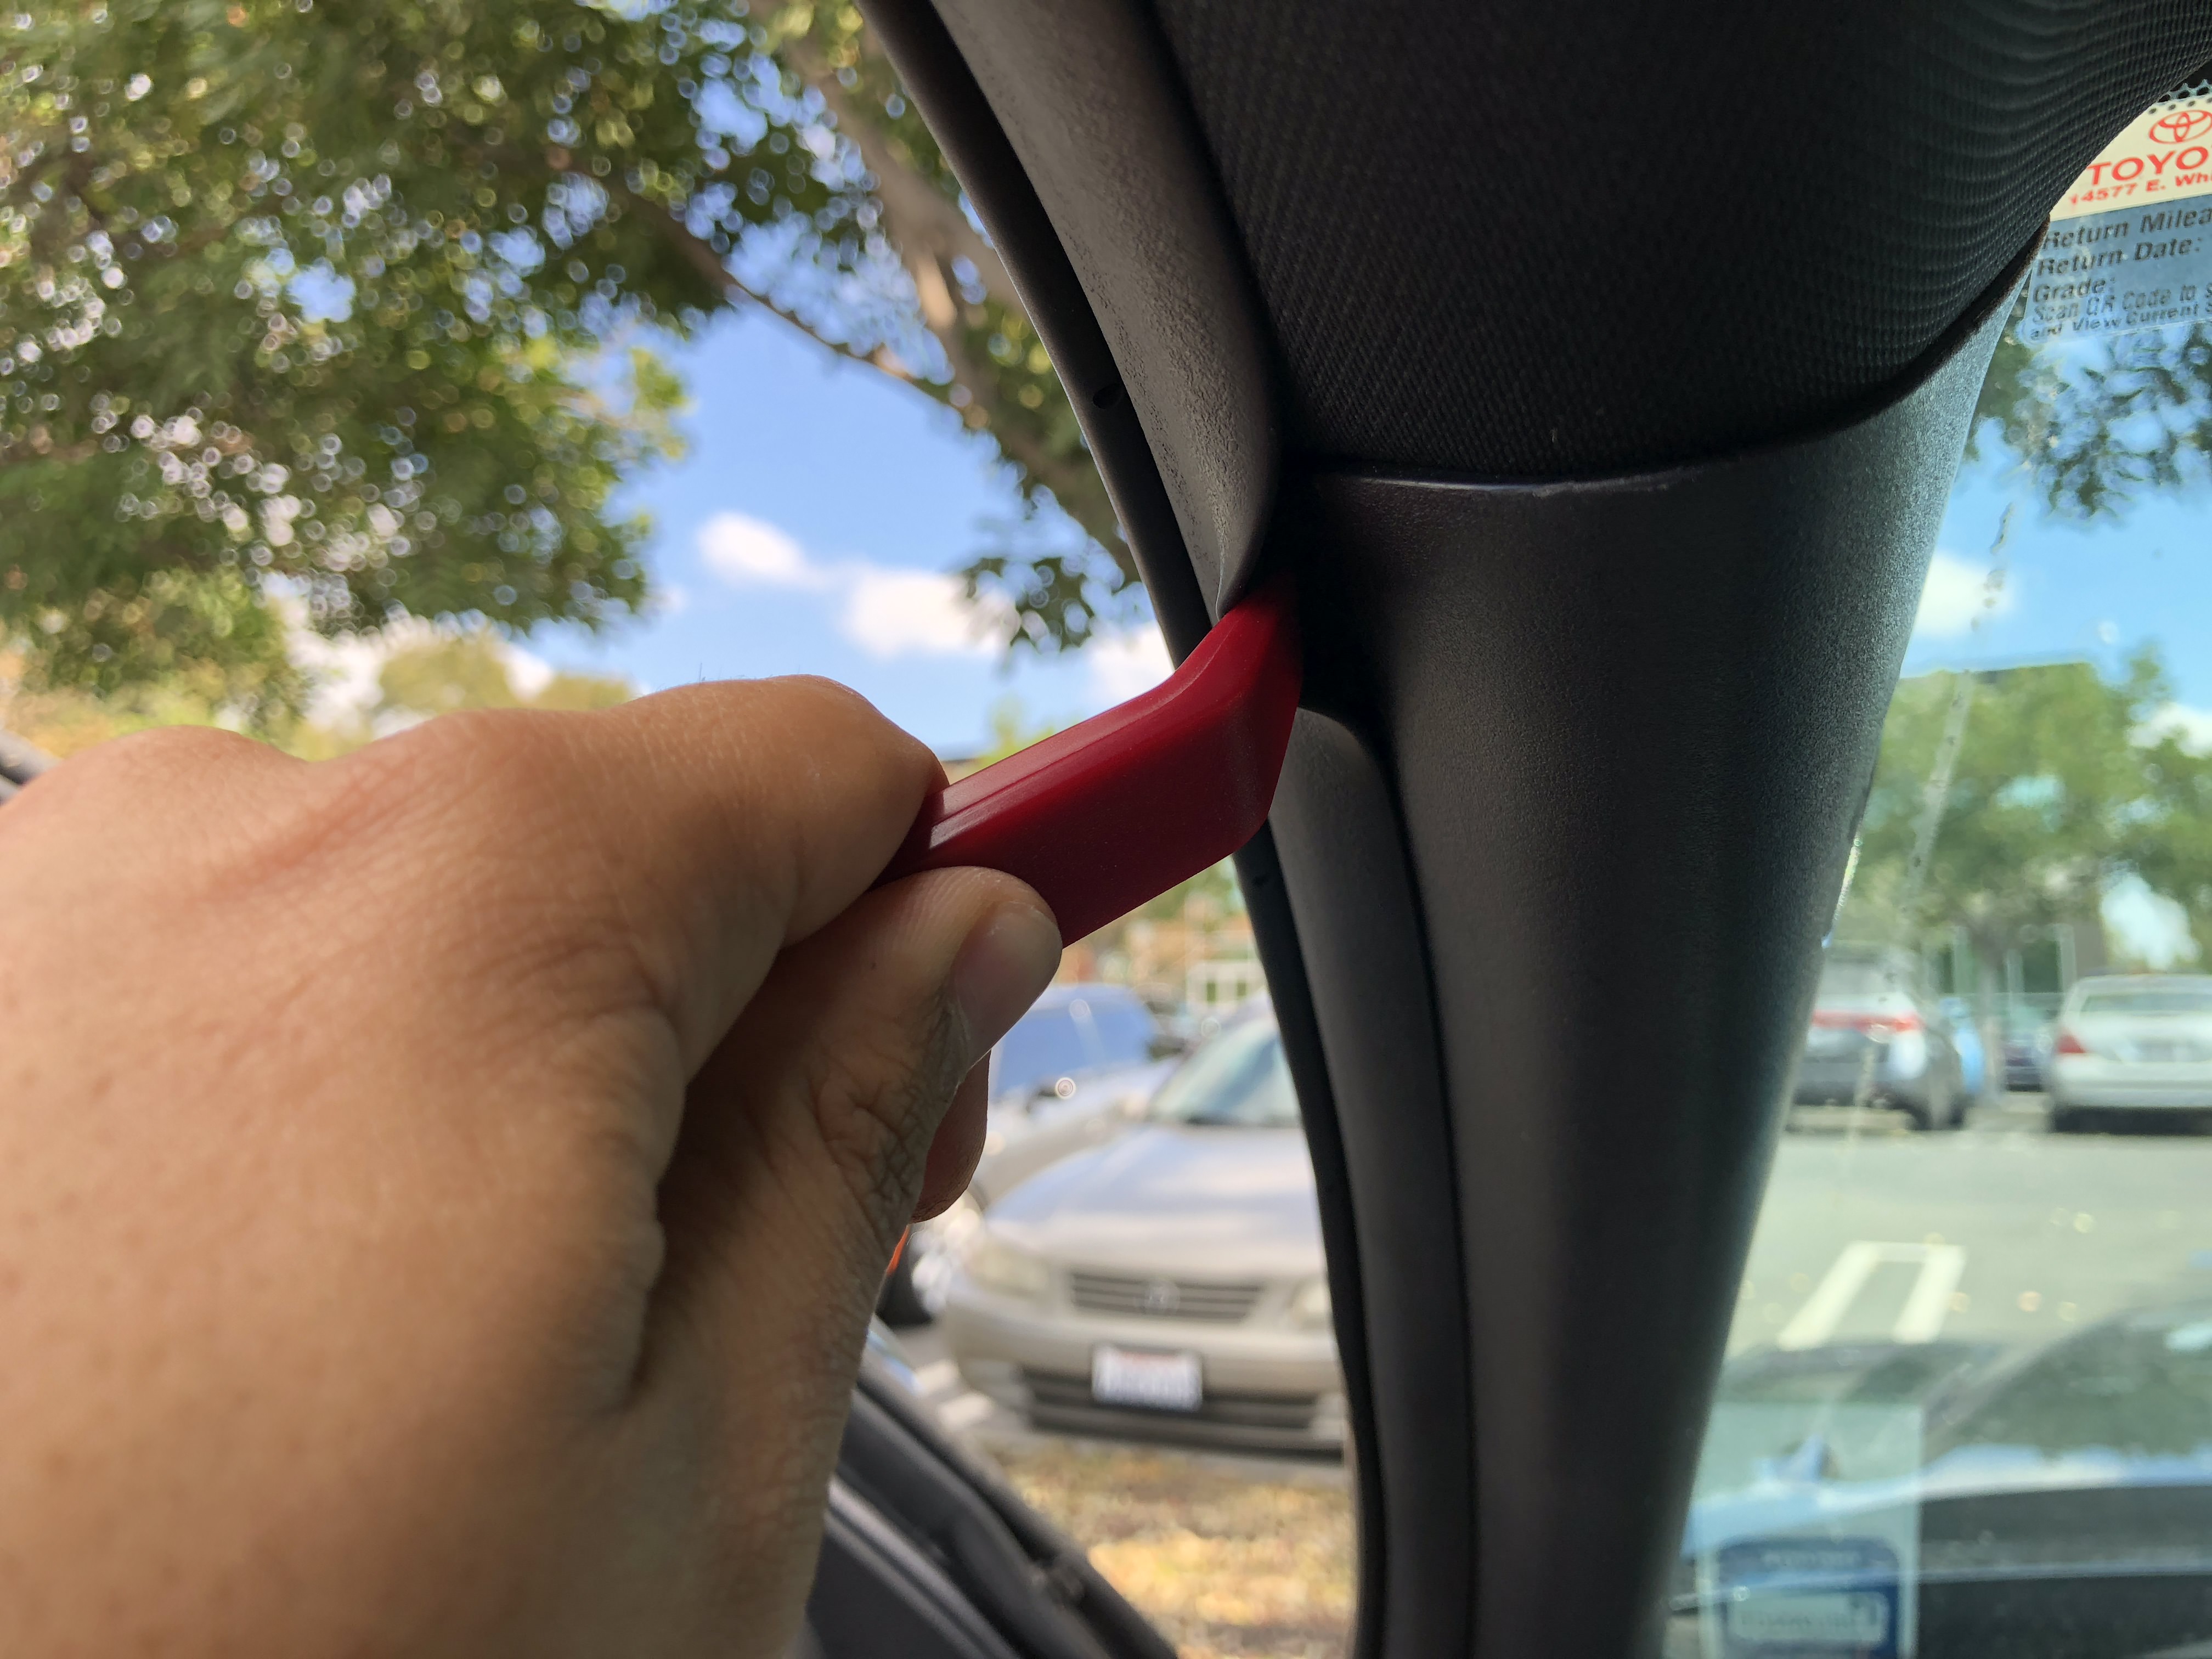
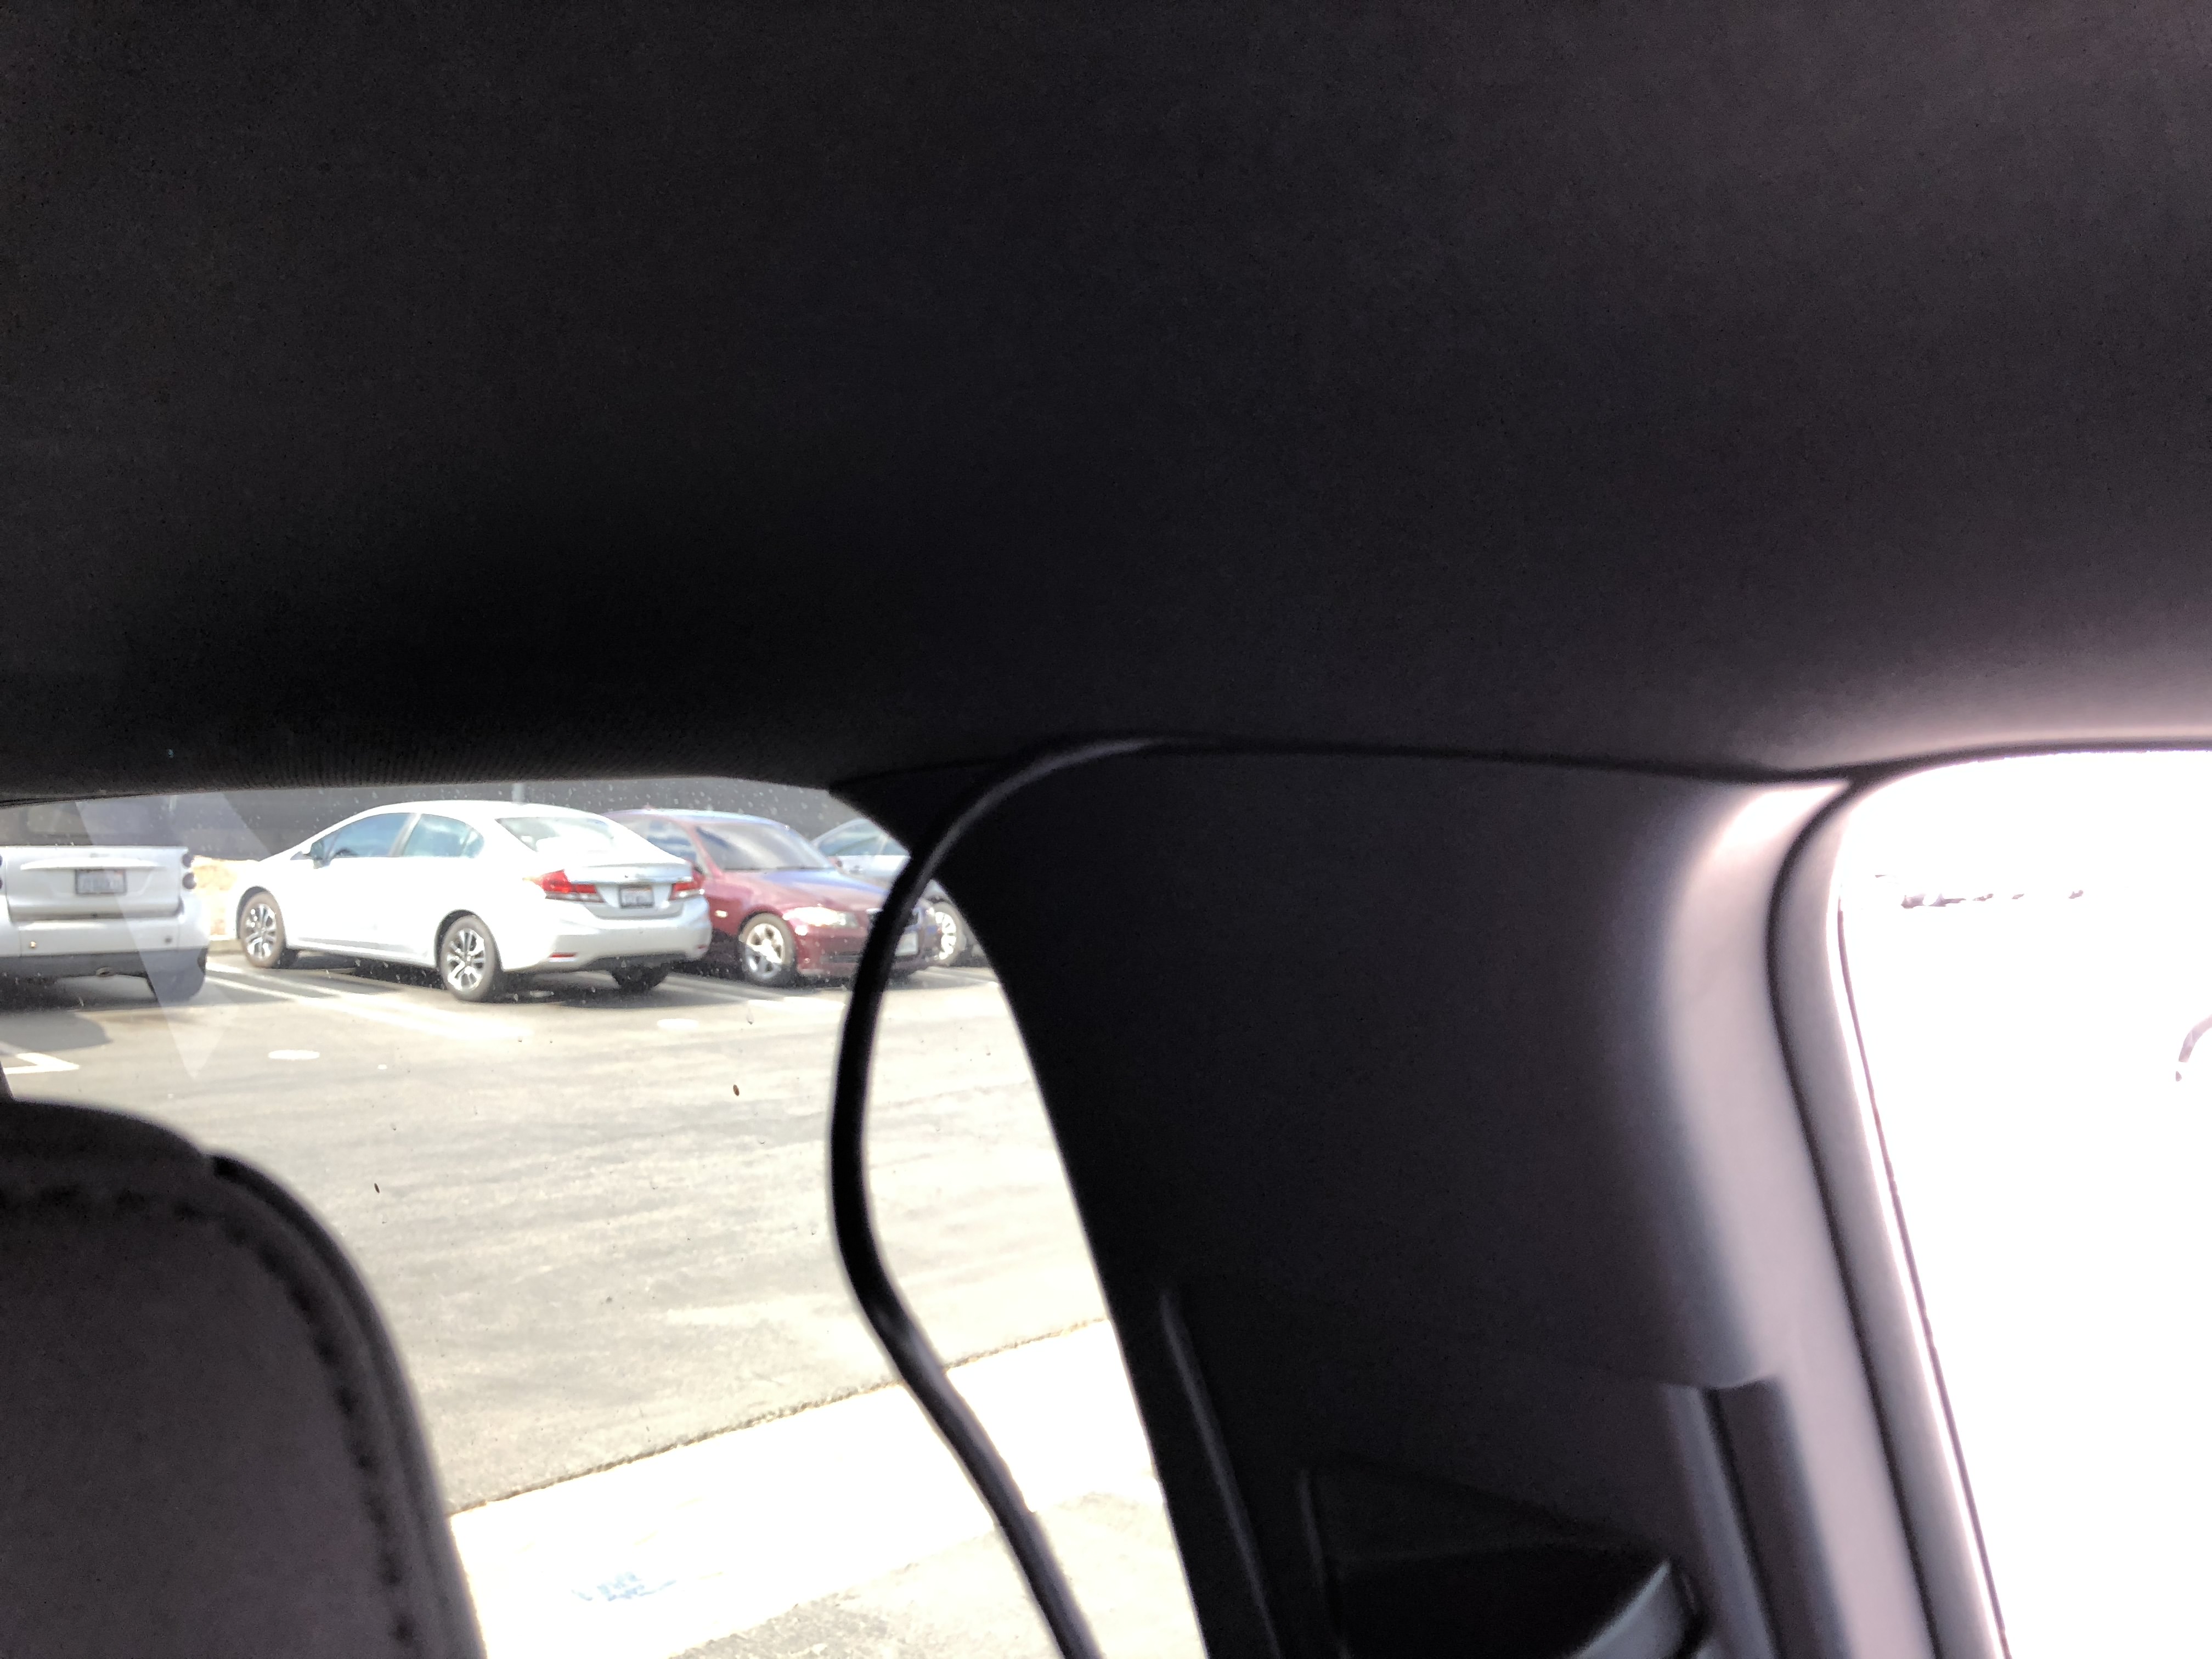
There's plenty of room behind the rubber strip. This is for the power cable so work your way down tucking the cable in.
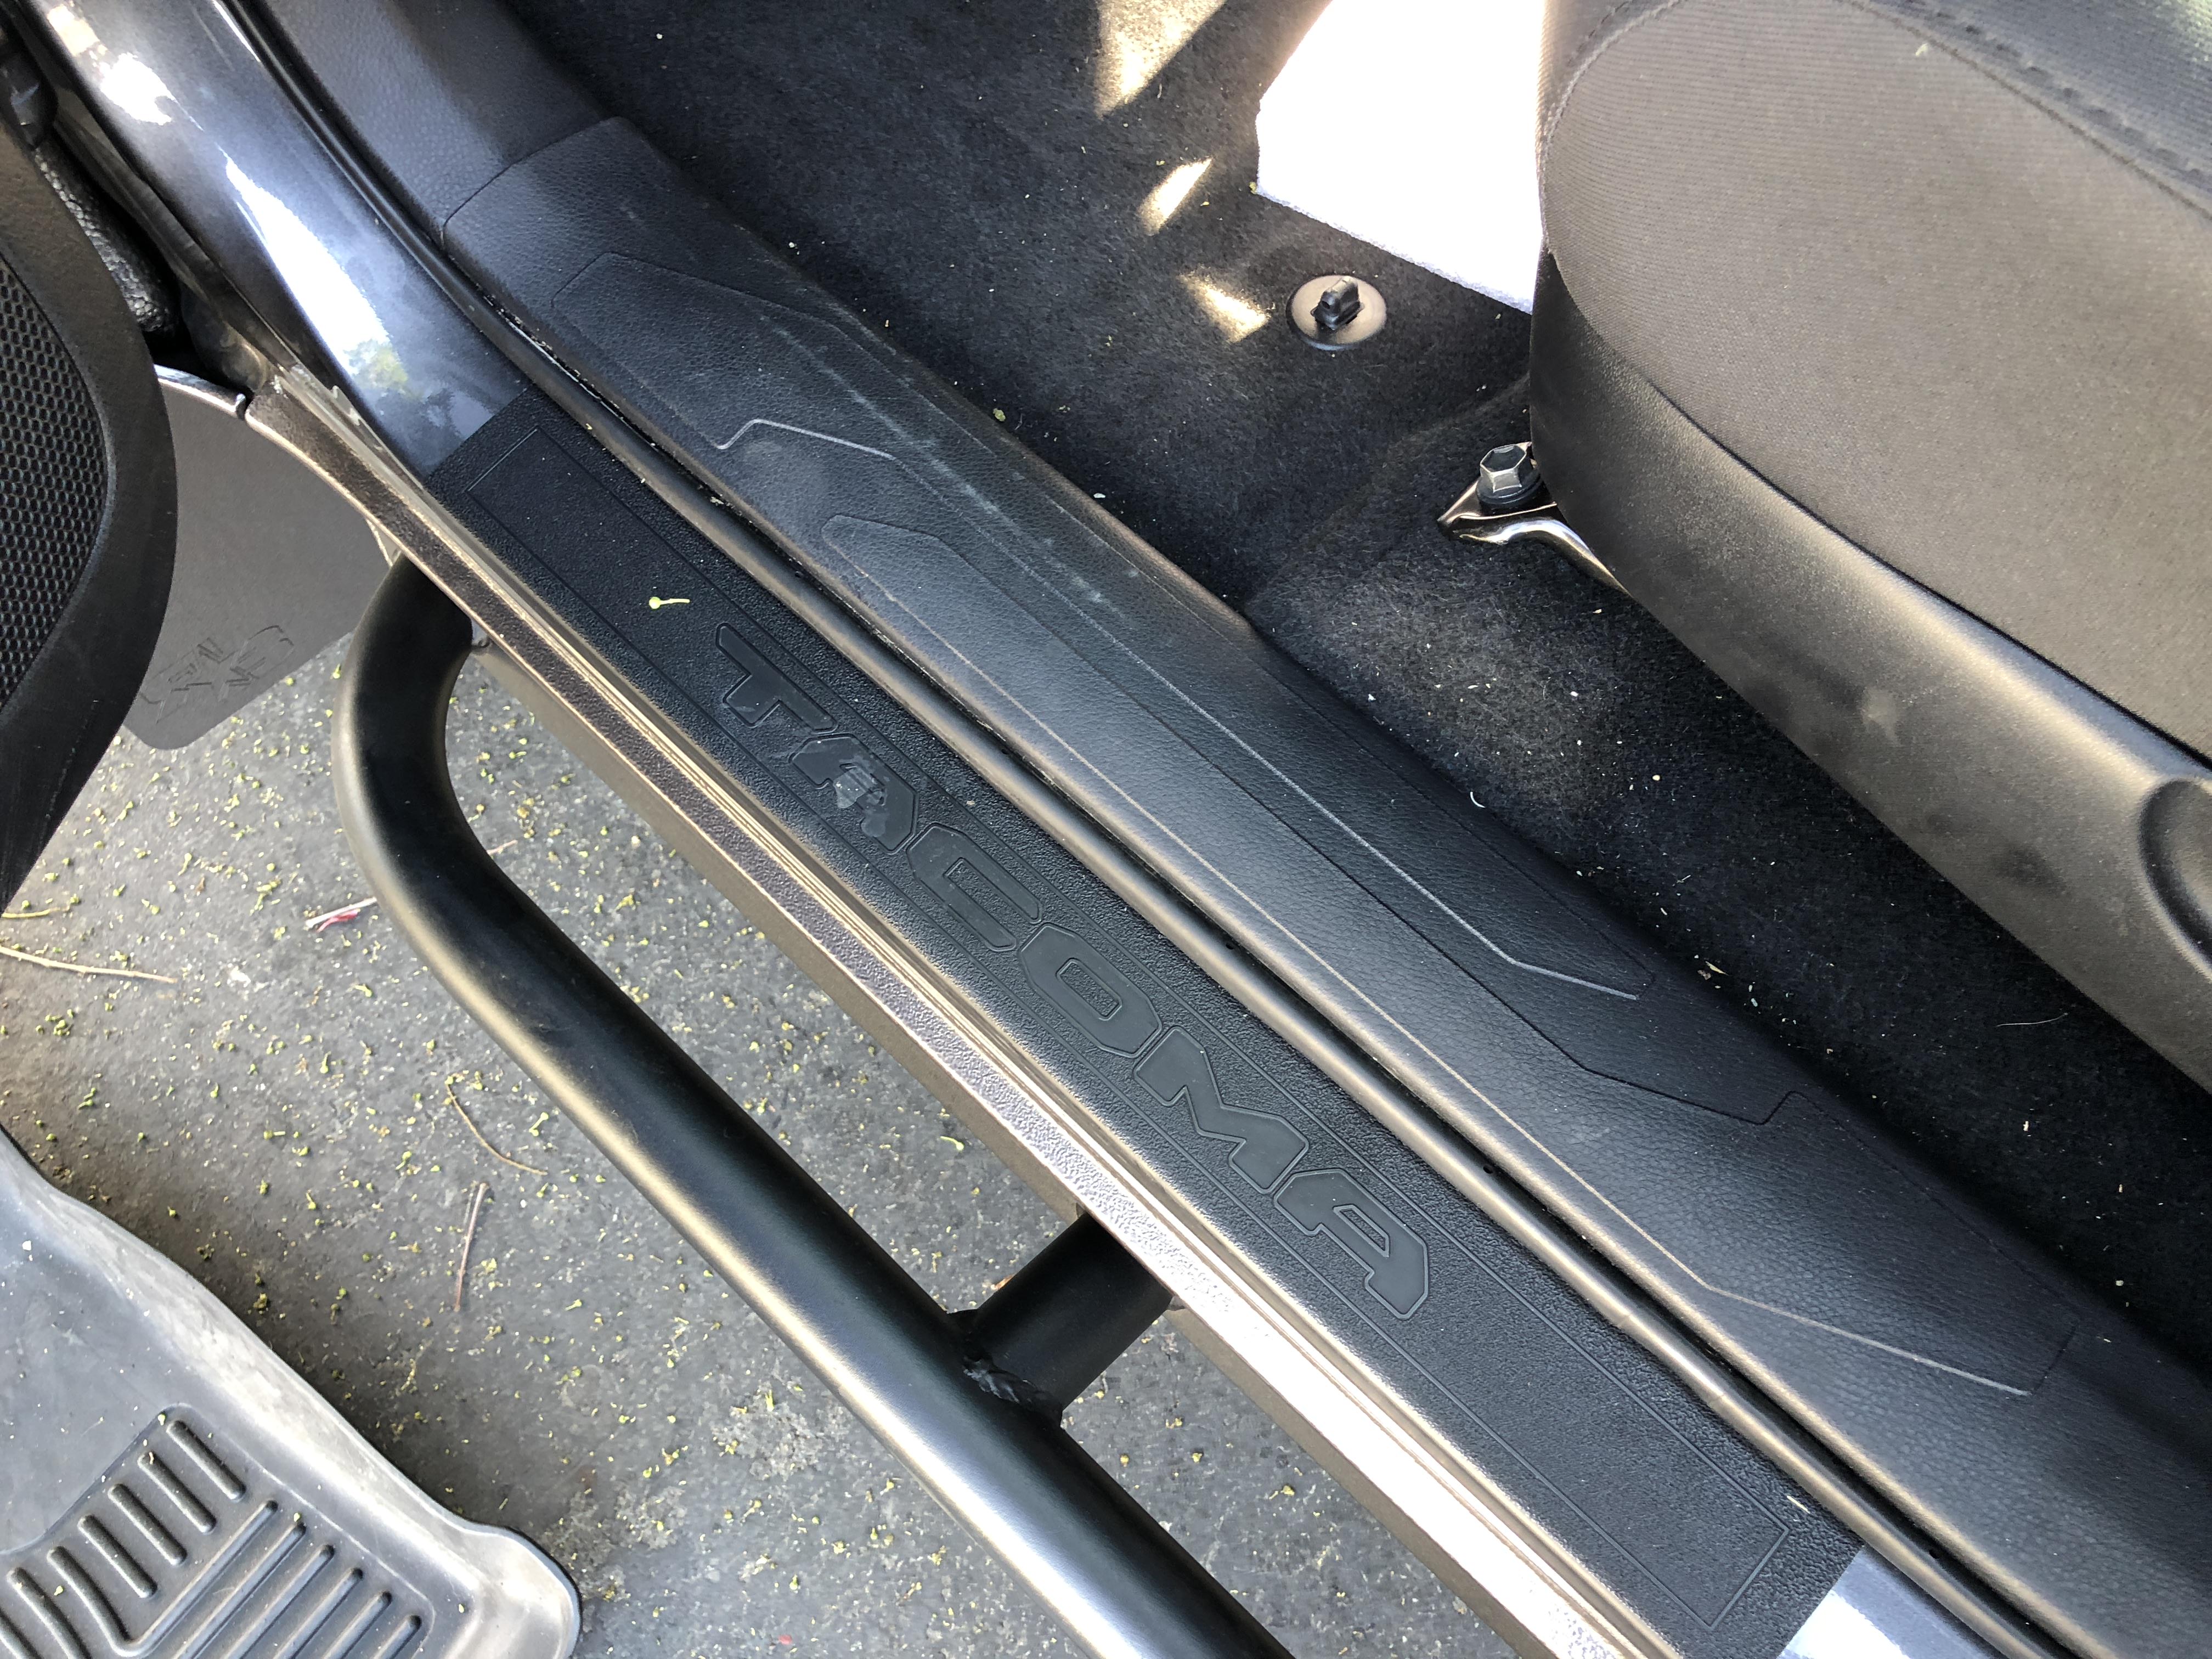
The kick plate trim is easily removed by a simply pulling up. Remove this first.
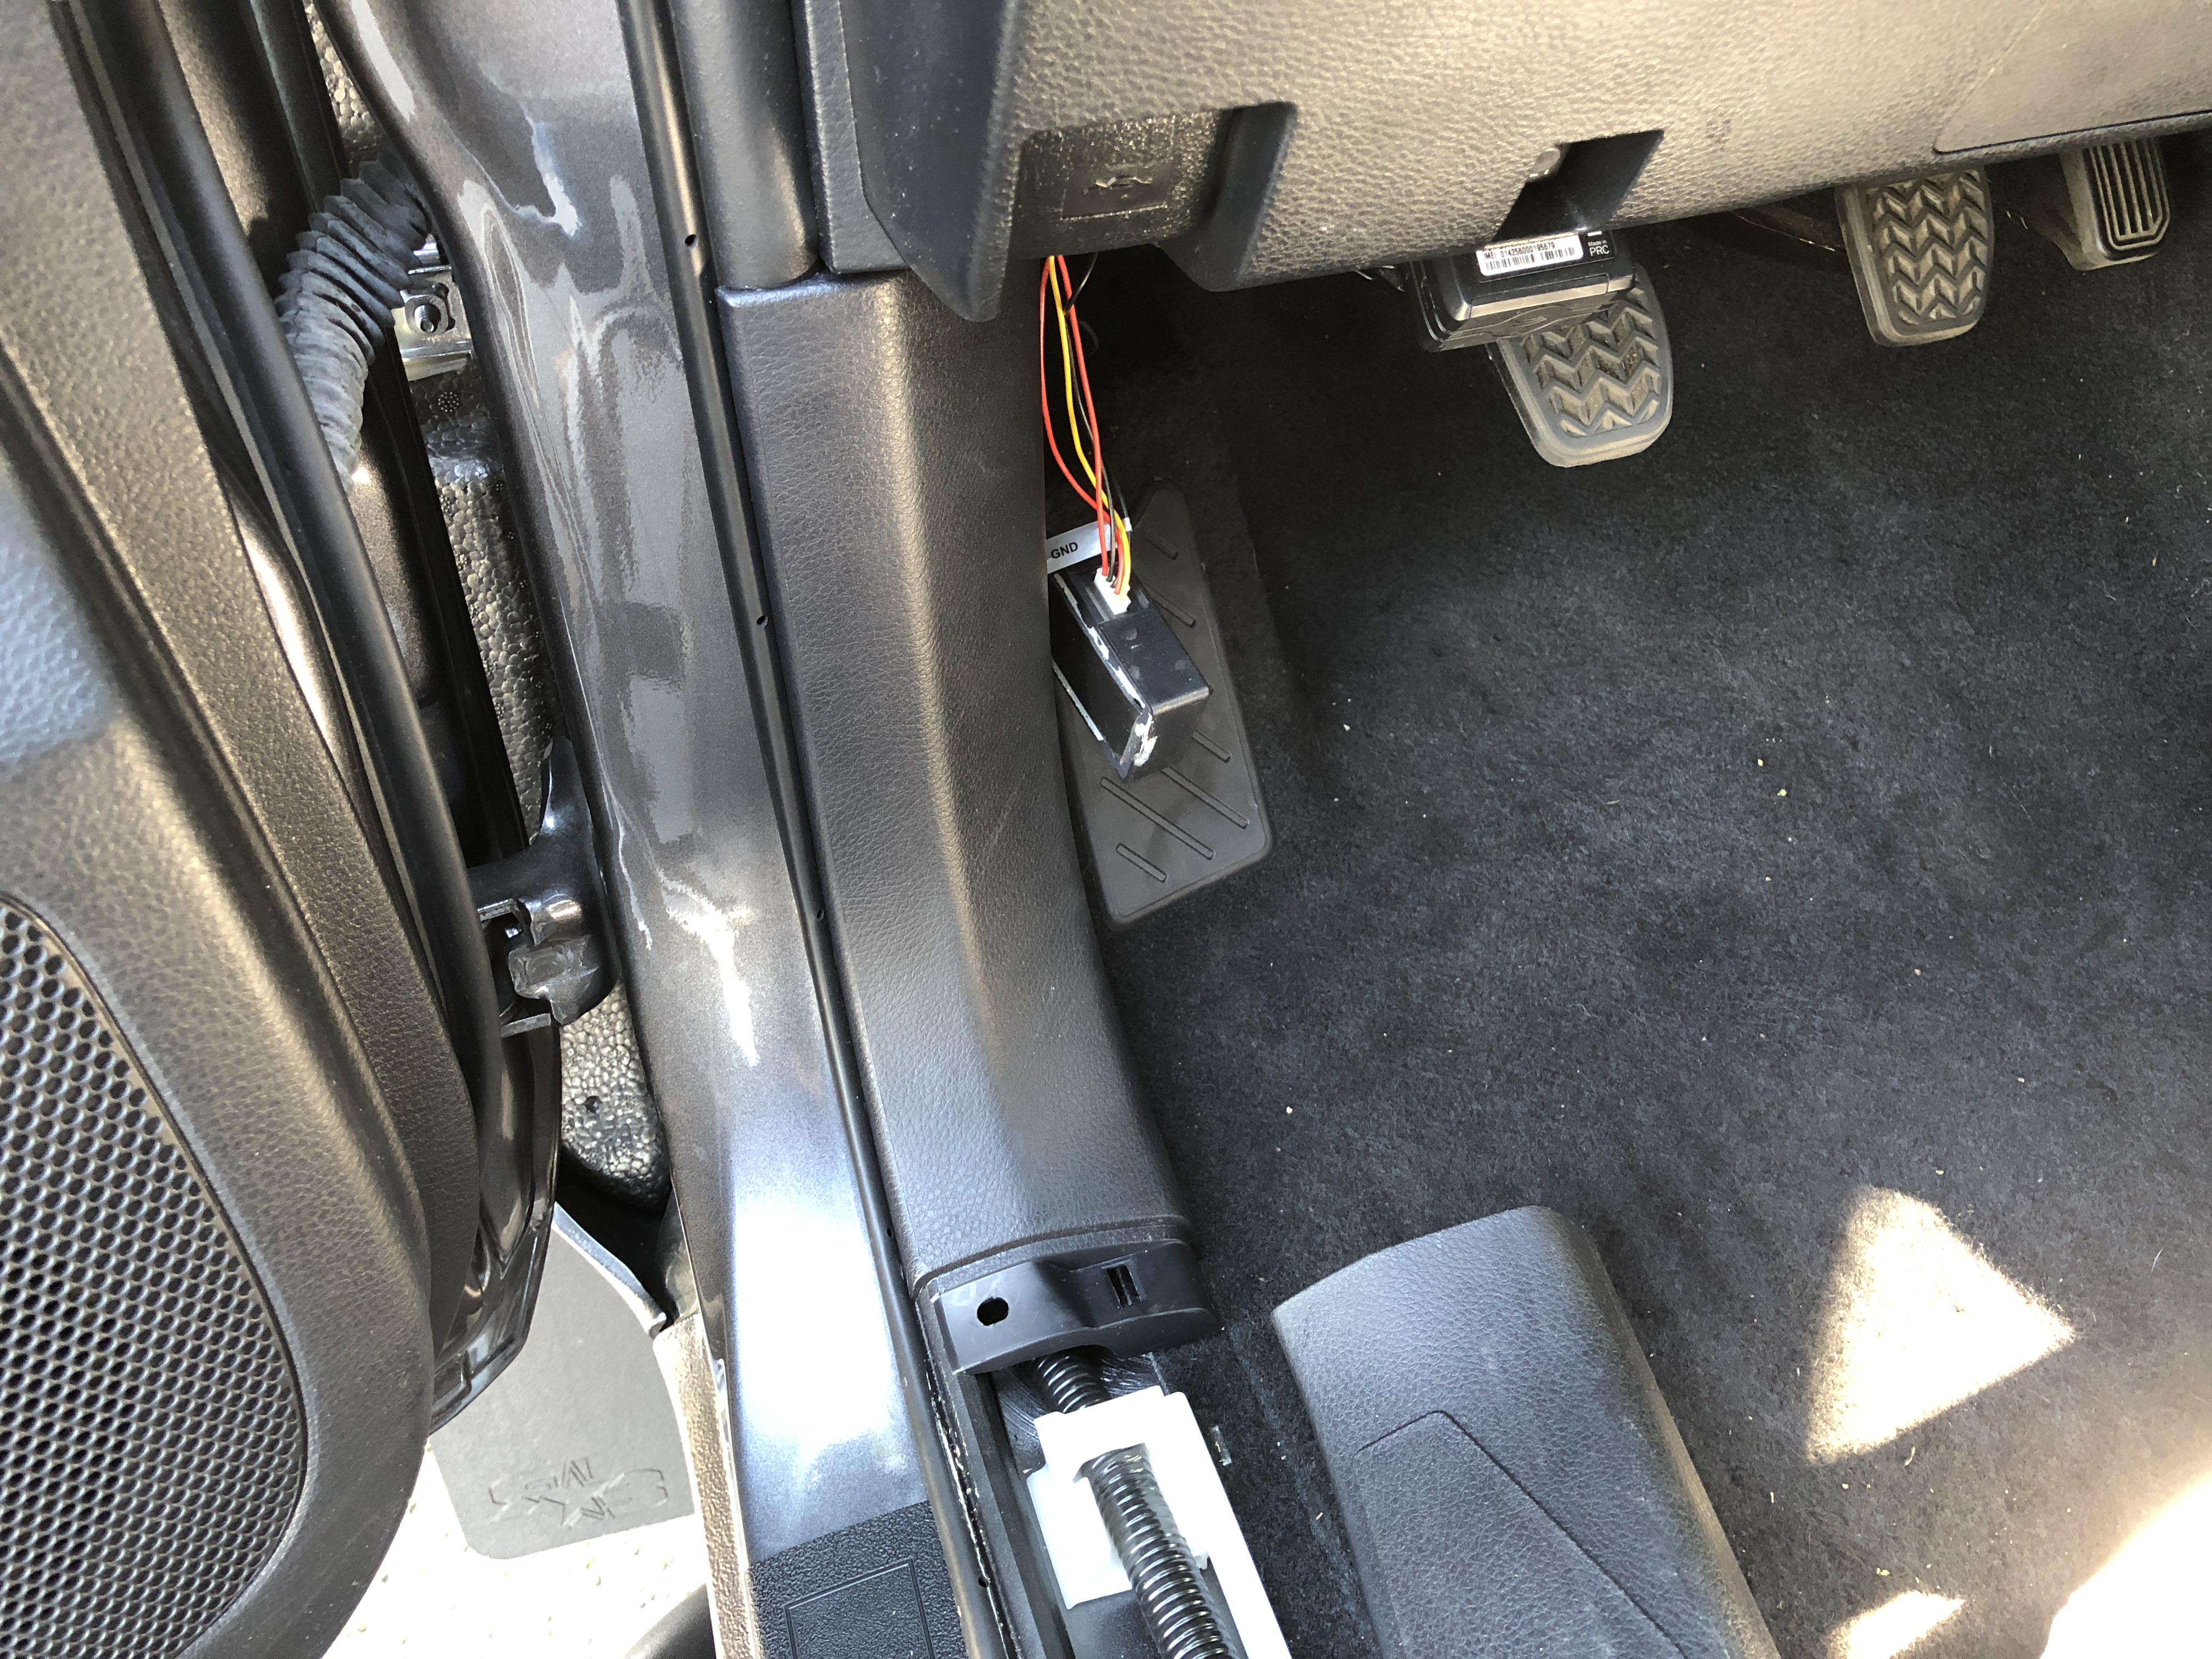
Then reach in the back by the foot rest and pull on the tab that is securing the plastic cover then remove.
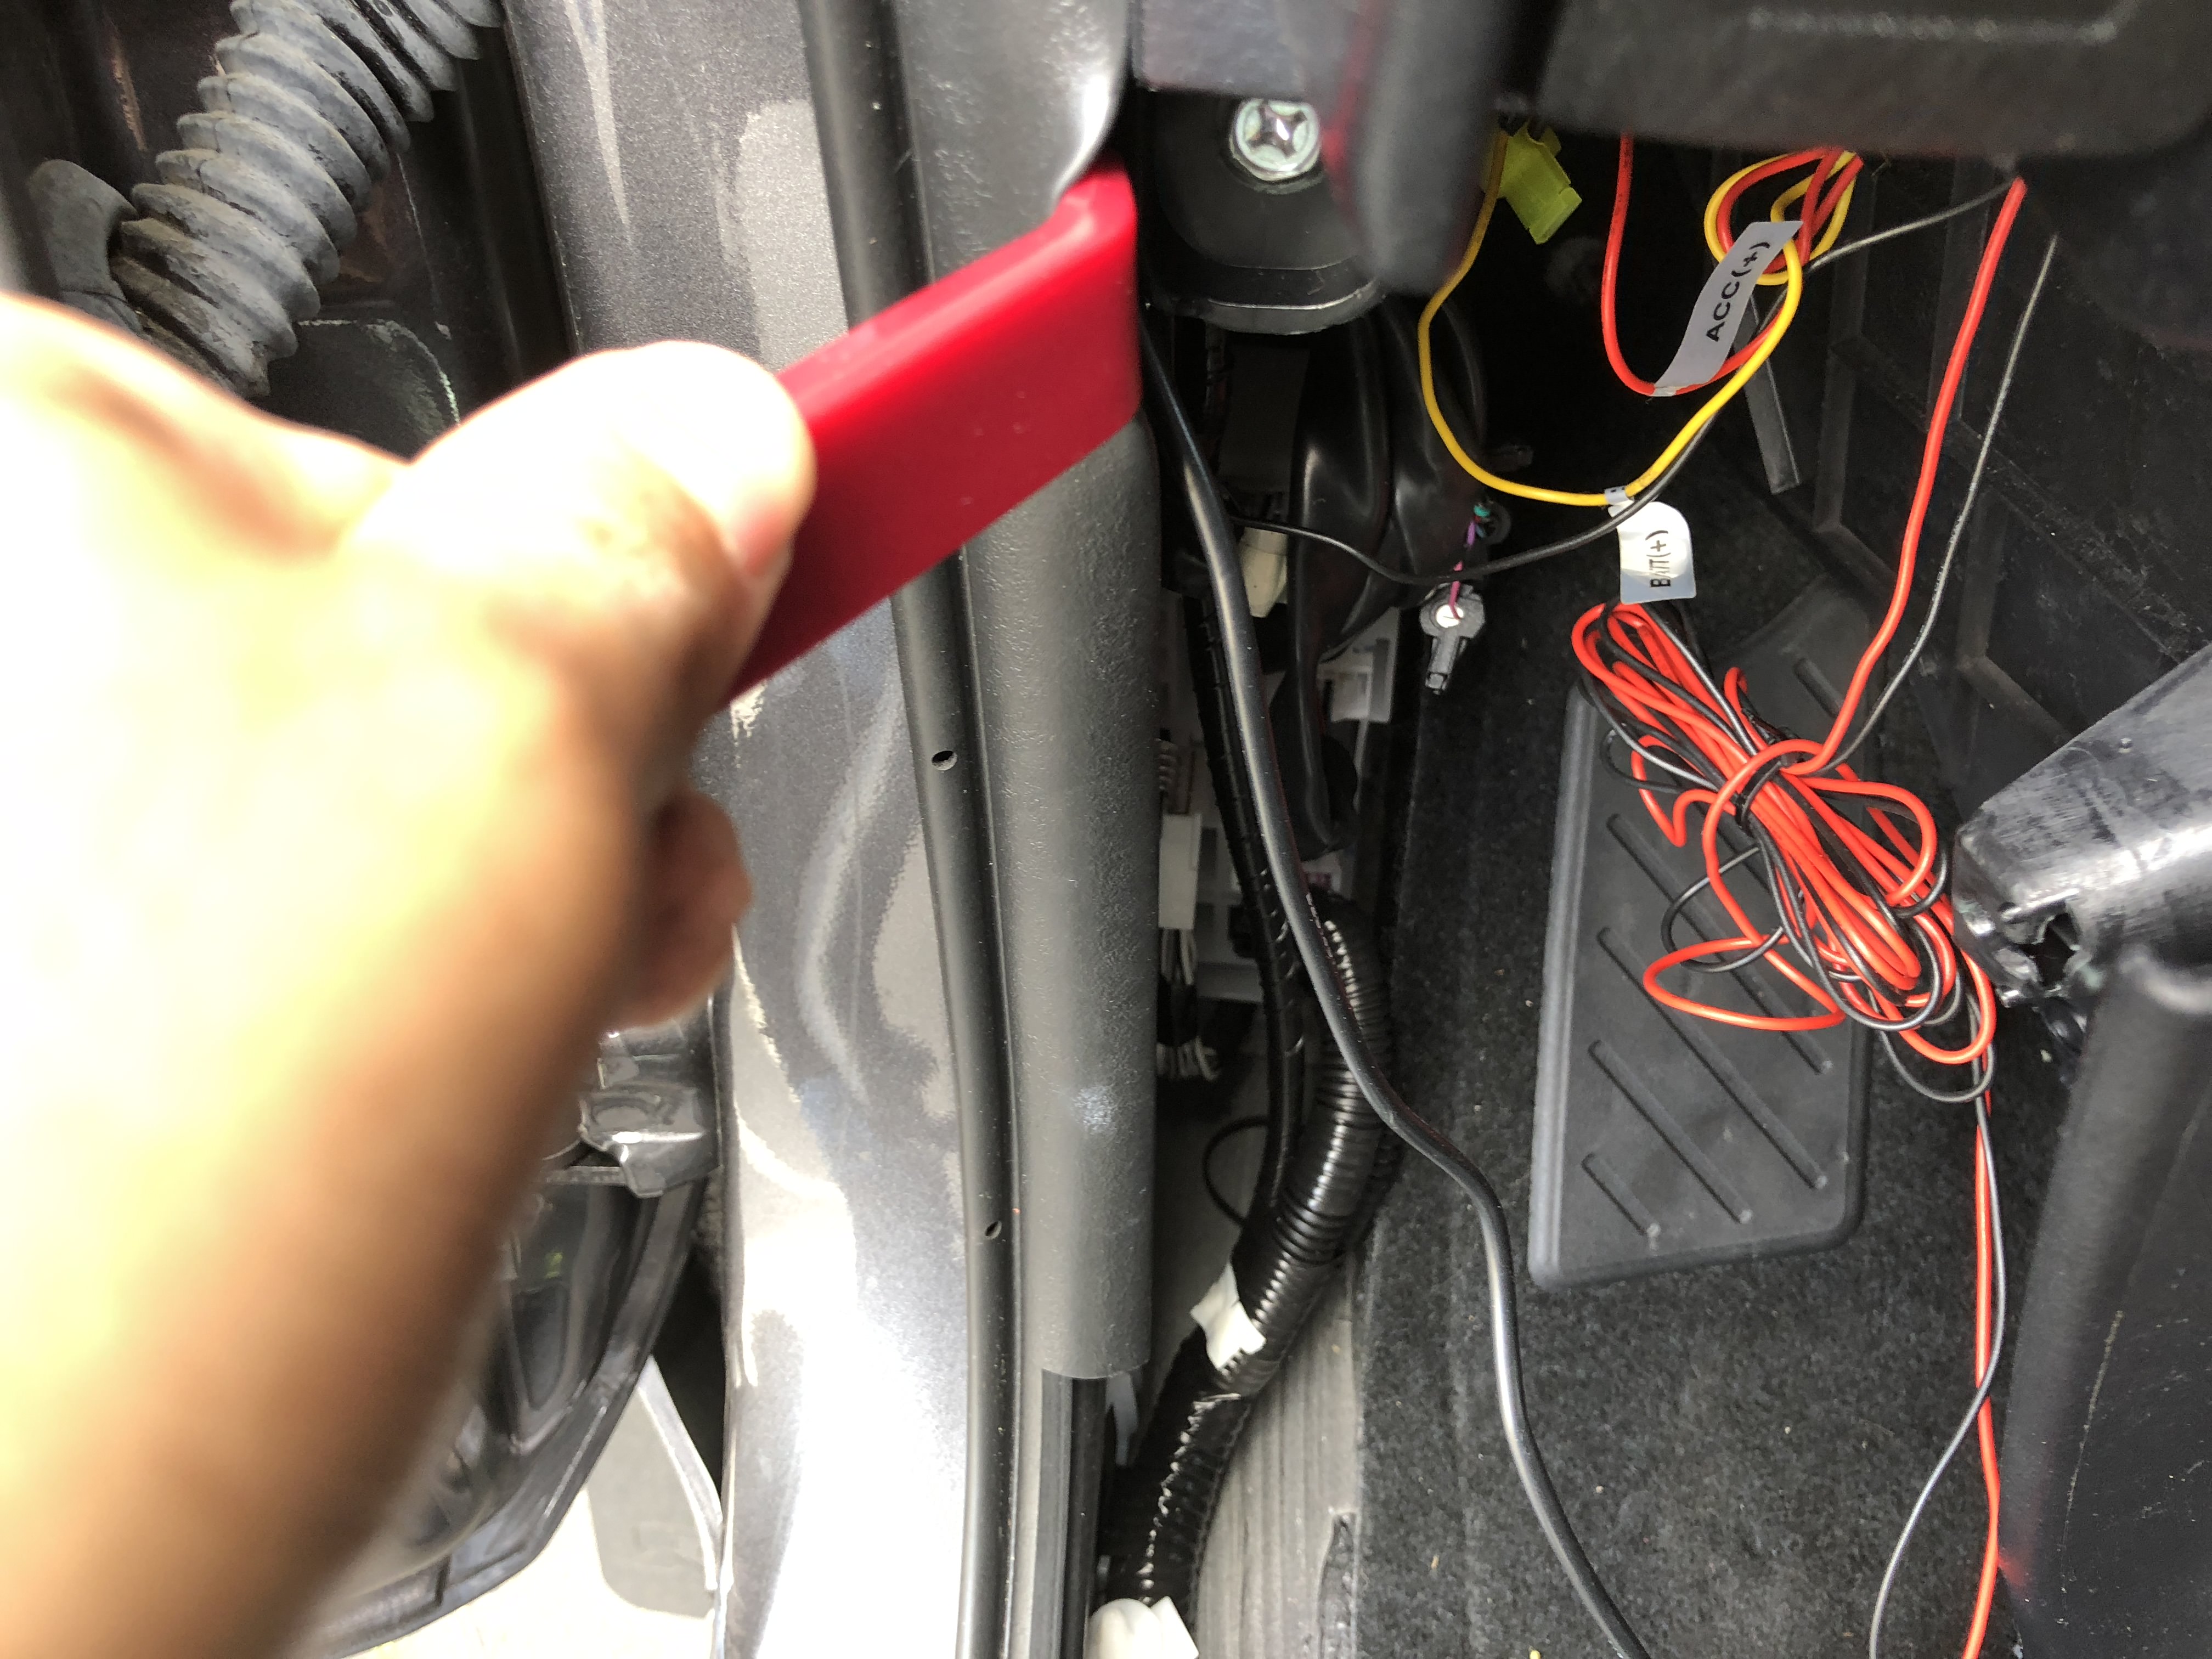
This is where I wired my PowerMagic Pro to the a couple of fuses using fuse taps for a clean install. I cannot for the life of me remember which two fuses I tapped into. You'll need to tap into an always on fuse and one that's powered when the key is in the ACC mode and finally a ground. I used the nearest screw that was metal on metal for the ground wire.
The PowerMagic Pro allows you to wire direct and clean install. It also allows you to run the dash cam straight from the battery, but it also has a built in voltage meter so the battery doesn't die. There are new hard wire kits that install direct to the fuse taps, but I've had this device for over 6 years now so I'll keep using it. The only thing BlackVue produced that wasn't ****.
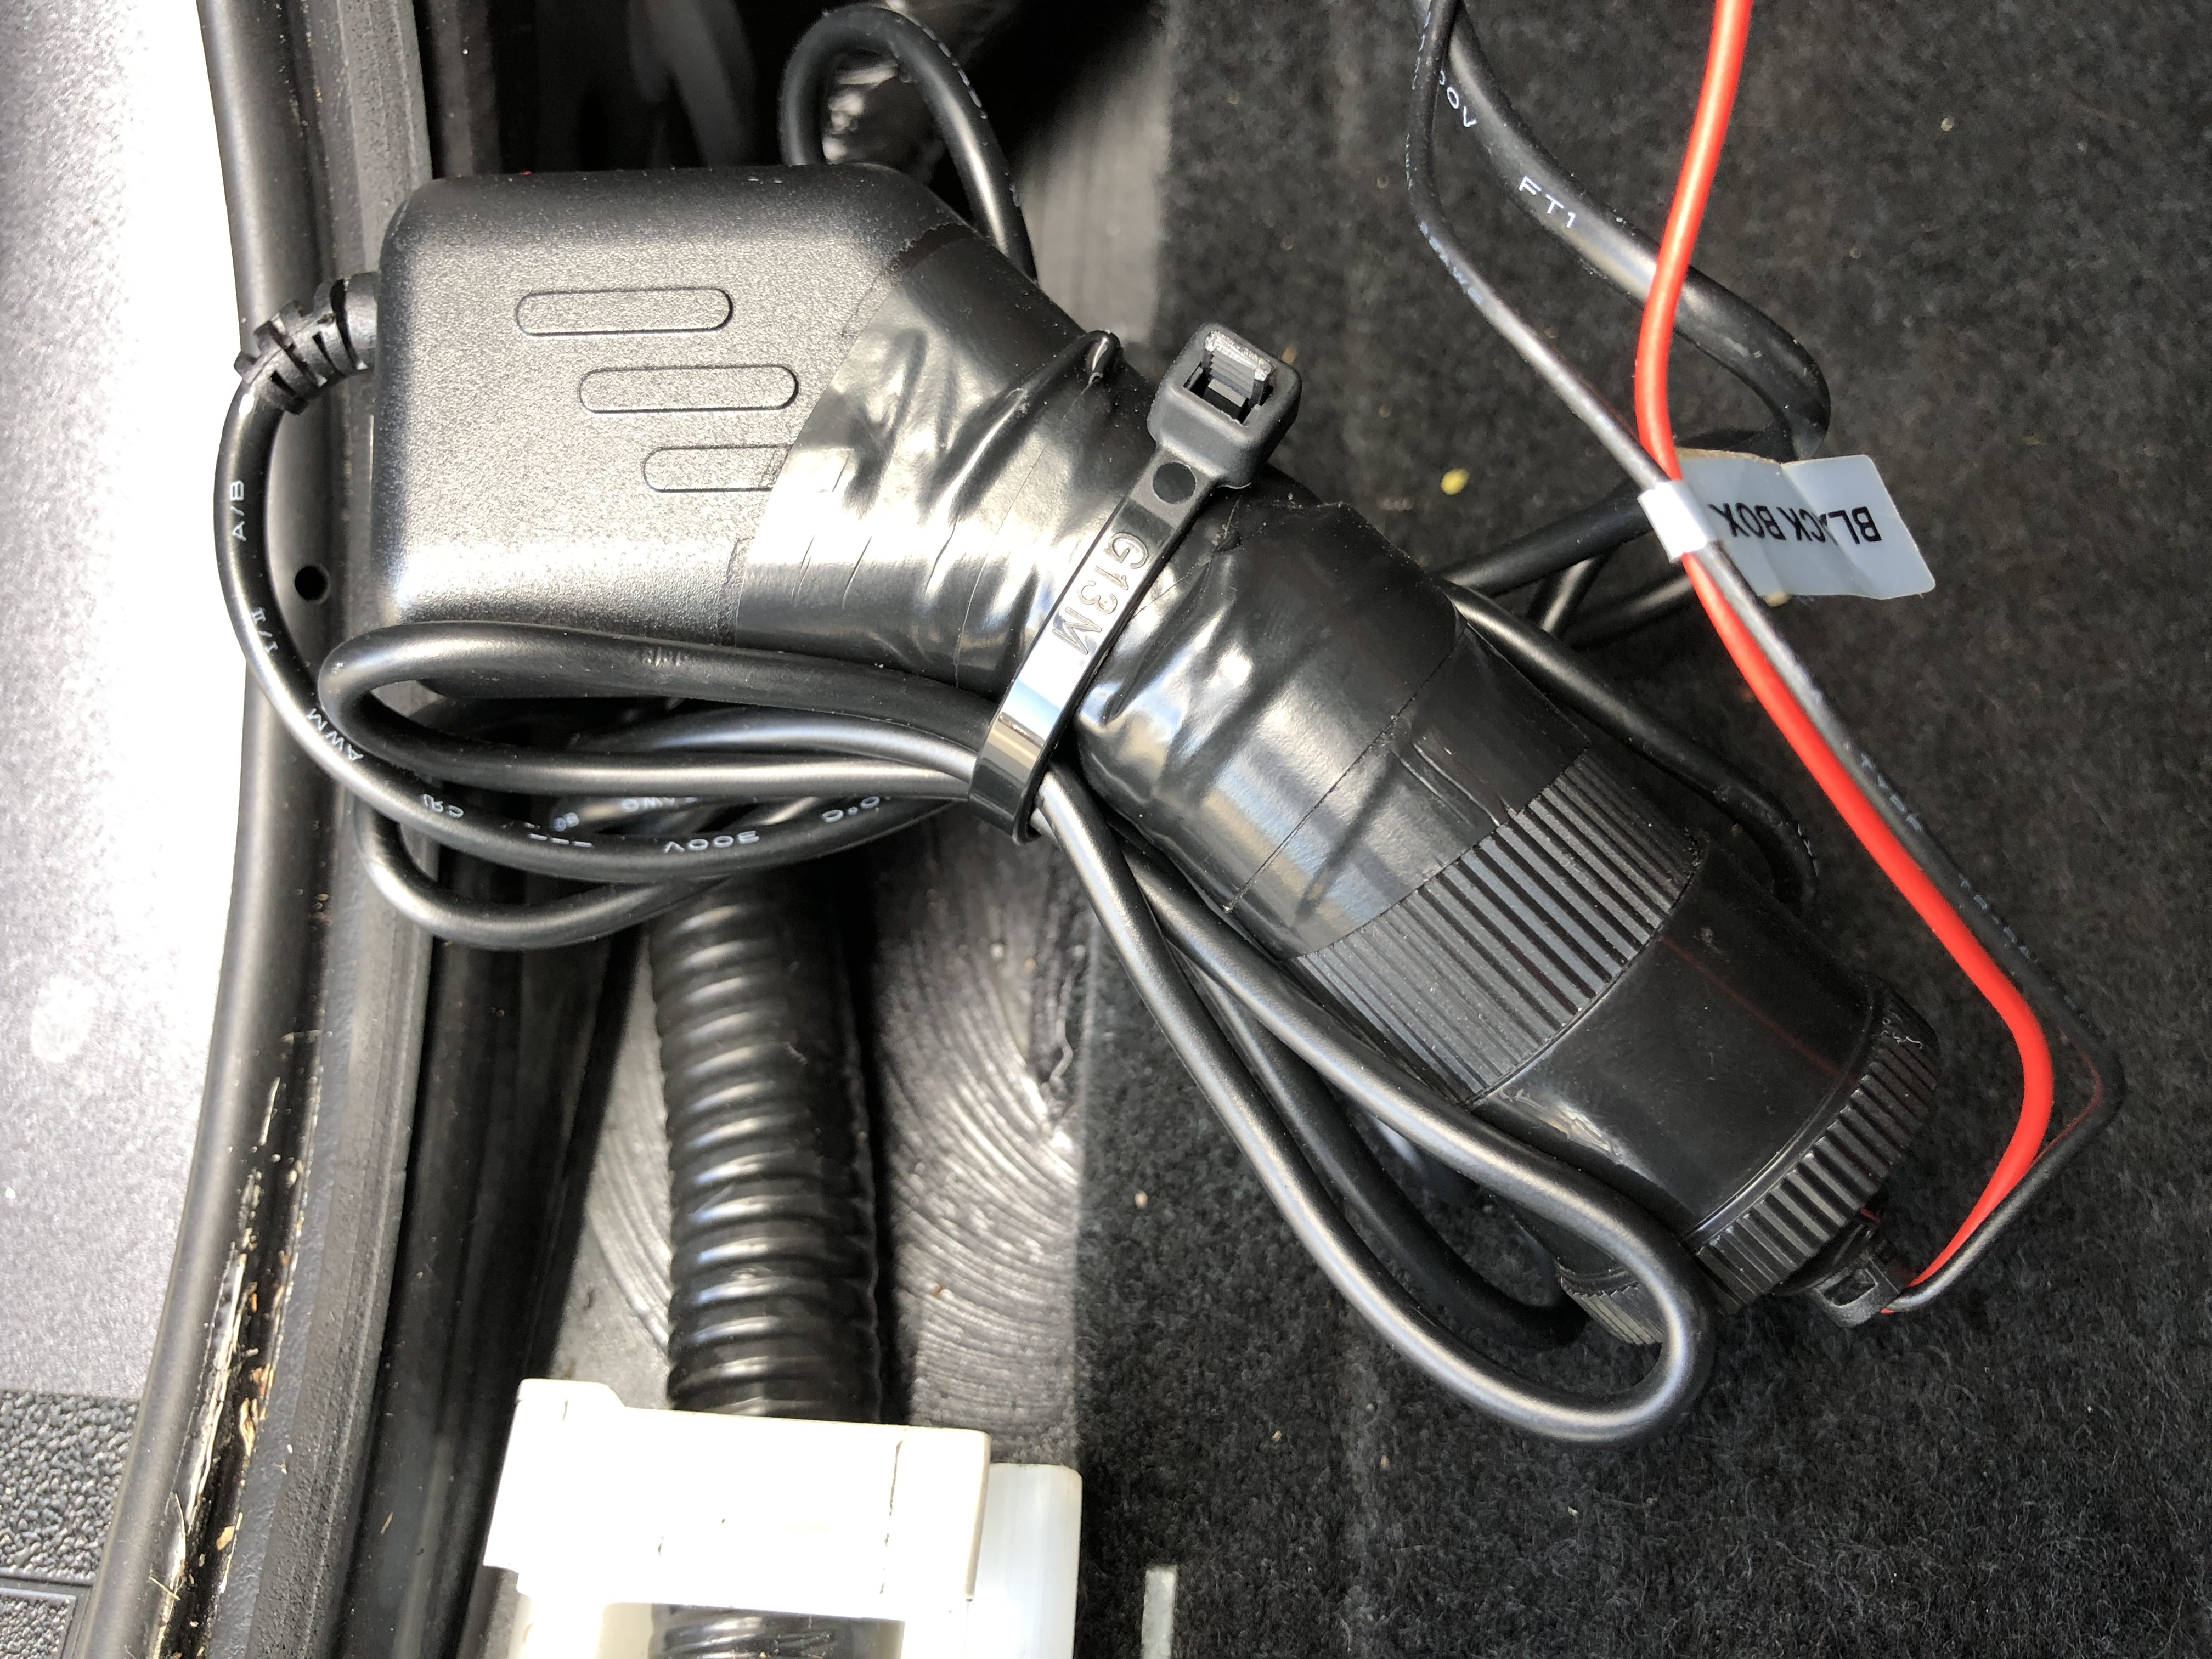
Here, I've secured with electrical tape and zip tied the excess cable and tucked in.
Once taped and tucked away, put the cover back on. Here i put the switch mounted at the top of the plastic cover. This switch allows me to run the dash cam with the engine off. It has a built in voltage meter to turn off the dash cam so the battery does not drain.
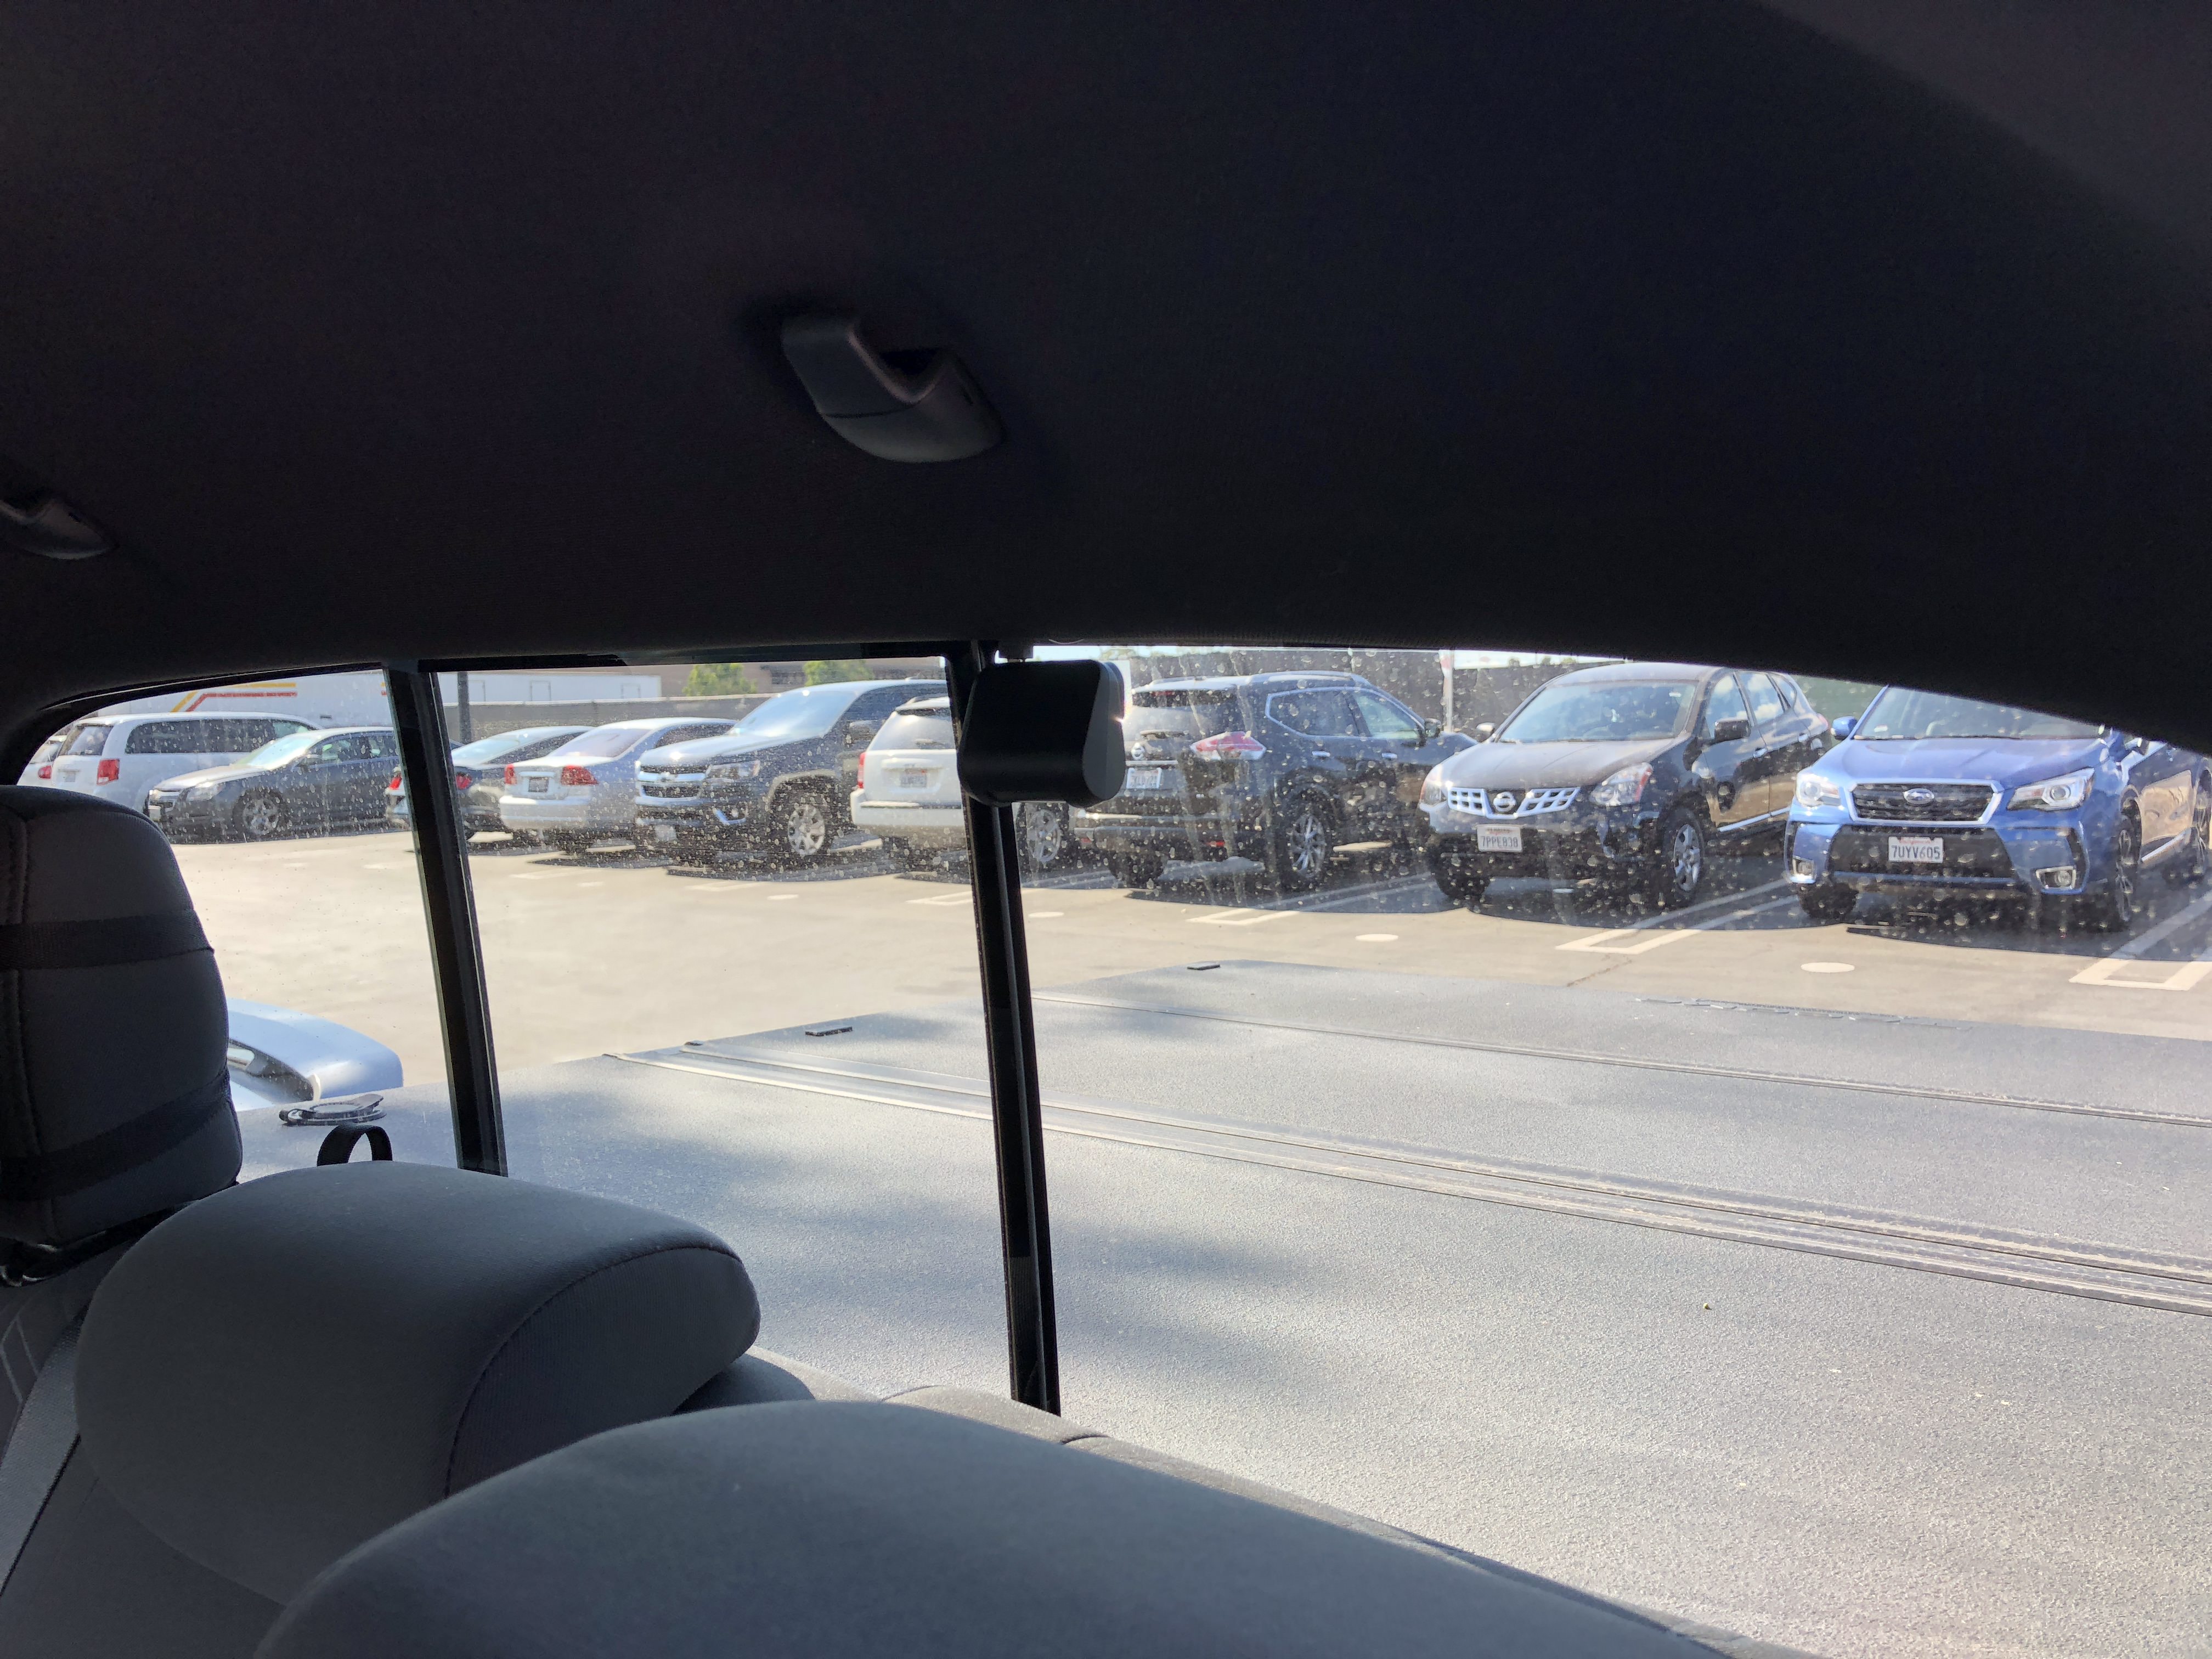
Positioned and secured the new dash cam and power plugged in. Now I run the wire for the rear channel camera. I do the same, tuck the wire in the headliner and work my way to the A Pillar.
Once I reach the rubber seal, I continue to the B Pillar.
Keep going...
The wire tucks in nice and snug, all the way to the end. The cable was just long enough with maybe a few inches to spare. There is an optional 6m (20 feet) cable, but it won't be necessary for this application.
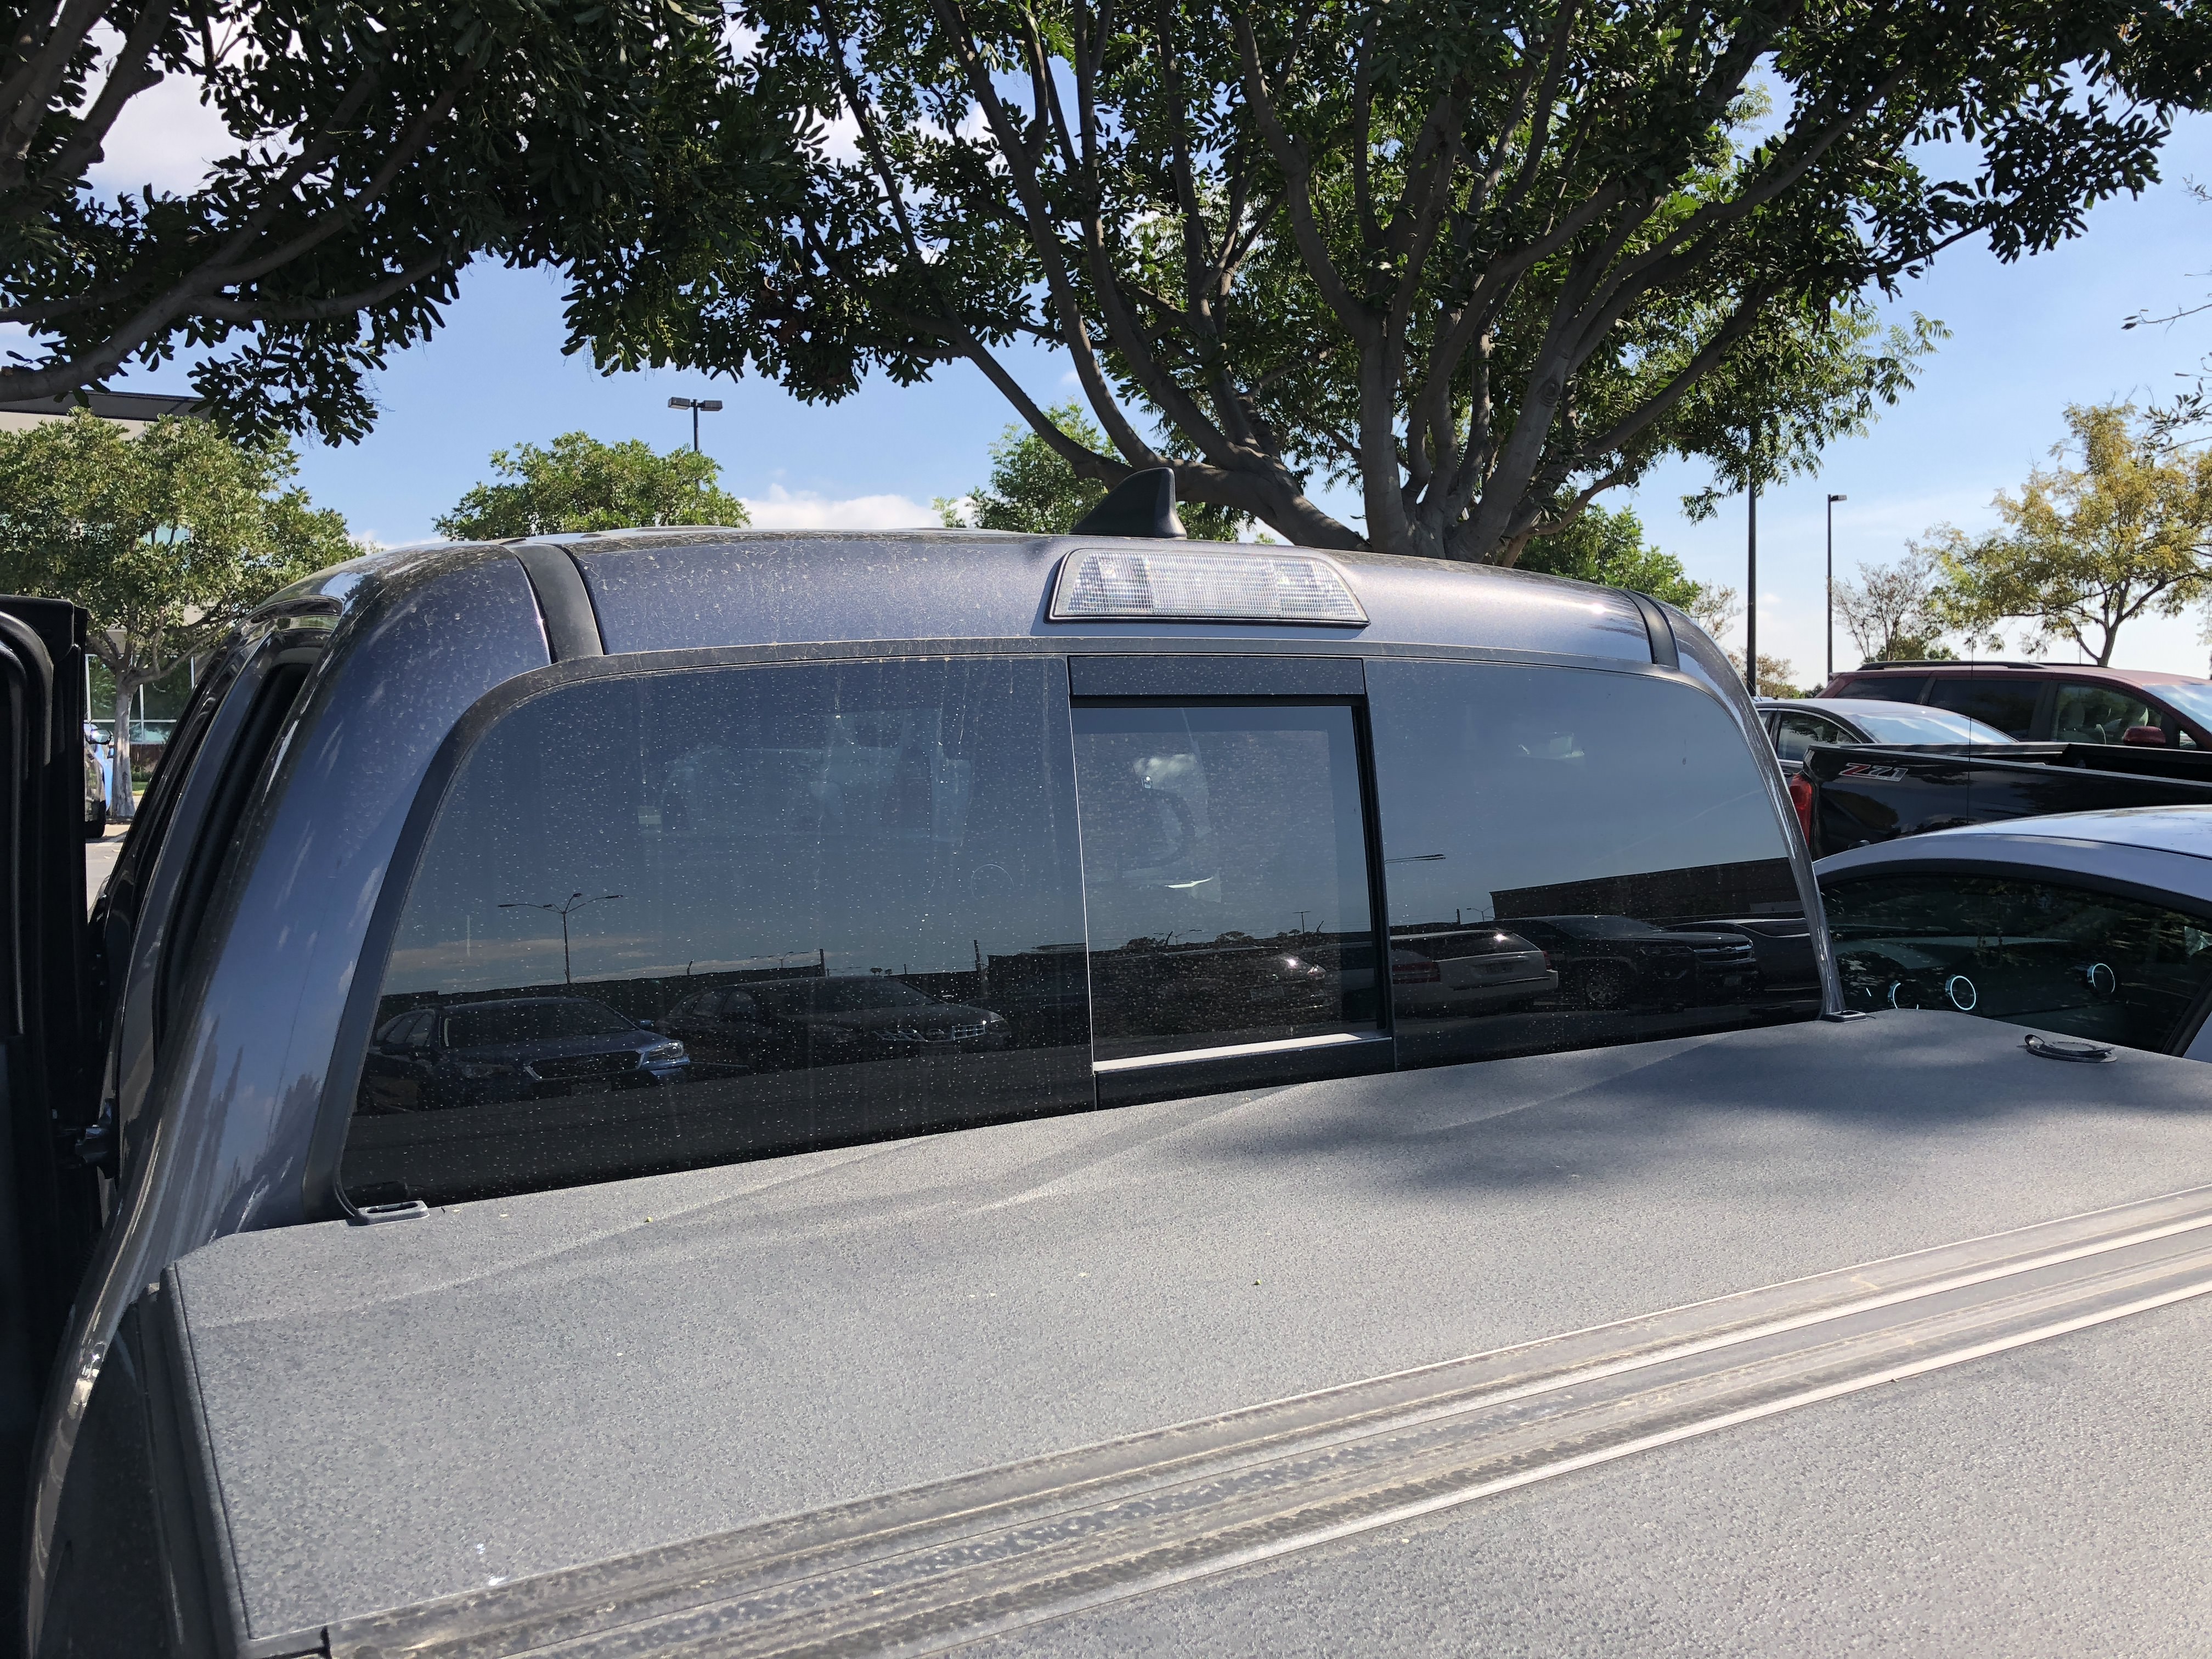
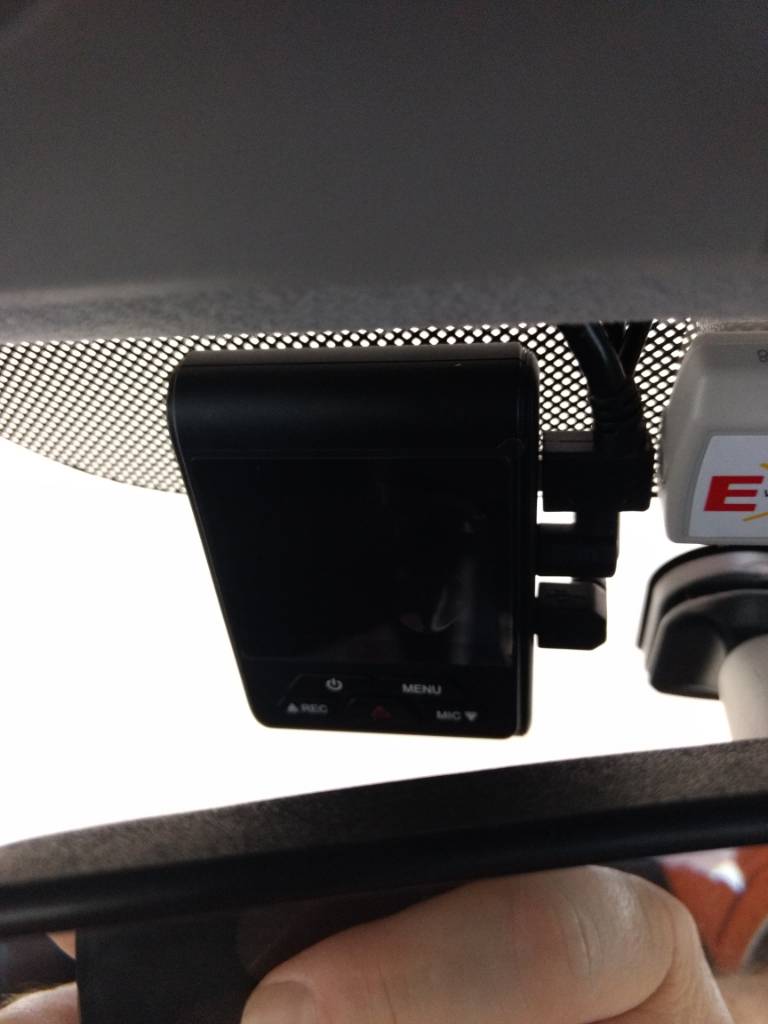
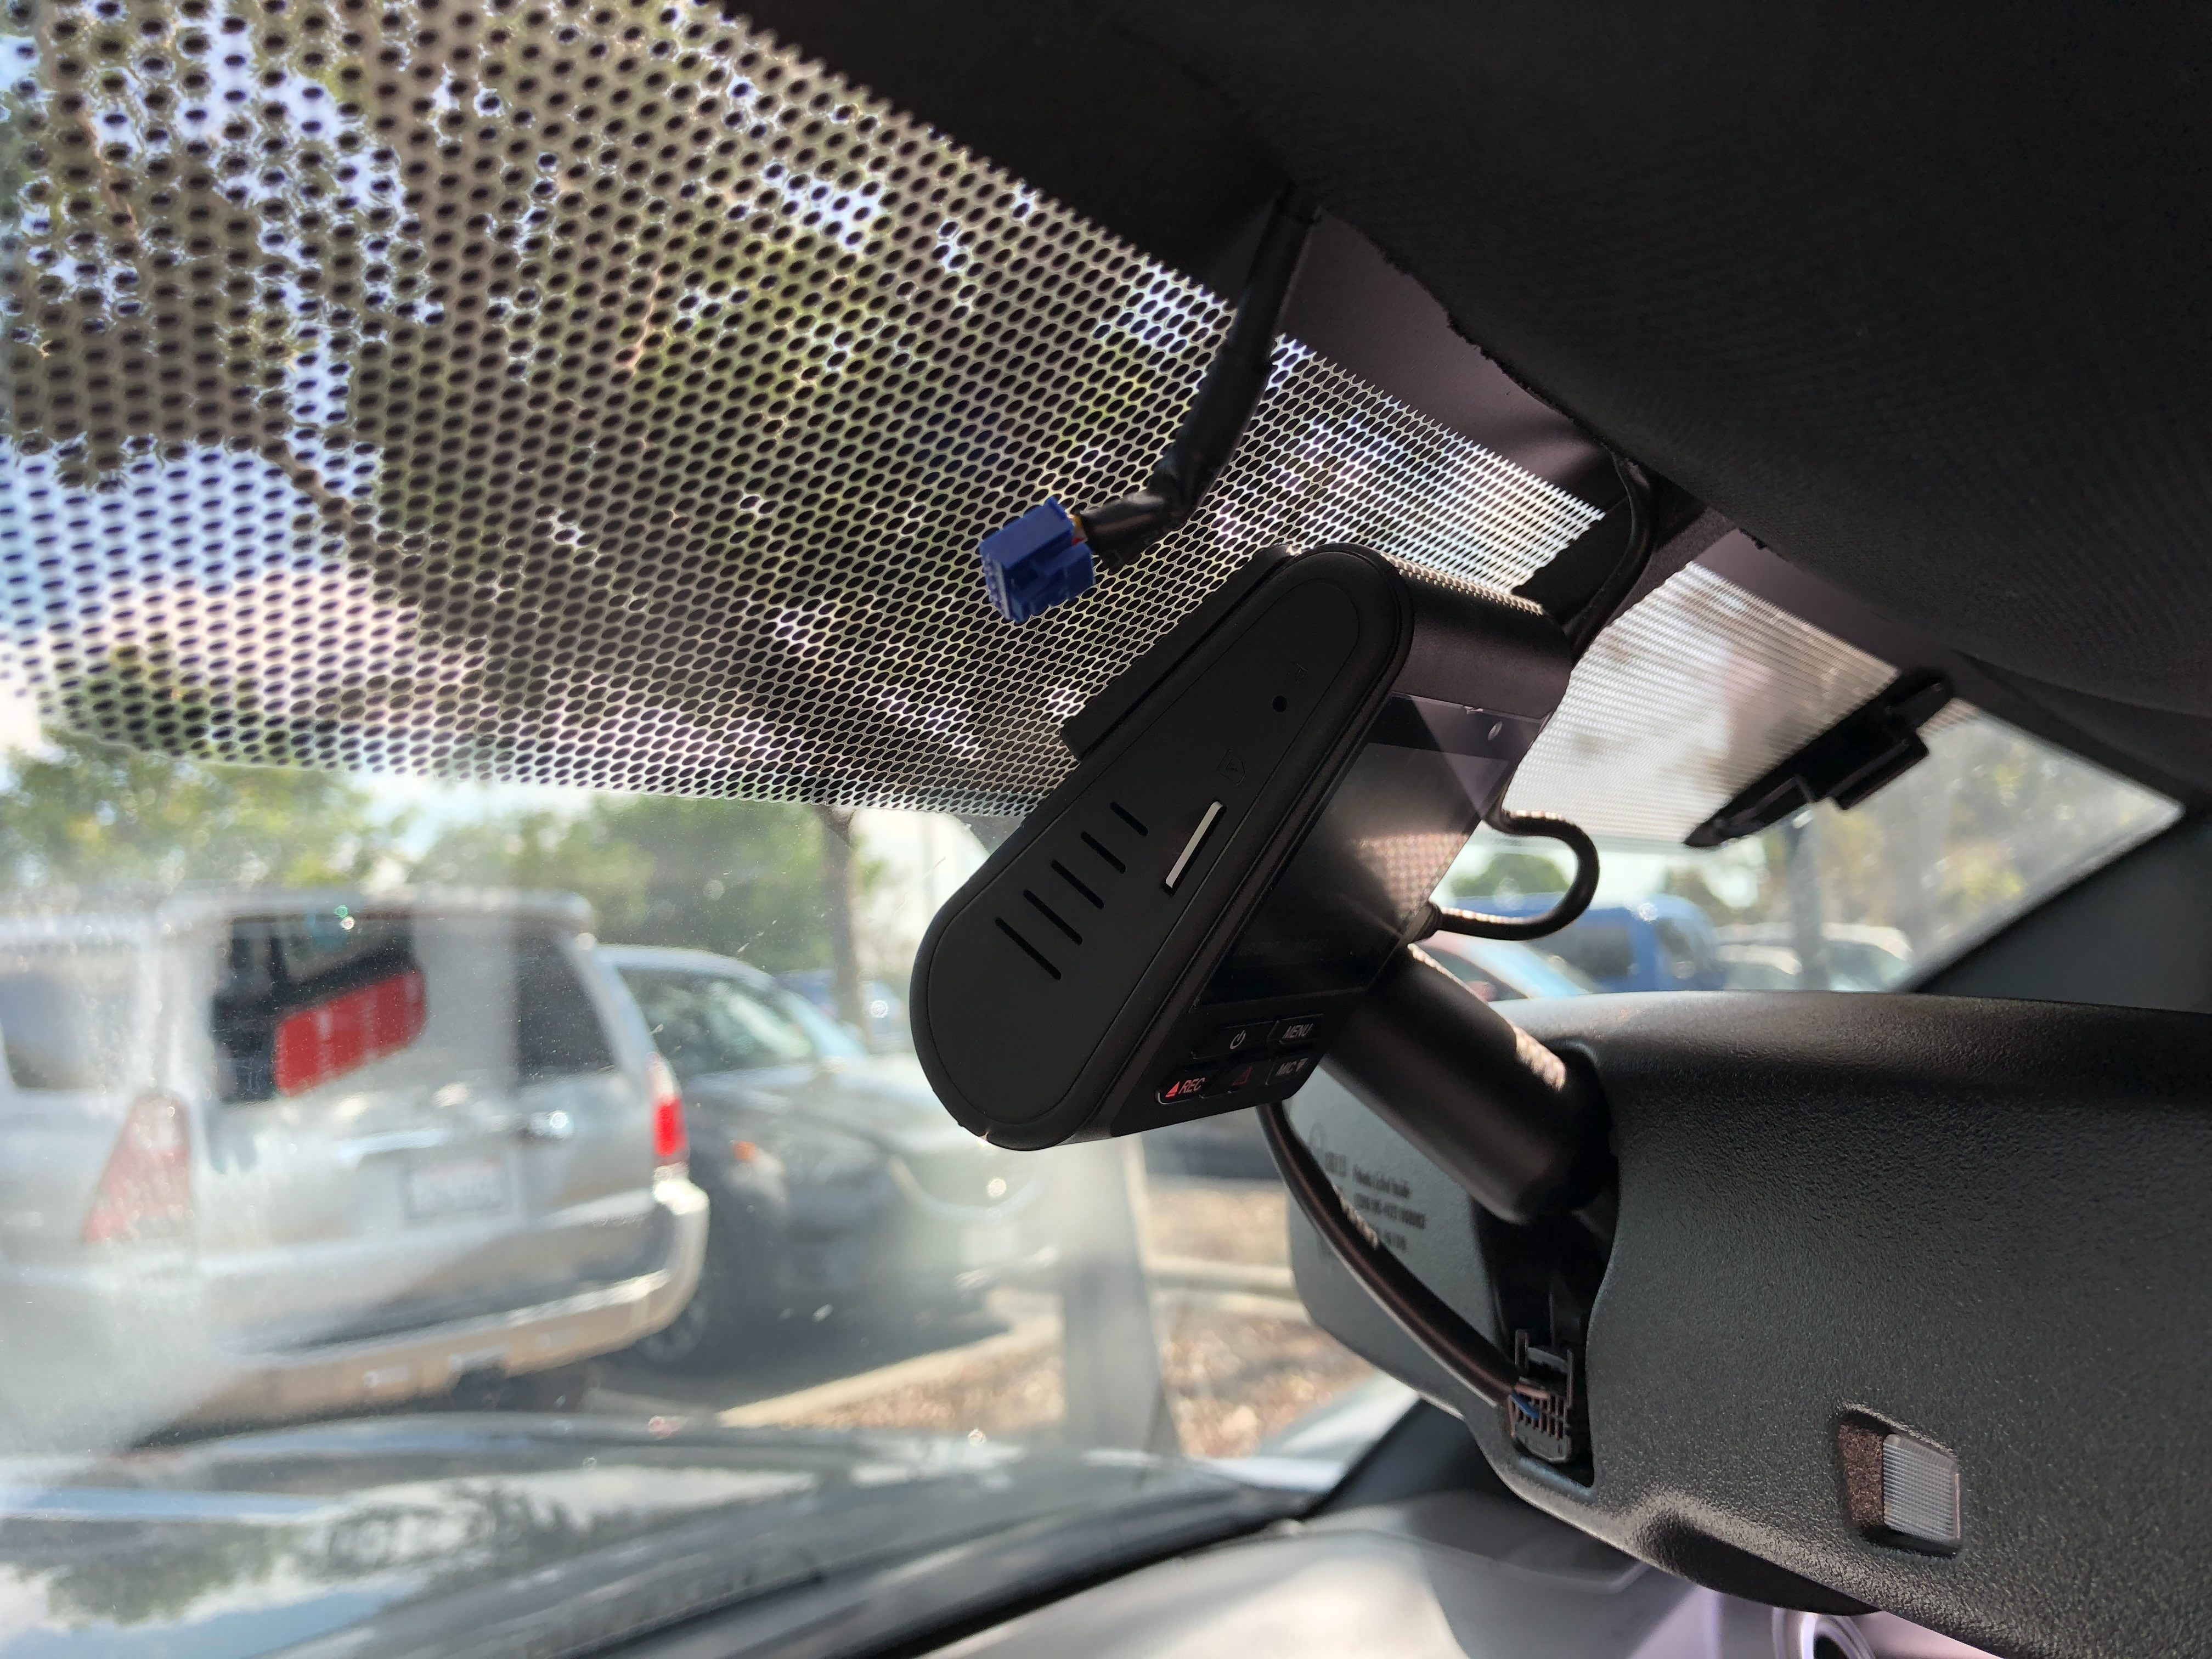
Can barely tell there's a camera.
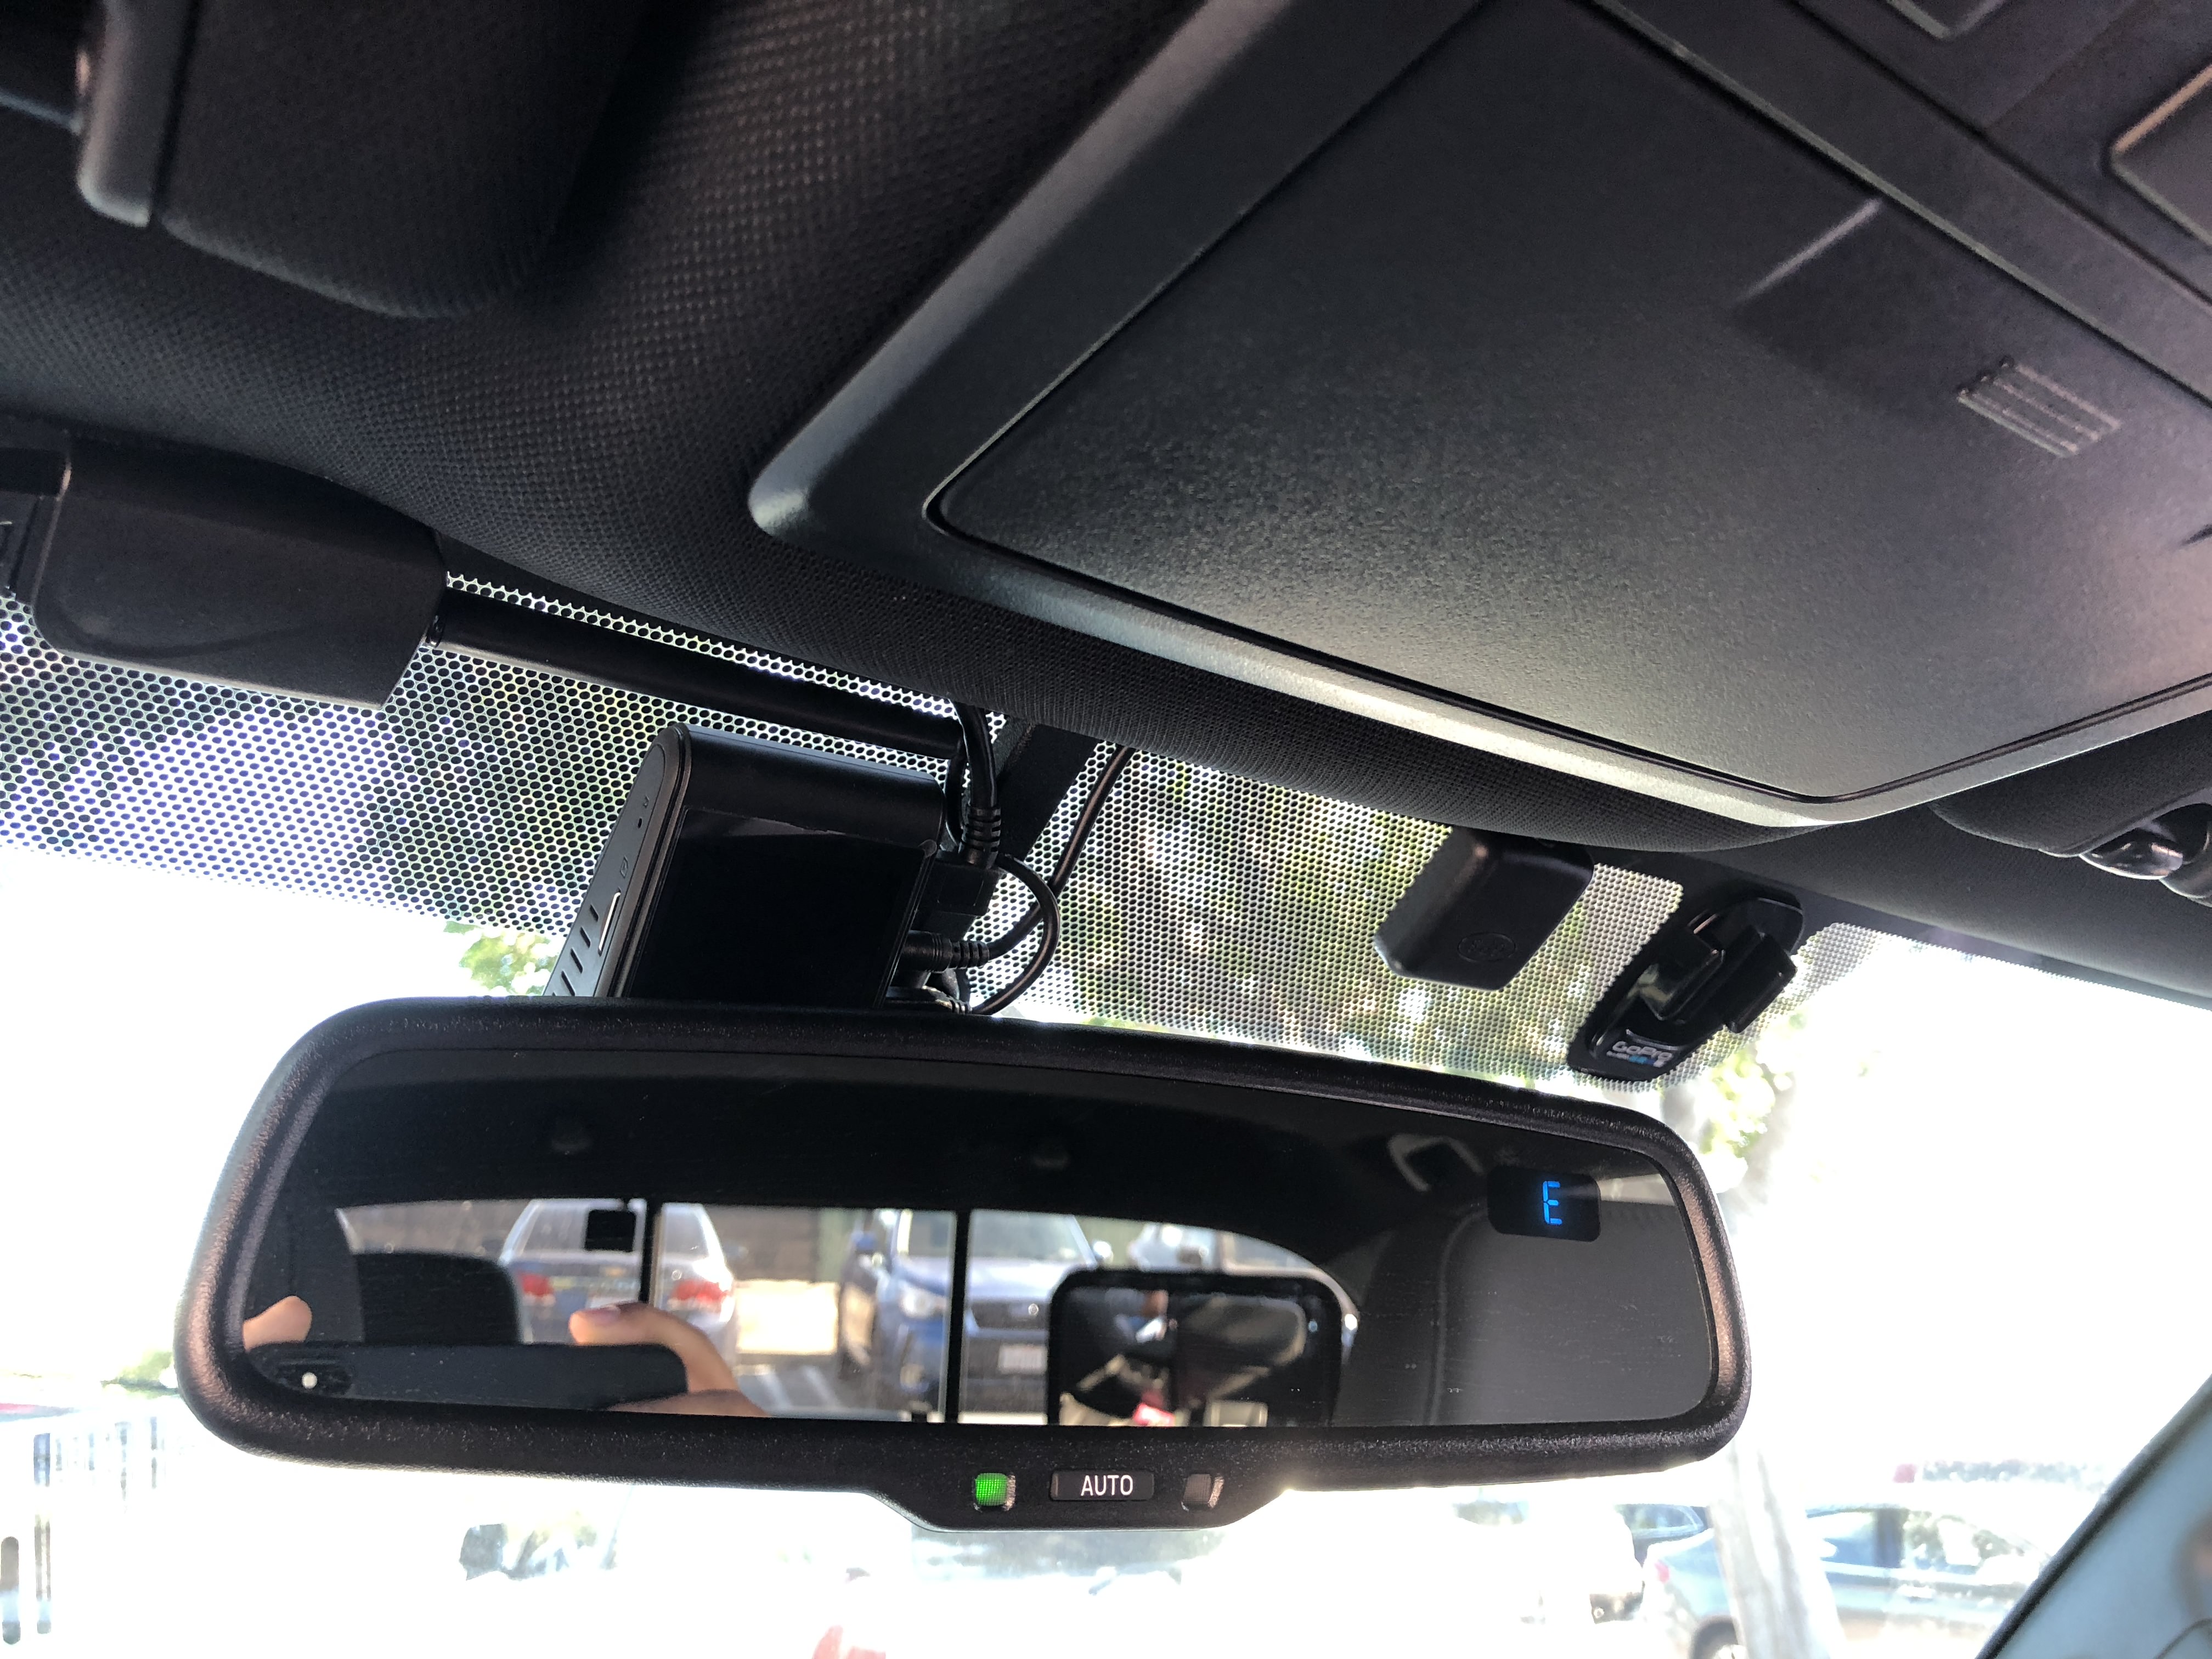
I have the Drone Mobile antenna on the left. The dash cam center, and the dash cam GPS antenna beside the GoPro mount.
I have just enough room below the rear view mirror to hit the Event/Emergency button If I catch anything juicy. Pressing the E button will lock the current file in record and move it to a protected folder so that it does not get overwritten.

I love this! I can watch and save clips on the fly if needed.
DISCLAIMER: The power cable is on the bottom. I am using an old power cable from the 9665GC model I had. The new dash cam comes with a 90* tip. See the top cable for reference. I didn't want to remove and rewire as the straight plug did not bother me. The box also includes an extension cable with a 90* plug for the GPS Antenna. Again, I did not use it here.
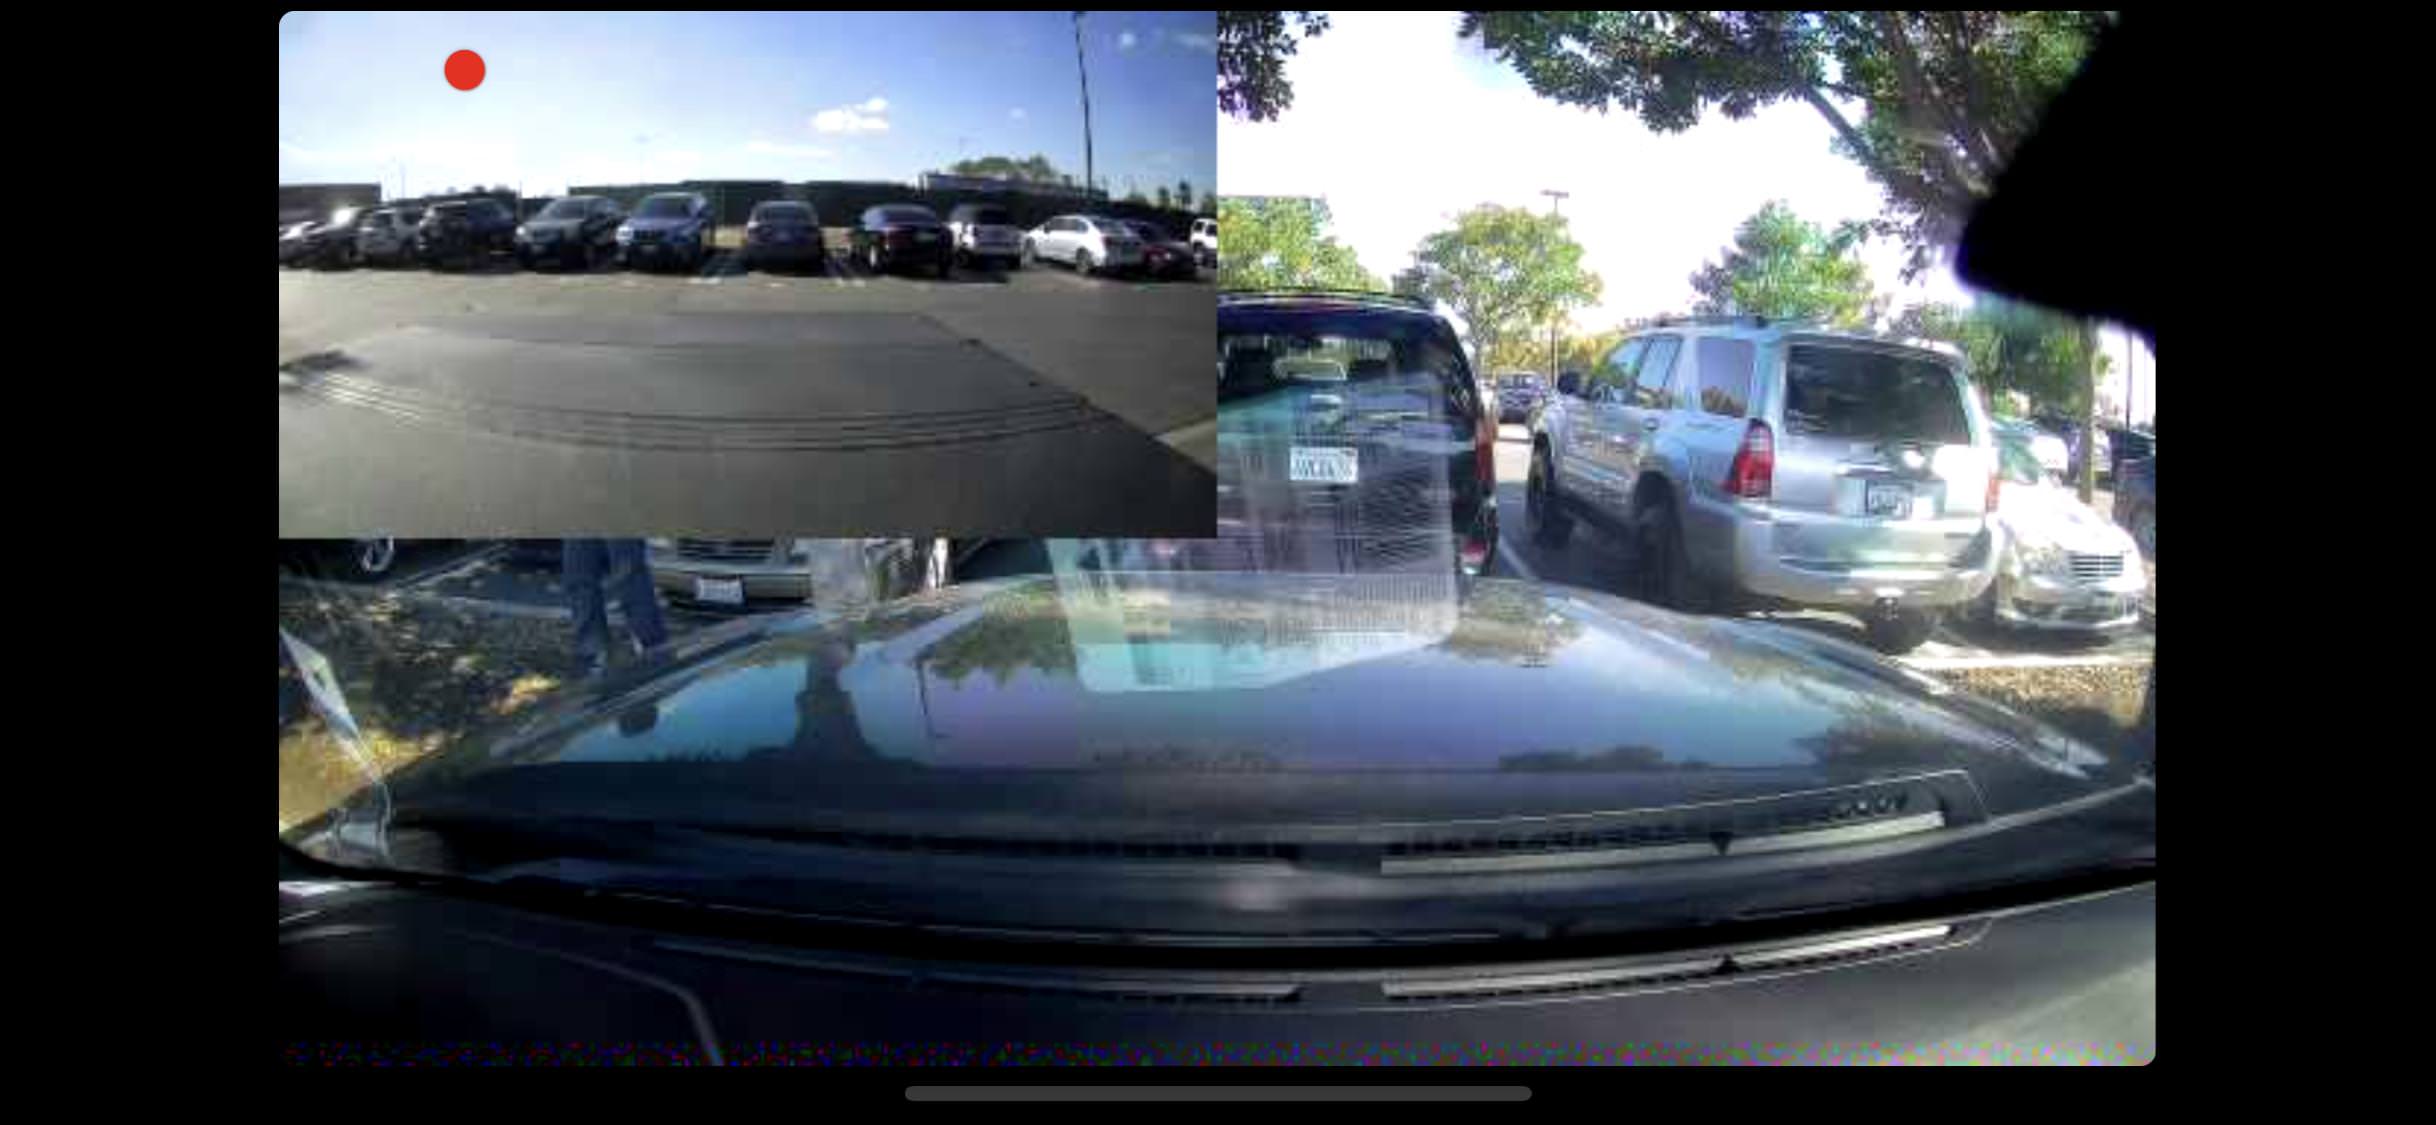
Screenshot from NovaCam iOS app. NovaCam is not the official app for this cam, but it works well enough. I don't know if there is an app being developed exclusively for this camera. There are a couple other apps for both Android and iOS I saw listed on the Dash Cam forums.
Finally, here's a 6 minute long video showing two 3 minute clips of the front and rear camera.
Read the description from the YouTube link. I will be removing the CPL Filter because of the tint on my windshield. I didn't have an issue with glare before and I don't like the WB and rainbow effect it's causing.
https://youtu.be/Xsb9da3l-ow
I've been and still am a huge fan of Street Guardian brand of dash cams, even before dash cams were cool in Russia.
Anyway, i've had multiple models and finally got my hands on the latest version, a dual channel model with wifi.
There are a lot of good cams out there, but I stick with SG because it's been the most reliable and stable of the bunch.
First, Specs:
https://streetguardian.cam/sg9663dc
Second, the install. It took me about 1 hour to complete.
The kit includes power cable with 90* plug, 3m (~9.8 feet) usb cable to connect remote camera, GPS Antenna, extension cable with 90* plug for GPS Antenna extra 3M VHB double sided tape, wire clips, stickers, Clip-on CPL Filter, dash trim prying tool and a quick start guide.
Cable with blue clip is not part of the dash cam install. It's for my Drone Mobile GPS antenna. Using the tool provided, I simply tucked the wire into the headliner towards the A Pillar.
Once I reached the A Pillar, I used the trim/prying tool to put the cable behind the plastic cover going to the rubber seal.
There's plenty of room behind the rubber strip. This is for the power cable so work your way down tucking the cable in.
The kick plate trim is easily removed by a simply pulling up. Remove this first.
Then reach in the back by the foot rest and pull on the tab that is securing the plastic cover then remove.
This is where I wired my PowerMagic Pro to the a couple of fuses using fuse taps for a clean install. I cannot for the life of me remember which two fuses I tapped into. You'll need to tap into an always on fuse and one that's powered when the key is in the ACC mode and finally a ground. I used the nearest screw that was metal on metal for the ground wire.
The PowerMagic Pro allows you to wire direct and clean install. It also allows you to run the dash cam straight from the battery, but it also has a built in voltage meter so the battery doesn't die. There are new hard wire kits that install direct to the fuse taps, but I've had this device for over 6 years now so I'll keep using it. The only thing BlackVue produced that wasn't ****.
Here, I've secured with electrical tape and zip tied the excess cable and tucked in.
Once taped and tucked away, put the cover back on. Here i put the switch mounted at the top of the plastic cover. This switch allows me to run the dash cam with the engine off. It has a built in voltage meter to turn off the dash cam so the battery does not drain.
Positioned and secured the new dash cam and power plugged in. Now I run the wire for the rear channel camera. I do the same, tuck the wire in the headliner and work my way to the A Pillar.
Once I reach the rubber seal, I continue to the B Pillar.
Keep going...
The wire tucks in nice and snug, all the way to the end. The cable was just long enough with maybe a few inches to spare. There is an optional 6m (20 feet) cable, but it won't be necessary for this application.
Can barely tell there's a camera.
I have the Drone Mobile antenna on the left. The dash cam center, and the dash cam GPS antenna beside the GoPro mount.
I have just enough room below the rear view mirror to hit the Event/Emergency button If I catch anything juicy. Pressing the E button will lock the current file in record and move it to a protected folder so that it does not get overwritten.
I love this! I can watch and save clips on the fly if needed.
DISCLAIMER: The power cable is on the bottom. I am using an old power cable from the 9665GC model I had. The new dash cam comes with a 90* tip. See the top cable for reference. I didn't want to remove and rewire as the straight plug did not bother me. The box also includes an extension cable with a 90* plug for the GPS Antenna. Again, I did not use it here.
Screenshot from NovaCam iOS app. NovaCam is not the official app for this cam, but it works well enough. I don't know if there is an app being developed exclusively for this camera. There are a couple other apps for both Android and iOS I saw listed on the Dash Cam forums.
Finally, here's a 6 minute long video showing two 3 minute clips of the front and rear camera.
Read the description from the YouTube link. I will be removing the CPL Filter because of the tint on my windshield. I didn't have an issue with glare before and I don't like the WB and rainbow effect it's causing.
https://youtu.be/Xsb9da3l-ow
Last edited: