krelvin
Member
- Joined
- Feb 16, 2017
- Messages
- 65
- Reaction score
- 34
- Location
- Mesa AZ USA
- Country
- United States
- Dash Cam
- Mobius, VIOFO A119 V2
So, after a couple short trips with my new Mobius I think a polarized lens filter would be a good idea.
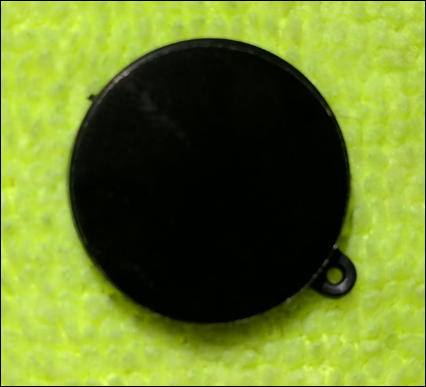
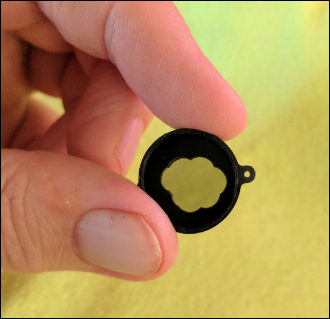
I've seen a number of posts and videos showing how other have done it and to be honest, most of them require tracing the lens cap, and then using a knife or scissors to get the material the right size. In my uncoordinated attempt to put a hole in the lens cap that came with the camera, I kinda destroyed it (to say the least). Doing it this way might work, but it would not be pretty. My hands are too big to work on something that small.
So I shelved the idea for a while until I was watching my wife make some crafts using a 1" paper hole punch. Wonder if those come in other sizes. Yep. An idea forms.
Here in the US, everything is in inches, the choices for punches were somewhat limited and there are not many options. However, two of them appear to be the right size to work so I got two, One 1/2" and the other 3/4".
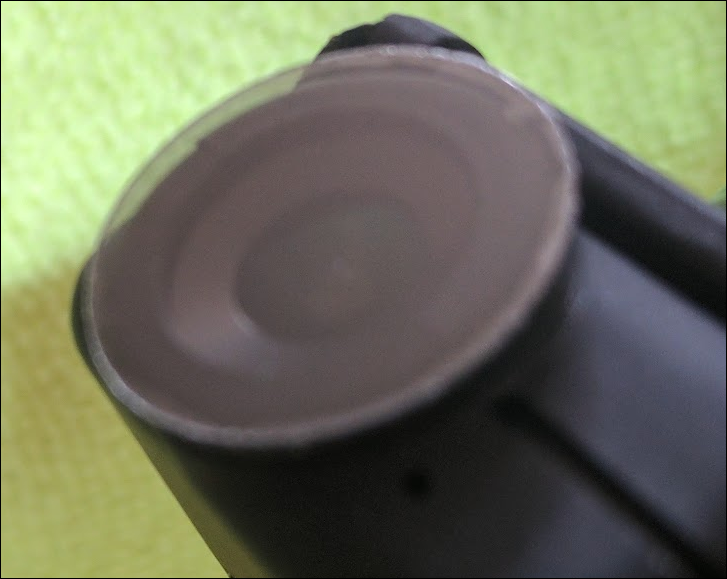
The 1/2" size actually is just about the size of the lens area itself and the 3/4" is just a tad bit wider than what the lens cap should be (don't have one to compare at the second).
So I got the following supplies:
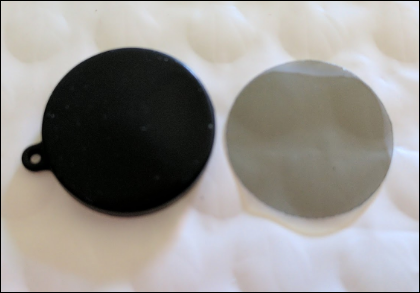
So here is the camera, the punches and two pieces of film that was punched out using the two sized punches.
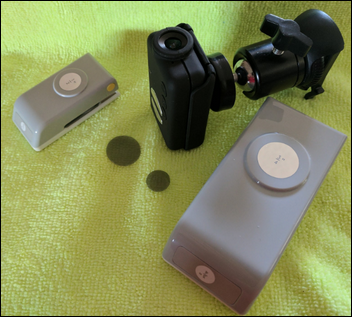
Shows the camera, the two hole punches and punched film from the two sizes.
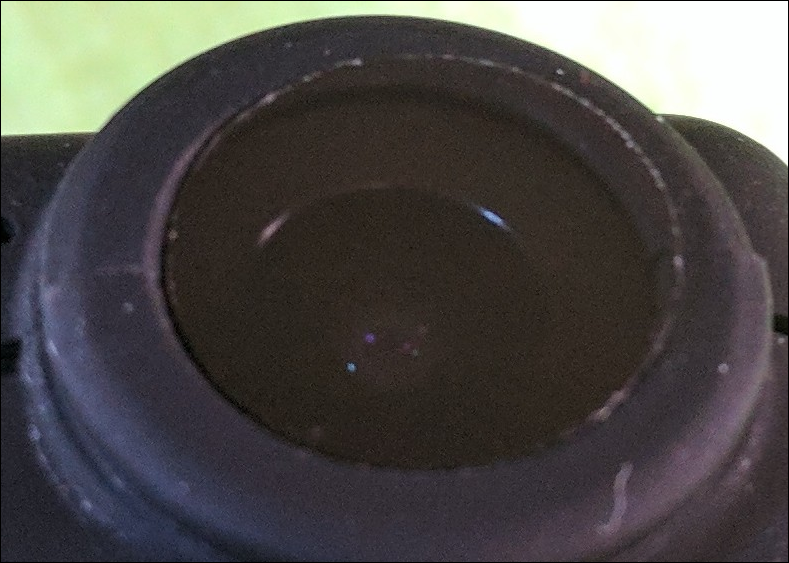
What is interesting is that the 1/2" is just about the size of the entire glass lens area on the camera (so the right size to cut out of the lens cap.
The 3/4" piece is just a tad bit larger than what the lens cap should be though I won't know until they actually arrive.
Note that the film still has the protective film on it (both sides). Unfortunately, the image is a bit blurry.
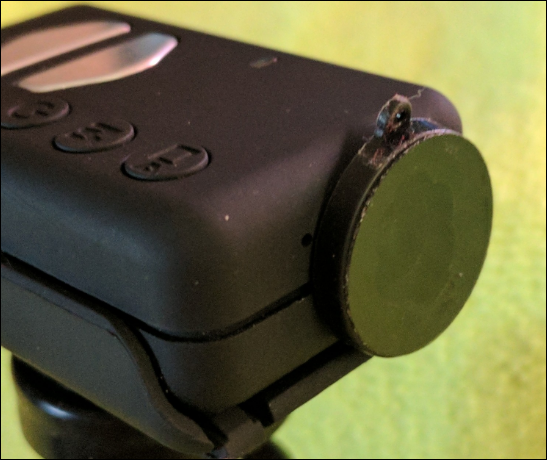
So the idea is to use the 1/2 punch to make a hole in the lens cap itself in the center, then using super glue glue the 3/4" piece on to the outside of the lens cap. If I do it right, I can get the tab on the lens cap to help me know what rotation to use for best performance.
The single hole punch is if I can't use the 1/2" one, I will just use it in the center and walk it out until the hole is large enough, but I think the 1/2 one will work.
With it on the lens cap, I can then using the tab as a guide, put the polarized lens on the camera accurately each time and be able to remove it if I am driving at night time.
Looks like the replacement caps will be here in a few days and I will be able to give this a shot.
I've seen a number of posts and videos showing how other have done it and to be honest, most of them require tracing the lens cap, and then using a knife or scissors to get the material the right size. In my uncoordinated attempt to put a hole in the lens cap that came with the camera, I kinda destroyed it (to say the least). Doing it this way might work, but it would not be pretty. My hands are too big to work on something that small.
So I shelved the idea for a while until I was watching my wife make some crafts using a 1" paper hole punch. Wonder if those come in other sizes. Yep. An idea forms.
Here in the US, everything is in inches, the choices for punches were somewhat limited and there are not many options. However, two of them appear to be the right size to work so I got two, One 1/2" and the other 3/4".
The 1/2" size actually is just about the size of the lens area itself and the 3/4" is just a tad bit wider than what the lens cap should be (don't have one to compare at the second).
So I got the following supplies:
- A4 sheet of Linear Polarized film. 0.56 ounces weight.
- 1/2" Paper Punch
- 3/4" Paper Punch
- Two sets of 2 replacement lens caps (not here yet)
So here is the camera, the punches and two pieces of film that was punched out using the two sized punches.
Shows the camera, the two hole punches and punched film from the two sizes.
What is interesting is that the 1/2" is just about the size of the entire glass lens area on the camera (so the right size to cut out of the lens cap.
The 3/4" piece is just a tad bit larger than what the lens cap should be though I won't know until they actually arrive.
Note that the film still has the protective film on it (both sides). Unfortunately, the image is a bit blurry.
So the idea is to use the 1/2 punch to make a hole in the lens cap itself in the center, then using super glue glue the 3/4" piece on to the outside of the lens cap. If I do it right, I can get the tab on the lens cap to help me know what rotation to use for best performance.
The single hole punch is if I can't use the 1/2" one, I will just use it in the center and walk it out until the hole is large enough, but I think the 1/2 one will work.
With it on the lens cap, I can then using the tab as a guide, put the polarized lens on the camera accurately each time and be able to remove it if I am driving at night time.
Looks like the replacement caps will be here in a few days and I will be able to give this a shot.
Last edited: