How-To: Connect A Hardwiring Cable To A Dash Cam Battery

rcg530

Well-Known Member
Joined
Jan 23, 2021
Messages
1,552
Reaction score
2,594
Location
California
Country
United States
Dash Cam
BlackVue, Thinkware, VIOFO, Vantrue, Blueskysea, FineVu
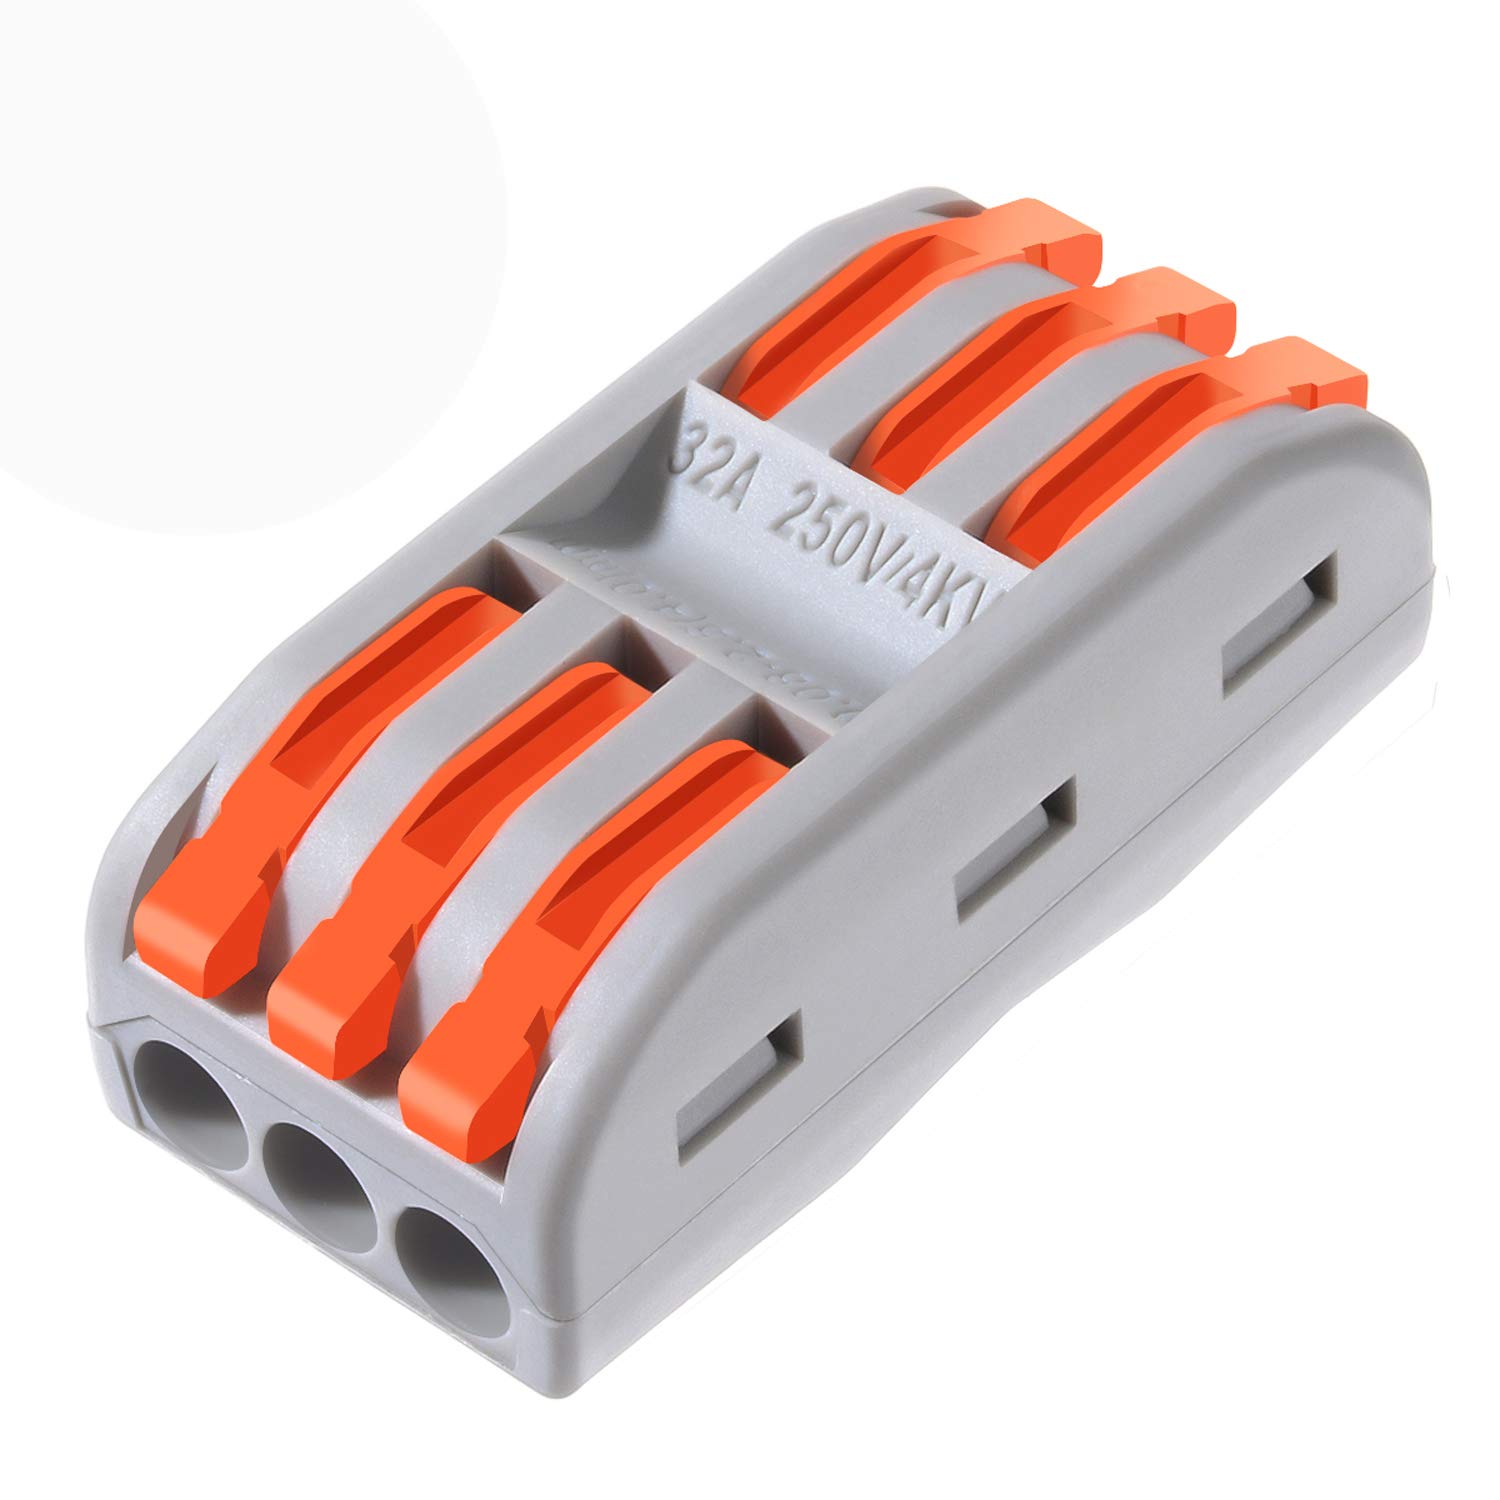
If you want to power your dash camera using a dash camera battery pack as its power source, you may need to purchase a dash camera battery pack output power cable or make one yourself.

I show you how you can connect your dash camera's hardwiring cable to most of the popular dash camera battery packs manufactured by EGEN.

 
I read a tweet by @Vortex Radar where he stated he was hoping to find a way to simplify the process to review dash cameras. Running wires through your car to test dash cameras is a real pain and it can consume a fair amount of time as you swap in and swap out dash cameras.

The one thing that seems to have helped the most to simplify my testing efforts, is standardizing on a common power connector. I decided to use the Molex connector plugs and terminal pins that are used by the dash camera battery packs that are produced by EGEN, Inc since most of the popular battery packs are produced by them and they use the same connector and terminal pin layout.

I have two dash camera battery packs in the trunk of my car and I ran the power cables from the trunk to the front / center section of the roof headliner. I terminated the power cables with the same connector that is present in the dash camera battery pack. As I get each dash camera, if I don't already have a power adapter cable ready to use with it, I'll take the hardwiring cable provided and add the Molex connector and terminal pins to the end of the wires from the dash camera wiring harness. That way I can plug in any dash camera's power cable into the pre-existing wiring I have in place from the dash camera battery packs located in the trunk.

I have created similar power cables that have the banana plugs that plug directly into my 12-volt DC power supply in my office making it just like a dash camera battery pack electrical connection. To simulate ACC+ power from the DC power supply, I have two wires connected to the "+" terminal of the power supply. I add a switch to one of the wires, which allows me to toggle the power making it look like an ACC+ power circuit in a car. I can move a dash camera from my filming / testing desk and plug it directly into the wiring in the car. Selecting and using one type of power connector for all my dash cameras has saved me A LOT of time.

When I add the connector to the end of the dash camera wiring, I of course make sure which dash camera wire color gets the BATT+ power and which wire color gets the ACC+ power. BlackVue 3-wire cables use Yellow=Batt+ and Red=ACC+ while many other dash camera companies use Red=Batt+ and Yellow=ACC+.

I just purchased another VIOFO HK4 hardwiring kit to power the A119 Mini I just received. I took a few pics of a couple of the steps in the process I go through to add the Molex connector and terminal pins to any new power adapter. The HK4 wire insulation is a bit thicker than many of the other wires from other dash camera vendors, so I had to strip the insulation back a bit further to make the wire with the terminal pin fit inside of the Molex connector. I added some wire heat shrink tubing to protect the wires.

hk4_molex_01.jpghk4_molex_02.jpghk4_molex_03.jpghk4_molex_04.jpghk4_molex_05.jpghk4_molex_06.jpg
 
Oh nice, that's a great idea!

I've got something similar set up, but I've gone about it slightly differently. I've got 5 battery packs in my car, one of which (a Cellink Neo) is dedicated to test dashcams I've got mounted on the WS. The battery pack is mounted way back in my trunk and not readily accessible so I ran extension cables into my center console armrest. The cables run to a connector that looks like this:

61E4BpEZjAL._SL1500_.jpg

I ran my 3 wires into one end and then I can run the dashcam's hardwire cables into the other end. I basically ensure the cable tips are stripped, slide them into the appropriate hole, and clamp down the orange lever and that creates an easy to use temporary power solution for any hardwired dashcams, especially when I wanna test parking mode too.

I've only tested it with the Blueskysea B4K so far and found out the hardware that that dashcam is only compatible with wiring directly into your car battery, lol. It doesn't work with a dedicated battery pack for some reason. Nevertheless, it should be good with most other dashcams.
That's a creative idea as well! About the B4K hardwiring kit, I used mine with a 12-volt DC power supply and it worked okay. The B4K is currently installed in a 2006 Toyota Highlander Hybrid via fuse taps, otherwise I would pull it out to test with my dash cam battery packs.
 
Back
Top