I always wanted to get an in-car camera to safeguard myself in an event of an accident and it is always good to have a justification of my words against the other party. One day, I chance upon an opportunity, which allowed me to review a brand new product. What makes it more exciting is that it is designed and manufactured in Korea.
To know more on the product, you may refer to its official web site, IROAD V7.
As follows are some of the observations that I have made throughout my user experience.
IROAD V7 unboxing process (First impressions)
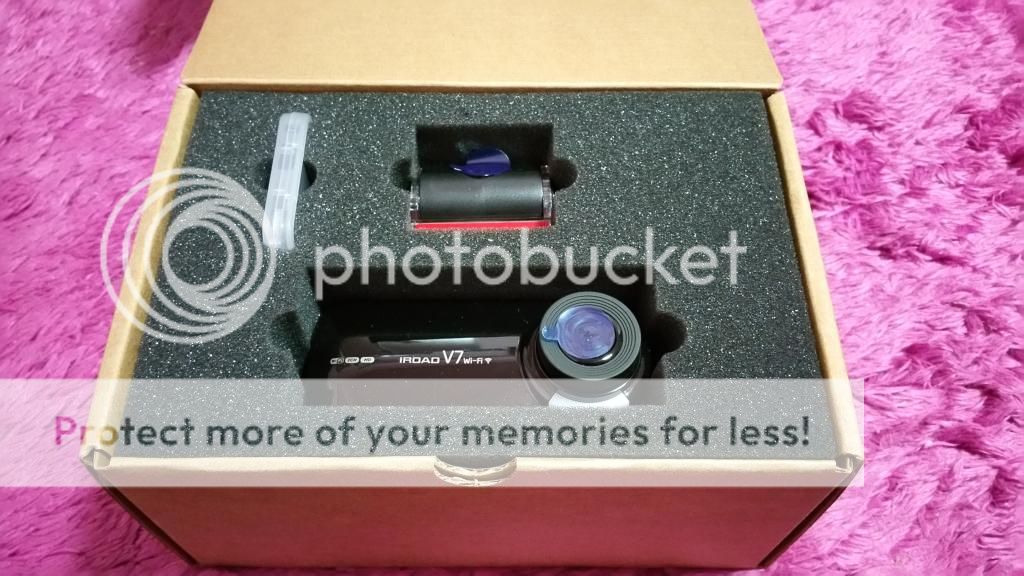
Opening the box, you can see the front camera (the camera at the bottom) and the rear camera (the camera at the top) and the microSD card (the translucent plastic container). This is a 2-channel in-car camera kit.
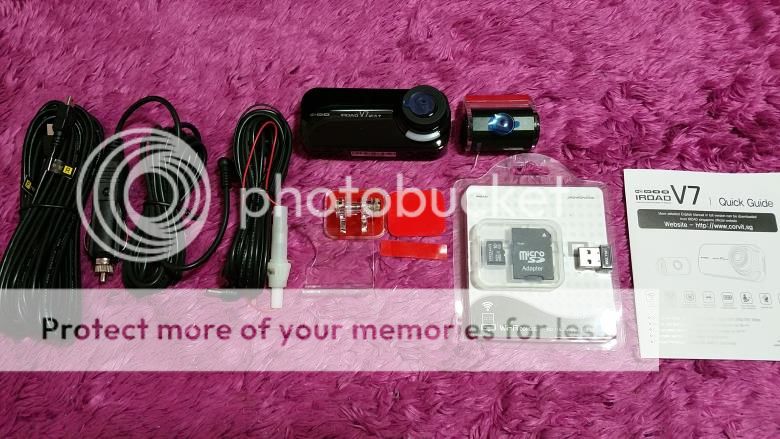
The kit comes with
· front/rear cameras
· a 16GB microSD memory card and adaptor
· a “transparent cradle” for front camera
· a wifi dongle
· an IROAD V7 quick guide
· 3 sets of wires
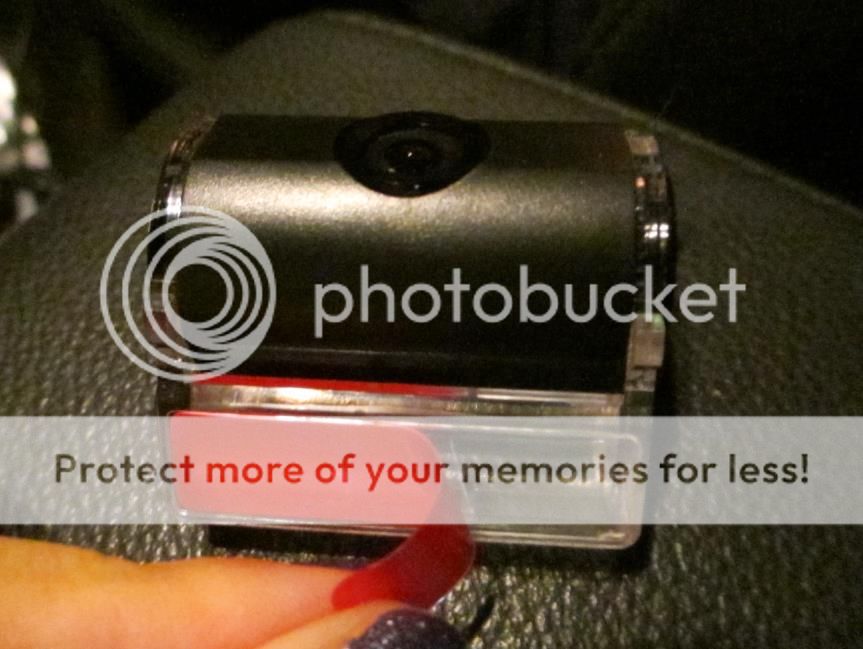
After holding the camera examining it, it felt very light but the material of the body seemed low quality in my opinion.

Installation Process
There is no user manual to guide you through the installation. The quick guide provided only guides you in setting up the mobile application (will be explained in more details later) and the PC viewer which you will need to for backing up your videos.
But no worries in regards to that as I understand, you can request for them to install for you. They can directly connect the cameras to your car battery and at least it wont look as ugly as how I have done it.
Now, back to installing the IROAD V7… find a better helper to assist in setting it up in the car if you are the hopeless one…like me. I called for help.
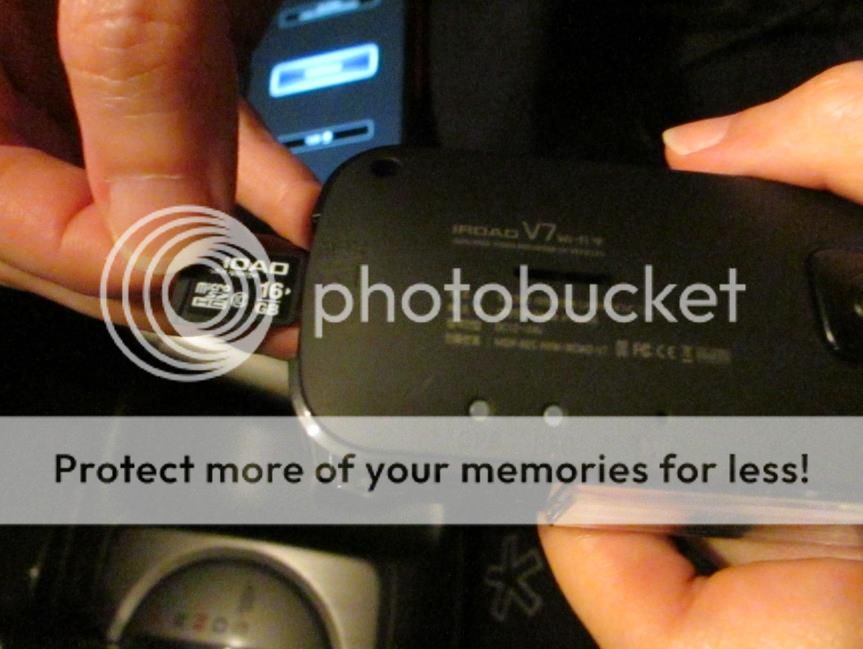
Great that it comes with free 16GB microSD card which is to be installed into the camera. The maximum capacity of external storage is at 64GB.
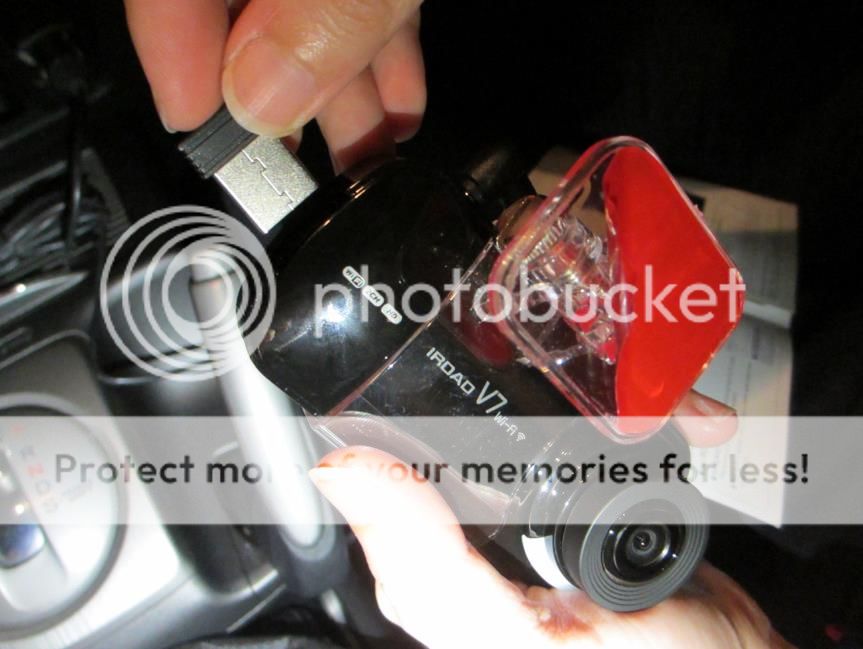
Next, plug in the “Wi-Fi USB dongle,” which allows user to be connected to Wi-Fi, users are able to watch live screen/saved recordings and change settings through the IROAD app.
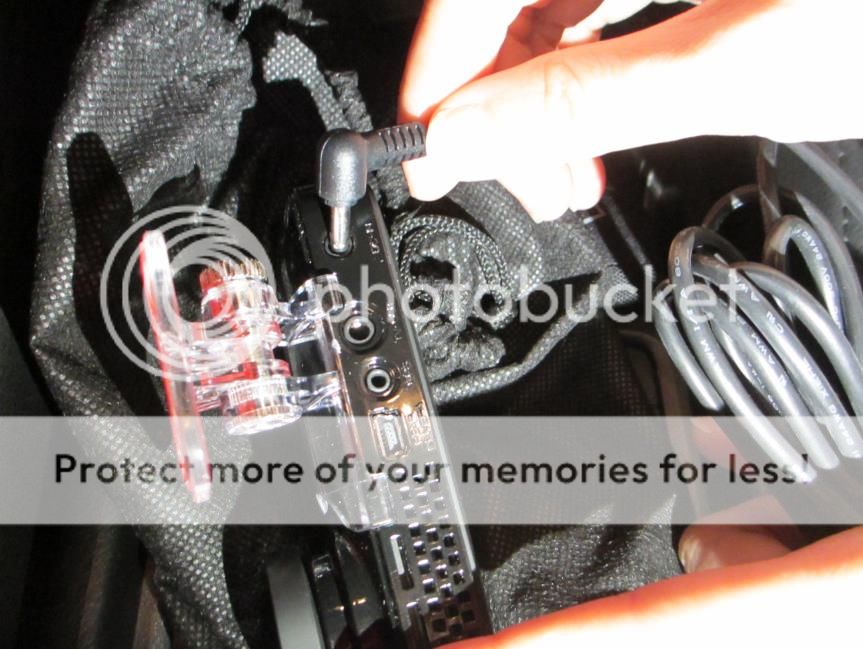
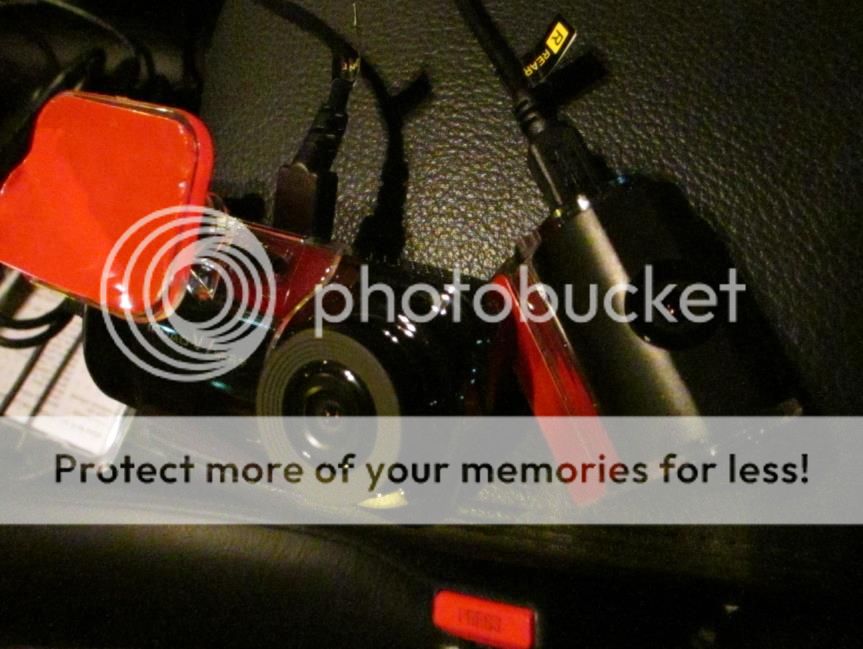
Next, connect one end of the power jack into the front camera.
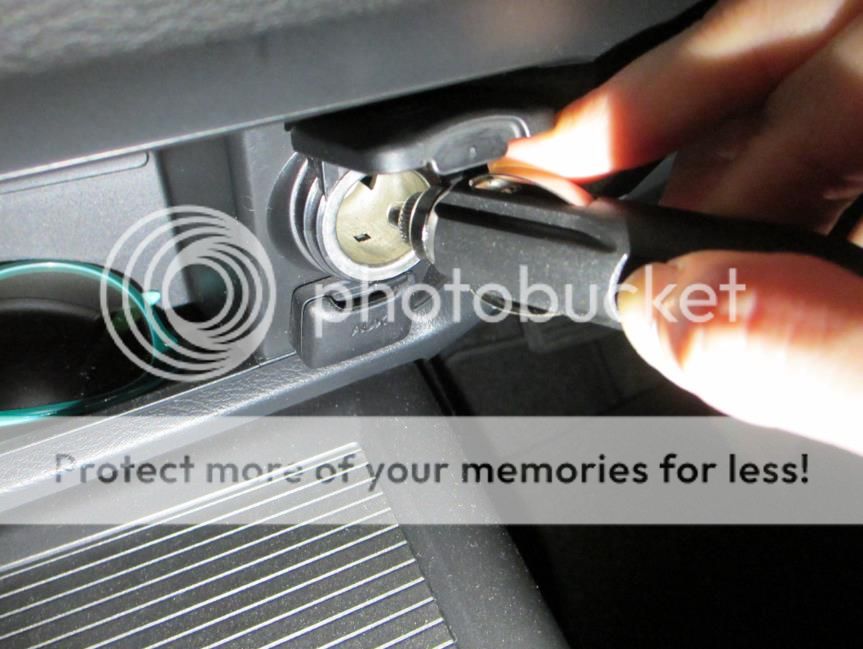
Next, connect the other end of the power jack into the socket source.
The front camera comes with a “transparent cradle” that helps to holds the camera and allows easy mounting to the windscreen through the red tape.
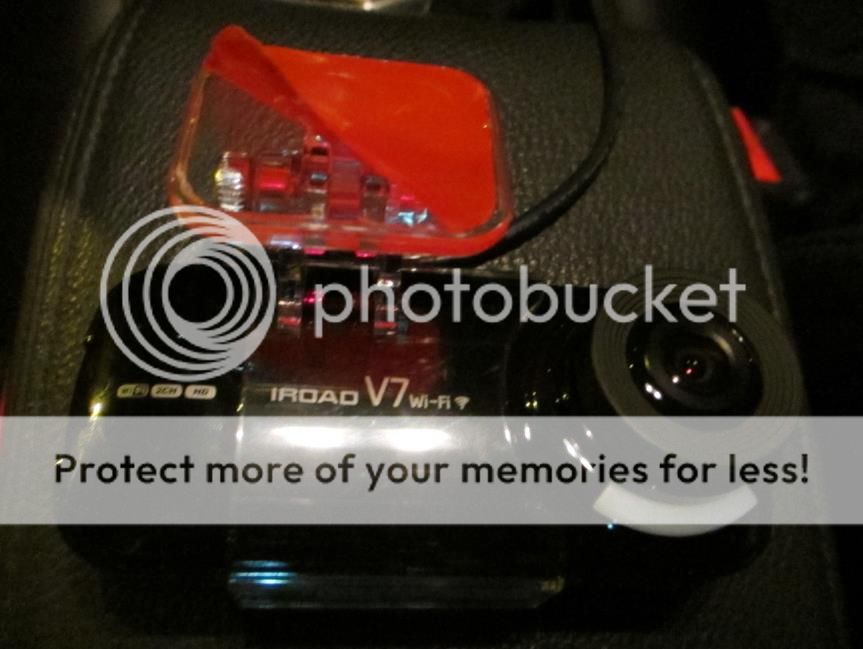
The red tape acts like a double-sided tape and it is indeed very sticky and took me a long time to tear it away.
Subsequently, I also tear the sticker for the rear camera and get ready for mounting.
I uncoiled the “rear camera cable” and connect each end of the cable to both the front and rear camera respectively.
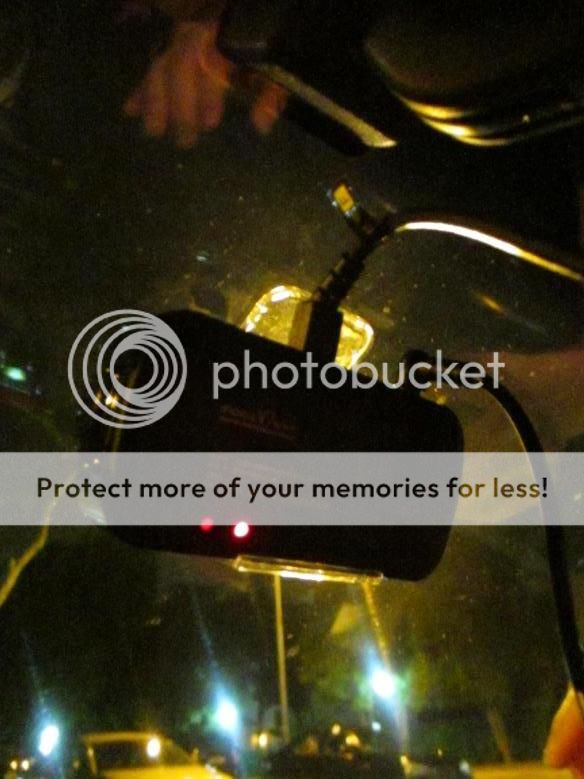
This was taken from inside the car after mounting the front camera to the windscreen. It is easier to have two people installing the device if you are DIY-ing, so that one person can help to see the adjustment of the camera.
A point to note, once you finished installing, use a coin and try to screw and tighten the nut at the side of the cradle after you adjusted the angle of the camera to your liking.
Why is there no viewing screen on the front camera? How would I know if it is switched on, connected and functioning correctly????
So you need the IROAD mobile app.
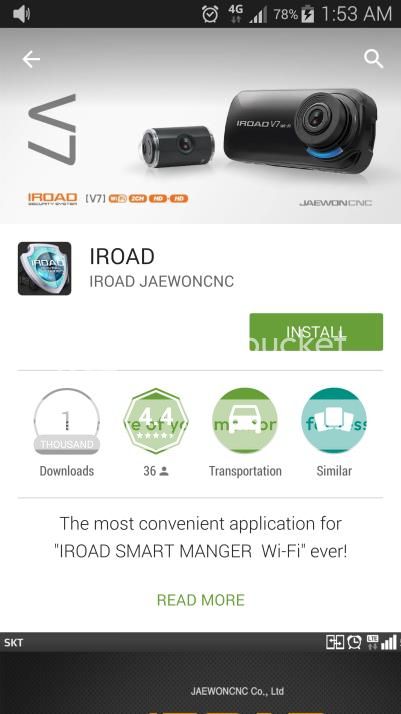
While my right-hand man was mounting all the cameras, I proceed to install the IROAD app from the “Play” store (since I am an android user). Similar app is available for Apple user too.
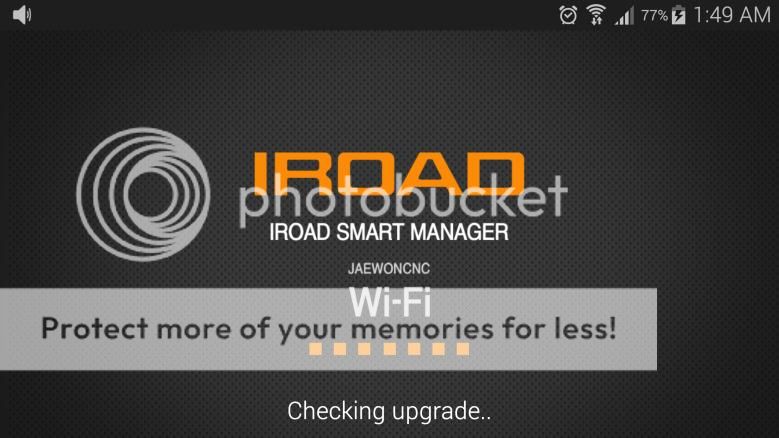
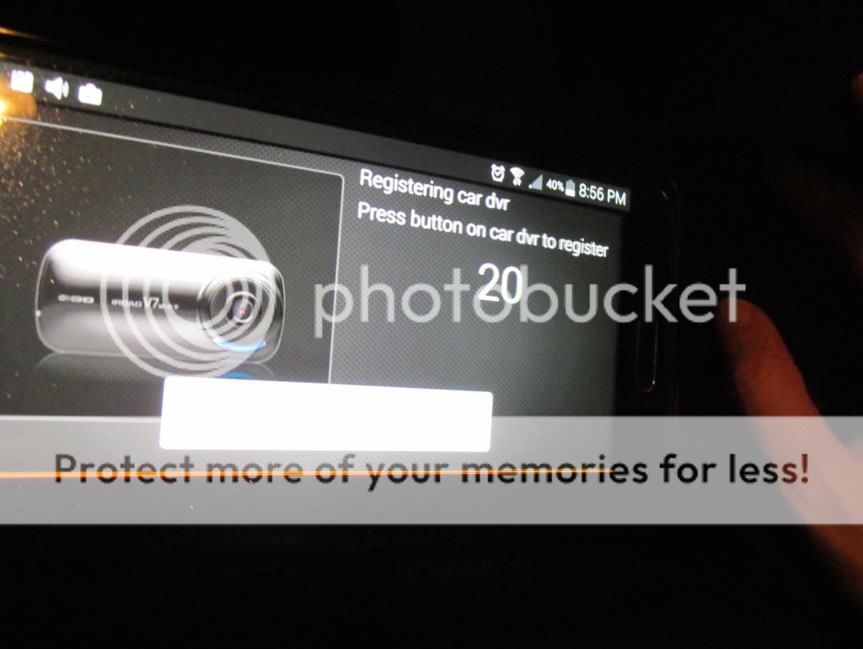
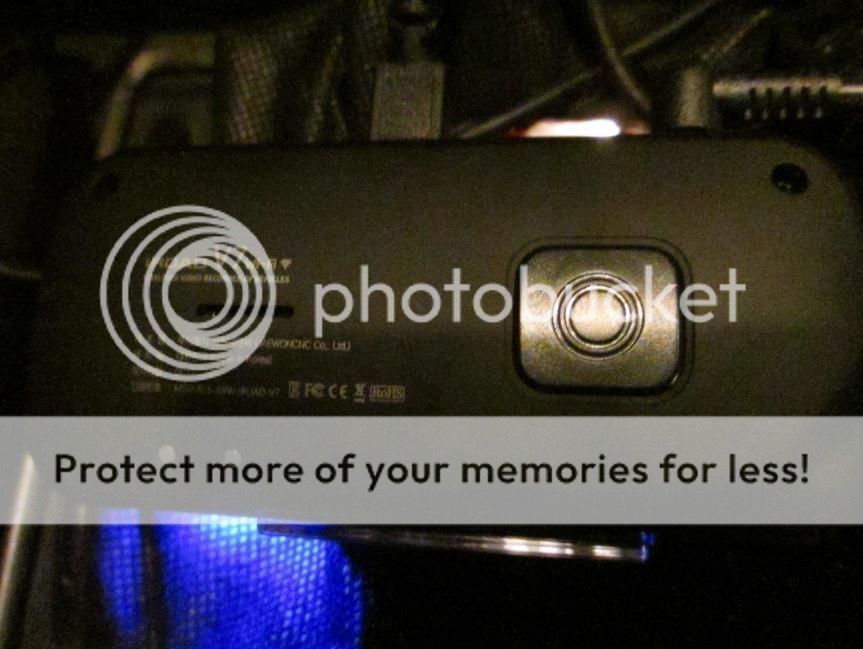
Press this button on the back of the camera and the app will then prompt you to the next screen.
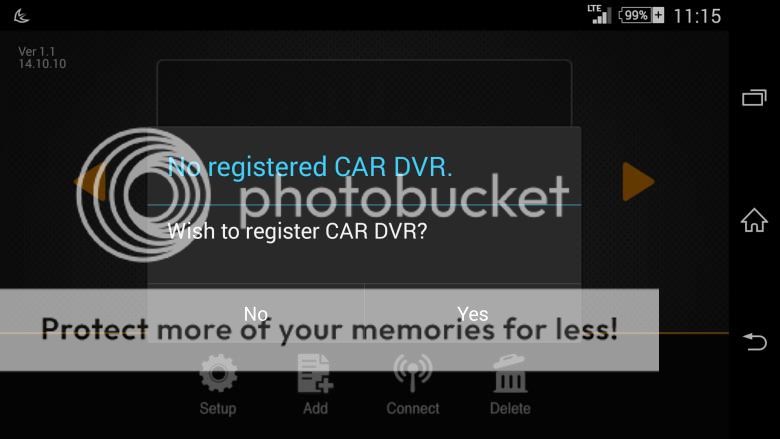
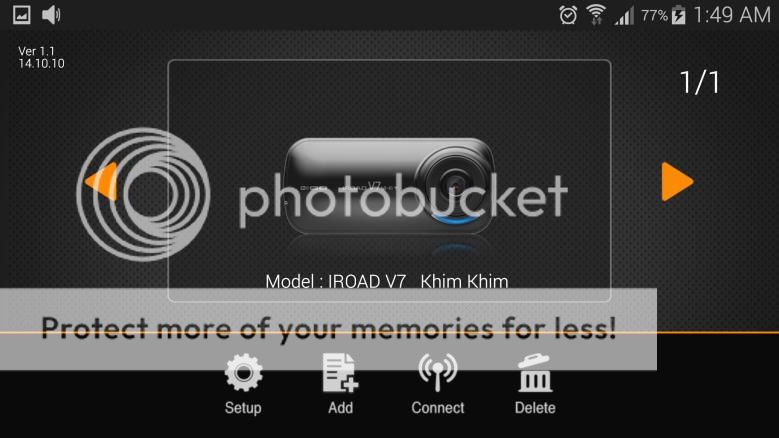
Once registration is complete, there will be a screen for you to select “connect.” Within less than a minute, my mobile was projecting the images captured from my front camera.
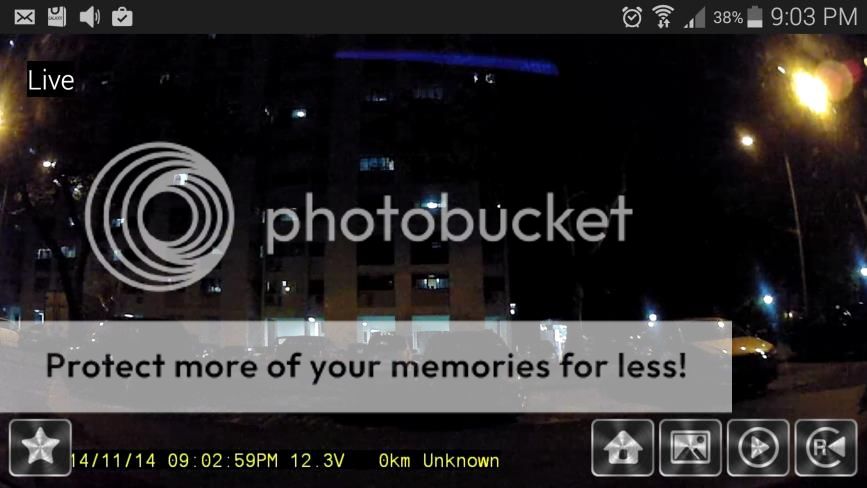
A screenshot of how the app looks like on your mobile. You can take screenshots. You can also switch easily between the front and rear view cameras. User-friendly! I give the app a thumbs-up!!!
The device will prompt me that it is recording the moment that the car is ignited. So, it is an additional option for user to choose to be connected to the app to get real time video-ing or they can chose to have a device that does the recording without having a screen that might distract you while you are driving.
Recording Review
IROAD viewer software for PC can be found in the microSD card which comes with the in-car camera. After setting up the viewer, I can view my recordings in the microSD card and save as the format I need for backup.
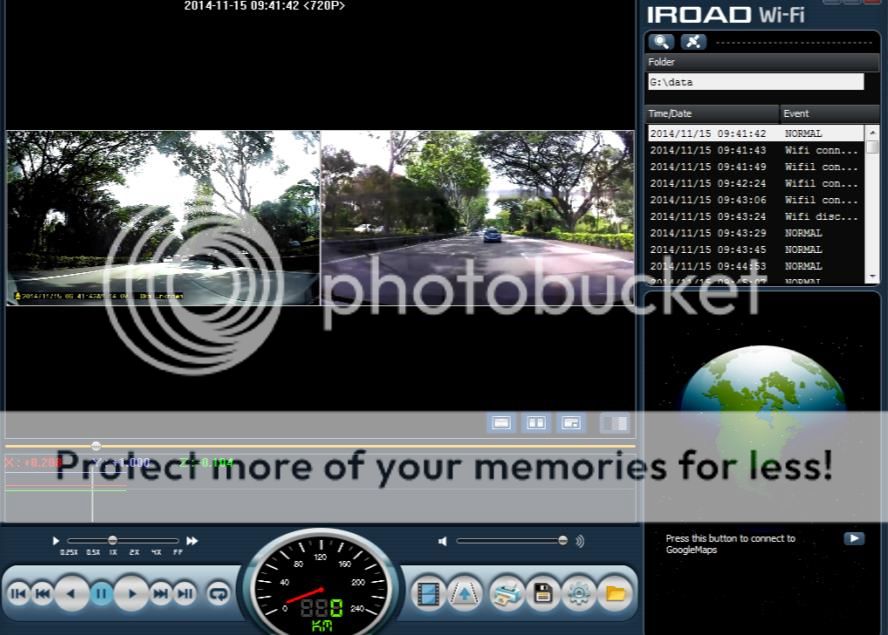
The image above shows the view from the PC viewer. I saved the videos I want using the backup button. This application is user friendly and easy to use. Didn’t take me too long to figure out how to view front camera view, rear camera view and saving the videos into avi format for backup in my PC.
Day time recording – Front camera, 30fps
Day time recording – Rear camera, 30fps
Day time recording – Front camera, raining, 30fps
Day time recording – Rear camera, raining, 30fps
Both recordings from front and rear cameras were very clear in the day. You can make out the car number plate easily. I really like the wide angle of the cameras, it gives a good coverage.
Night time recording – Front camera, 30fps
Night time recording – Rear camera, 30fps
I expected the night recordings to be clearer than what I have based on their website. It was a bit disappointing. I will not be able to make out number plates but still able to see images, just grainer.
In the videos, you can see the date and time stamp, which is absolutely important when you want to use your videos as evidence.
Conclusions
The front camera is not the sleekest of design when compared to Pittasoft Black vue or Itronics in-car cameras. However, it still hides well behind my rear view mirror. The size did not affect me too much after a while. Most importantly it serves the purpose of video recording on the road.
It took me almost 30mins to install the whole set-up without a step by step installation guide. I will prefer a guide as I'm not tech savy but for those out there, if you have difficulties, I've all the steps out for you in this review.
Comparing the features and specs, it’s comparable to Black vue HD DR530W-2CH. However, the IROAD V7 has a wider lens angle of 137°, the Black vue HD DR530W-2CH has a lens angle of 128° Also, the IROAD V7 supports up to 64GB memory card while the Black vue HD DR530W-2CH only supports up to 32GB.
In the day the video quality is very good not losing out to other favored brands but in low light situations the video resolution will not be HD quality.
The whole interface is very user-friendly. The mobile IROAD app and the PC viewer are really easy to use.
One thing that worries me is that the device gets heated up very fast. This links me back to my first observation on the device material (which I feel is of low quality). Whether or not the material will sustain the heat of Singapore, I guess only time can tells, which at this point, I can’t comment much.
But overall, I still enjoyed the experience I had with IROAD V7 in this past week. With these 2-channel cameras in the car, I felt safer on the road already.
My overall rating is 8/10.
To know more on the product, you may refer to its official web site, IROAD V7.
As follows are some of the observations that I have made throughout my user experience.
IROAD V7 unboxing process (First impressions)
Opening the box, you can see the front camera (the camera at the bottom) and the rear camera (the camera at the top) and the microSD card (the translucent plastic container). This is a 2-channel in-car camera kit.
The kit comes with
· front/rear cameras
· a 16GB microSD memory card and adaptor
· a “transparent cradle” for front camera
· a wifi dongle
· an IROAD V7 quick guide
· 3 sets of wires
After holding the camera examining it, it felt very light but the material of the body seemed low quality in my opinion.
Installation Process
There is no user manual to guide you through the installation. The quick guide provided only guides you in setting up the mobile application (will be explained in more details later) and the PC viewer which you will need to for backing up your videos.
But no worries in regards to that as I understand, you can request for them to install for you. They can directly connect the cameras to your car battery and at least it wont look as ugly as how I have done it.
Now, back to installing the IROAD V7… find a better helper to assist in setting it up in the car if you are the hopeless one…like me. I called for help.
Great that it comes with free 16GB microSD card which is to be installed into the camera. The maximum capacity of external storage is at 64GB.
Next, plug in the “Wi-Fi USB dongle,” which allows user to be connected to Wi-Fi, users are able to watch live screen/saved recordings and change settings through the IROAD app.
Next, connect one end of the power jack into the front camera.
Next, connect the other end of the power jack into the socket source.
The front camera comes with a “transparent cradle” that helps to holds the camera and allows easy mounting to the windscreen through the red tape.
The red tape acts like a double-sided tape and it is indeed very sticky and took me a long time to tear it away.
Subsequently, I also tear the sticker for the rear camera and get ready for mounting.
I uncoiled the “rear camera cable” and connect each end of the cable to both the front and rear camera respectively.
This was taken from inside the car after mounting the front camera to the windscreen. It is easier to have two people installing the device if you are DIY-ing, so that one person can help to see the adjustment of the camera.
A point to note, once you finished installing, use a coin and try to screw and tighten the nut at the side of the cradle after you adjusted the angle of the camera to your liking.
Why is there no viewing screen on the front camera? How would I know if it is switched on, connected and functioning correctly????
So you need the IROAD mobile app.
While my right-hand man was mounting all the cameras, I proceed to install the IROAD app from the “Play” store (since I am an android user). Similar app is available for Apple user too.
Press this button on the back of the camera and the app will then prompt you to the next screen.
Once registration is complete, there will be a screen for you to select “connect.” Within less than a minute, my mobile was projecting the images captured from my front camera.
A screenshot of how the app looks like on your mobile. You can take screenshots. You can also switch easily between the front and rear view cameras. User-friendly! I give the app a thumbs-up!!!
The device will prompt me that it is recording the moment that the car is ignited. So, it is an additional option for user to choose to be connected to the app to get real time video-ing or they can chose to have a device that does the recording without having a screen that might distract you while you are driving.
Recording Review
IROAD viewer software for PC can be found in the microSD card which comes with the in-car camera. After setting up the viewer, I can view my recordings in the microSD card and save as the format I need for backup.
The image above shows the view from the PC viewer. I saved the videos I want using the backup button. This application is user friendly and easy to use. Didn’t take me too long to figure out how to view front camera view, rear camera view and saving the videos into avi format for backup in my PC.
Day time recording – Front camera, 30fps
Day time recording – Rear camera, 30fps
Day time recording – Front camera, raining, 30fps
Day time recording – Rear camera, raining, 30fps
Both recordings from front and rear cameras were very clear in the day. You can make out the car number plate easily. I really like the wide angle of the cameras, it gives a good coverage.
Night time recording – Front camera, 30fps
Night time recording – Rear camera, 30fps
I expected the night recordings to be clearer than what I have based on their website. It was a bit disappointing. I will not be able to make out number plates but still able to see images, just grainer.
In the videos, you can see the date and time stamp, which is absolutely important when you want to use your videos as evidence.
Conclusions
The front camera is not the sleekest of design when compared to Pittasoft Black vue or Itronics in-car cameras. However, it still hides well behind my rear view mirror. The size did not affect me too much after a while. Most importantly it serves the purpose of video recording on the road.
It took me almost 30mins to install the whole set-up without a step by step installation guide. I will prefer a guide as I'm not tech savy but for those out there, if you have difficulties, I've all the steps out for you in this review.
Comparing the features and specs, it’s comparable to Black vue HD DR530W-2CH. However, the IROAD V7 has a wider lens angle of 137°, the Black vue HD DR530W-2CH has a lens angle of 128° Also, the IROAD V7 supports up to 64GB memory card while the Black vue HD DR530W-2CH only supports up to 32GB.
In the day the video quality is very good not losing out to other favored brands but in low light situations the video resolution will not be HD quality.
The whole interface is very user-friendly. The mobile IROAD app and the PC viewer are really easy to use.
One thing that worries me is that the device gets heated up very fast. This links me back to my first observation on the device material (which I feel is of low quality). Whether or not the material will sustain the heat of Singapore, I guess only time can tells, which at this point, I can’t comment much.
But overall, I still enjoyed the experience I had with IROAD V7 in this past week. With these 2-channel cameras in the car, I felt safer on the road already.
My overall rating is 8/10.