
Astonred
New Member
Hi,
I posted on a BMW forum I use, and one of the member mentioned DashCamTalk. So I thought someone here might find it useful.
Ok, so I finally bit the bullet (read amazingly saved up a bit of spare cash and didn’t instantly spend it on beers or women. Ok, beers then) and after much procrastinating decided to purchase a Viofo A329S. It was a toss up between this and a Blackvue.
I was going to go with BMW’s Advance Car Eye Pro 3.0 and have them fit it for £675! However several beers later I had purchased the A329S for the same price as the BMW unit, and thinking how hard can it really be to fit.
My main reason for the A329S was that I wanted something fairly unobtrusive and permanently in place, it is fairly small and neat and has a screen, also 4k @ 60fps (so long as you turn off HDR otherwise its 30fps). Video for both front and rear is very impressive particularly low light and night, clear and smooth, exported frames are excellent.
Tools I Needed
Torx Bits
Flat blade screw driver
Trim Tool (one comes with the Dashcam)
Push Rods/Cable Access Kit
Many cups of Tea
A Friend – In my case I used a Raoul an older 1970's model, but crucially came with the aforementioned push rods also handy for making tea as well.
I also managed to find on the line PDF’s for the ACE 3 BMW installation instructions for G42, G20, G80, G21, G21 PHEV, G22, G82, G26 ICE, G23, G83, G29 and BMW Headliner Removal instructions for a G20, which helped immensely.
So To The Install
First check the unit works, believe me nothing more annoying that running cable to find the cable is a dud!
Mounting Main Unit
Think about where you are going to place the unit. I went here:

The reason the cables can poke out from the corner of the headliner by the mirror unit and it is hidden reasonably well when looking in from the outside.
I cleaned the area of the window with a couple of alcohol screen cleaner wipes and placed the static sheet* originally half on and half off the shaded part of the windscreen, which looked awful from the outside. So peeled off re-cleaned the window and used a second static sheet and placed it fully in the shaded area of the screen. Now to stick the unit on the static sheet I quite by chance managed to find a small bock of wood to butt up to the headliner which enabled me to stick it on pretty level.
*apparently the static sheet allow you to remove the camera without leaving any glue on the windscreen.
Rear Cable Install
We (this is when the friend comes in) decided we would try and run the cable to the C pillar then down and along the doorsill trims to then up the passenger A pillar.
We removed the glass hatch hinge cover two Torx screws and using the push rods tried to see if we could get to the C pillar, only to discover we managed to get pretty much all the way to the front with virtually no resistance, we got at least level with the passenger grab handle.
A couple of teas later we decided to open the A pillar trim by prying off the airbag plastic tab, thin blade will do this easily, undo the Torx screw and a firm pull will pop of the top of the trim, if you want to fully remove it you need to wiggle it towards and away from the windscreen to get the two prongs out. This allowed us to run a finger along the headliner, door seal and B pillar. We then removed the front grab handle, this bit was by far the hardest, most time consuming part. With the help of the headliner removal PDF and YouTube we finally managed to remove the handle. Use a trim removal tool to pry off the plastic covers, then a flat blade screwdriver to lever out the clips. Insert screwdriver in green highlighted area and lever the screwdriver down then do the same with the red highlight levering the screwdriver up. The top part is quite well hidden.

When re-installing the handle if it feels loose and the covers are really hard to get back in, pry apart the clips with a screwdriver and it should go back in good and tight.
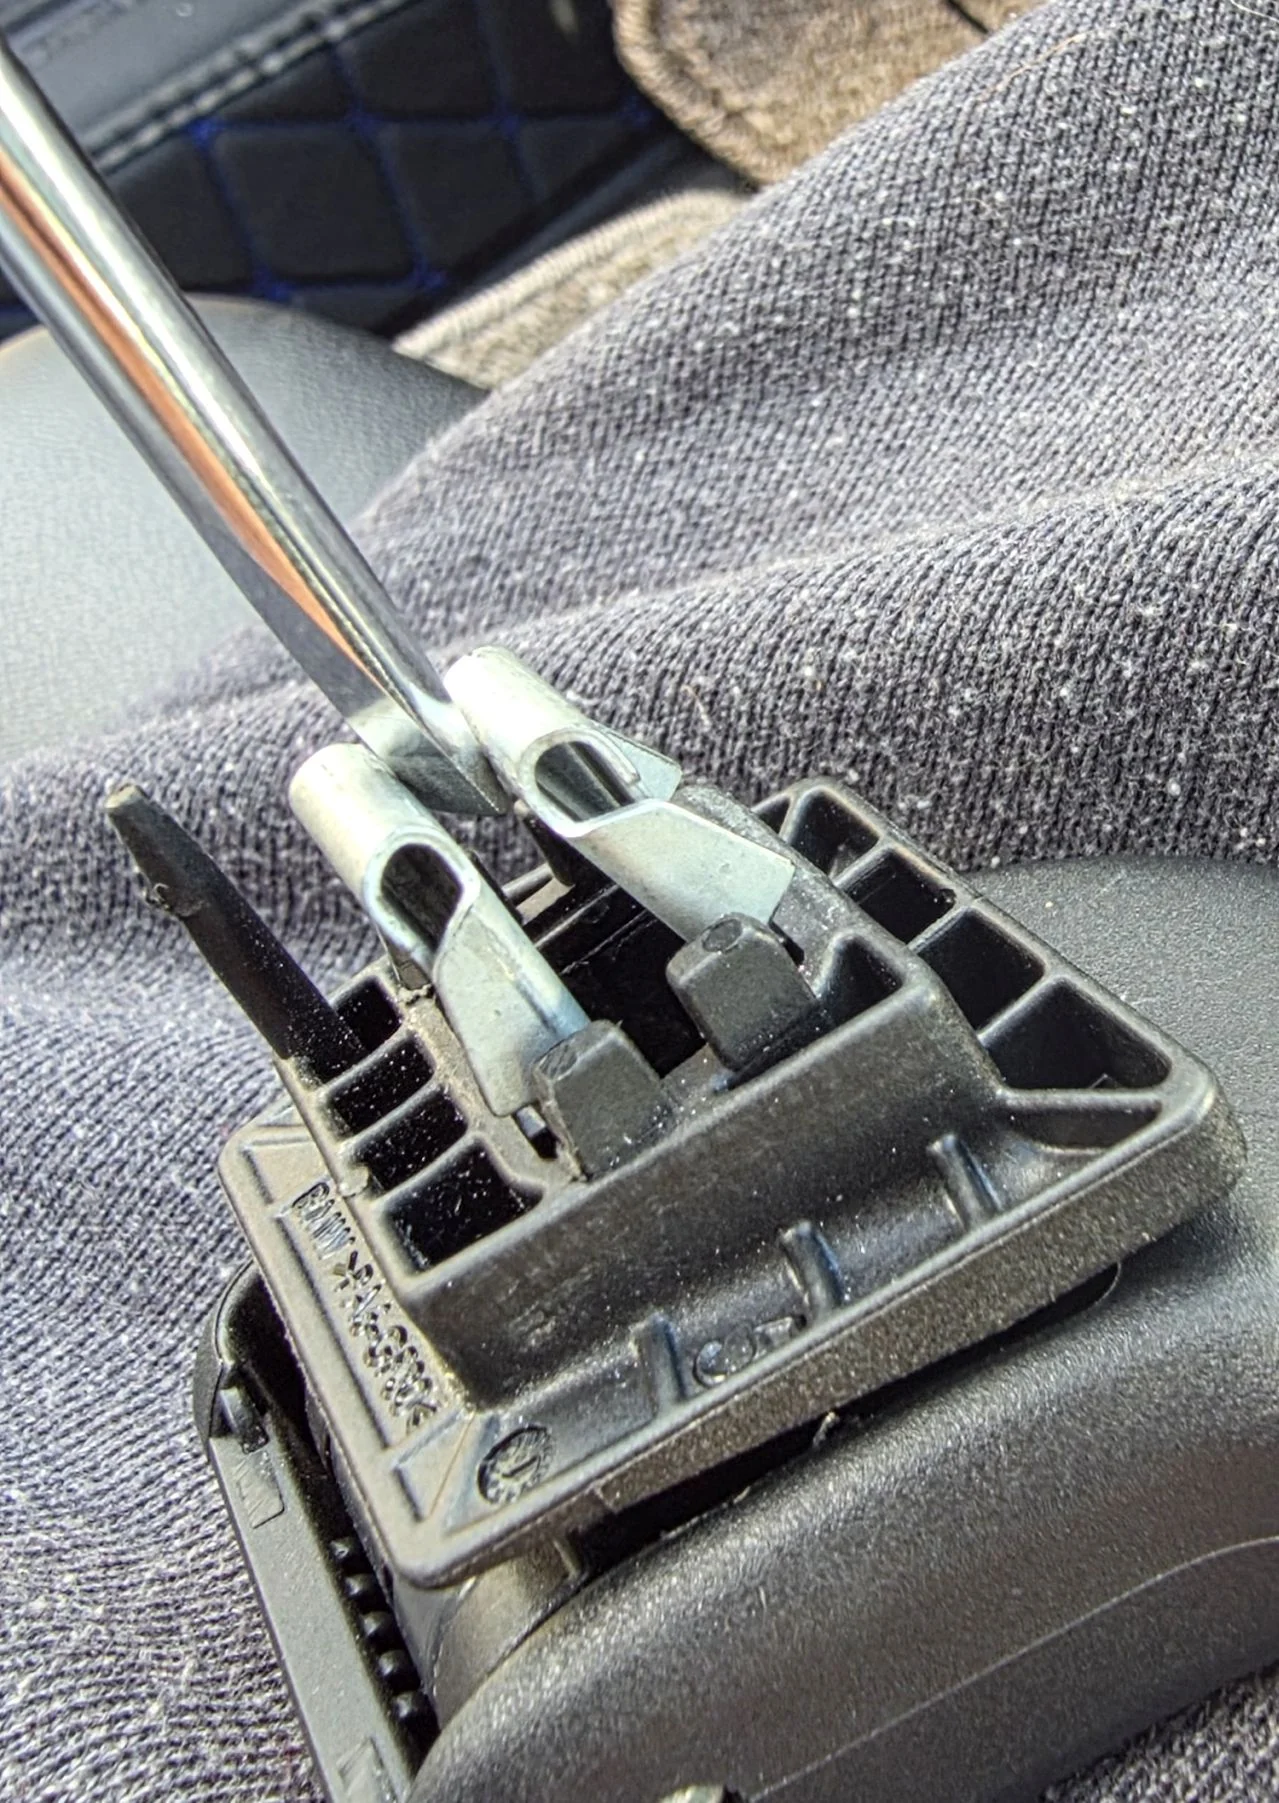
We also removed the small square plastic bit (what is this called and for?) only held in by one Torx screw, near the rear grab handle. This allowed us enough play to get a hand up into the roof (and crucially not crease the roof lining -small hand help here) to try and grab the push rods. Please note the airbag is up here so be careful not to mess with that.
After several attempts successfully grab the push rod and pull it out. Tape the cable to the other end and gently pull the rods though, guide the cable up to the A pillar. When pulling the rod back out try and use the rod to keep the cable away from the airbag. Use the trim removal tool to push the cable under the front of the headliner up to the dashcam and plug the cable into the unit. This was the bit I wasn’t looking forward to as it seems to be on really tight, however the trim tool made this really easy and you would never know it had been disturbed.
The glass hatch boot trim will just pop off with a good pull. I went with small cable ties to secure the cable to the cable run on the boot hinge (don’t put the ties around the whole hinge as it will interfere with re-installing the cover) securing the cable on the inside of the cable run.

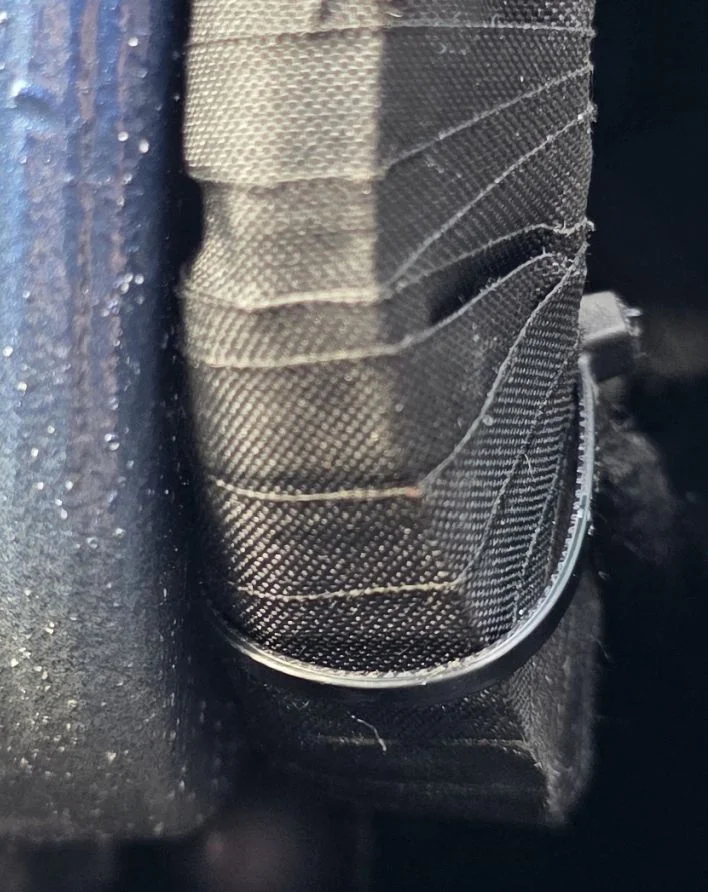
I decided to coil the excess and store it behind the boot trim, I thought this would be better than in the roof liner, my theory being less to interfere with the hinge, and less to rattle in the roof not that I think that would be much of an issue.

I posted on a BMW forum I use, and one of the member mentioned DashCamTalk. So I thought someone here might find it useful.
Ok, so I finally bit the bullet (read amazingly saved up a bit of spare cash and didn’t instantly spend it on beers or women. Ok, beers then) and after much procrastinating decided to purchase a Viofo A329S. It was a toss up between this and a Blackvue.
I was going to go with BMW’s Advance Car Eye Pro 3.0 and have them fit it for £675! However several beers later I had purchased the A329S for the same price as the BMW unit, and thinking how hard can it really be to fit.
My main reason for the A329S was that I wanted something fairly unobtrusive and permanently in place, it is fairly small and neat and has a screen, also 4k @ 60fps (so long as you turn off HDR otherwise its 30fps). Video for both front and rear is very impressive particularly low light and night, clear and smooth, exported frames are excellent.
Tools I Needed
Torx Bits
Flat blade screw driver
Trim Tool (one comes with the Dashcam)
Push Rods/Cable Access Kit
Many cups of Tea
A Friend – In my case I used a Raoul an older 1970's model, but crucially came with the aforementioned push rods also handy for making tea as well.
I also managed to find on the line PDF’s for the ACE 3 BMW installation instructions for G42, G20, G80, G21, G21 PHEV, G22, G82, G26 ICE, G23, G83, G29 and BMW Headliner Removal instructions for a G20, which helped immensely.
So To The Install
First check the unit works, believe me nothing more annoying that running cable to find the cable is a dud!
Mounting Main Unit
Think about where you are going to place the unit. I went here:
The reason the cables can poke out from the corner of the headliner by the mirror unit and it is hidden reasonably well when looking in from the outside.
I cleaned the area of the window with a couple of alcohol screen cleaner wipes and placed the static sheet* originally half on and half off the shaded part of the windscreen, which looked awful from the outside. So peeled off re-cleaned the window and used a second static sheet and placed it fully in the shaded area of the screen. Now to stick the unit on the static sheet I quite by chance managed to find a small bock of wood to butt up to the headliner which enabled me to stick it on pretty level.
*apparently the static sheet allow you to remove the camera without leaving any glue on the windscreen.
Rear Cable Install
We (this is when the friend comes in) decided we would try and run the cable to the C pillar then down and along the doorsill trims to then up the passenger A pillar.
We removed the glass hatch hinge cover two Torx screws and using the push rods tried to see if we could get to the C pillar, only to discover we managed to get pretty much all the way to the front with virtually no resistance, we got at least level with the passenger grab handle.
A couple of teas later we decided to open the A pillar trim by prying off the airbag plastic tab, thin blade will do this easily, undo the Torx screw and a firm pull will pop of the top of the trim, if you want to fully remove it you need to wiggle it towards and away from the windscreen to get the two prongs out. This allowed us to run a finger along the headliner, door seal and B pillar. We then removed the front grab handle, this bit was by far the hardest, most time consuming part. With the help of the headliner removal PDF and YouTube we finally managed to remove the handle. Use a trim removal tool to pry off the plastic covers, then a flat blade screwdriver to lever out the clips. Insert screwdriver in green highlighted area and lever the screwdriver down then do the same with the red highlight levering the screwdriver up. The top part is quite well hidden.
When re-installing the handle if it feels loose and the covers are really hard to get back in, pry apart the clips with a screwdriver and it should go back in good and tight.
We also removed the small square plastic bit (what is this called and for?) only held in by one Torx screw, near the rear grab handle. This allowed us enough play to get a hand up into the roof (and crucially not crease the roof lining -small hand help here) to try and grab the push rods. Please note the airbag is up here so be careful not to mess with that.
After several attempts successfully grab the push rod and pull it out. Tape the cable to the other end and gently pull the rods though, guide the cable up to the A pillar. When pulling the rod back out try and use the rod to keep the cable away from the airbag. Use the trim removal tool to push the cable under the front of the headliner up to the dashcam and plug the cable into the unit. This was the bit I wasn’t looking forward to as it seems to be on really tight, however the trim tool made this really easy and you would never know it had been disturbed.
The glass hatch boot trim will just pop off with a good pull. I went with small cable ties to secure the cable to the cable run on the boot hinge (don’t put the ties around the whole hinge as it will interfere with re-installing the cover) securing the cable on the inside of the cable run.
I decided to coil the excess and store it behind the boot trim, I thought this would be better than in the roof liner, my theory being less to interfere with the hinge, and less to rattle in the roof not that I think that would be much of an issue.


