New thread on polarizer filter for BlackVue DR500GW-HD

Got it, yeah I don't want to cut anything that's probably a bad idea.

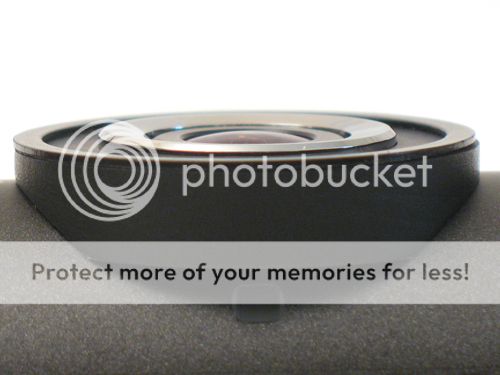
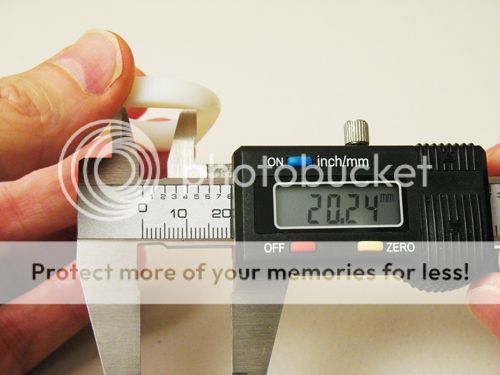
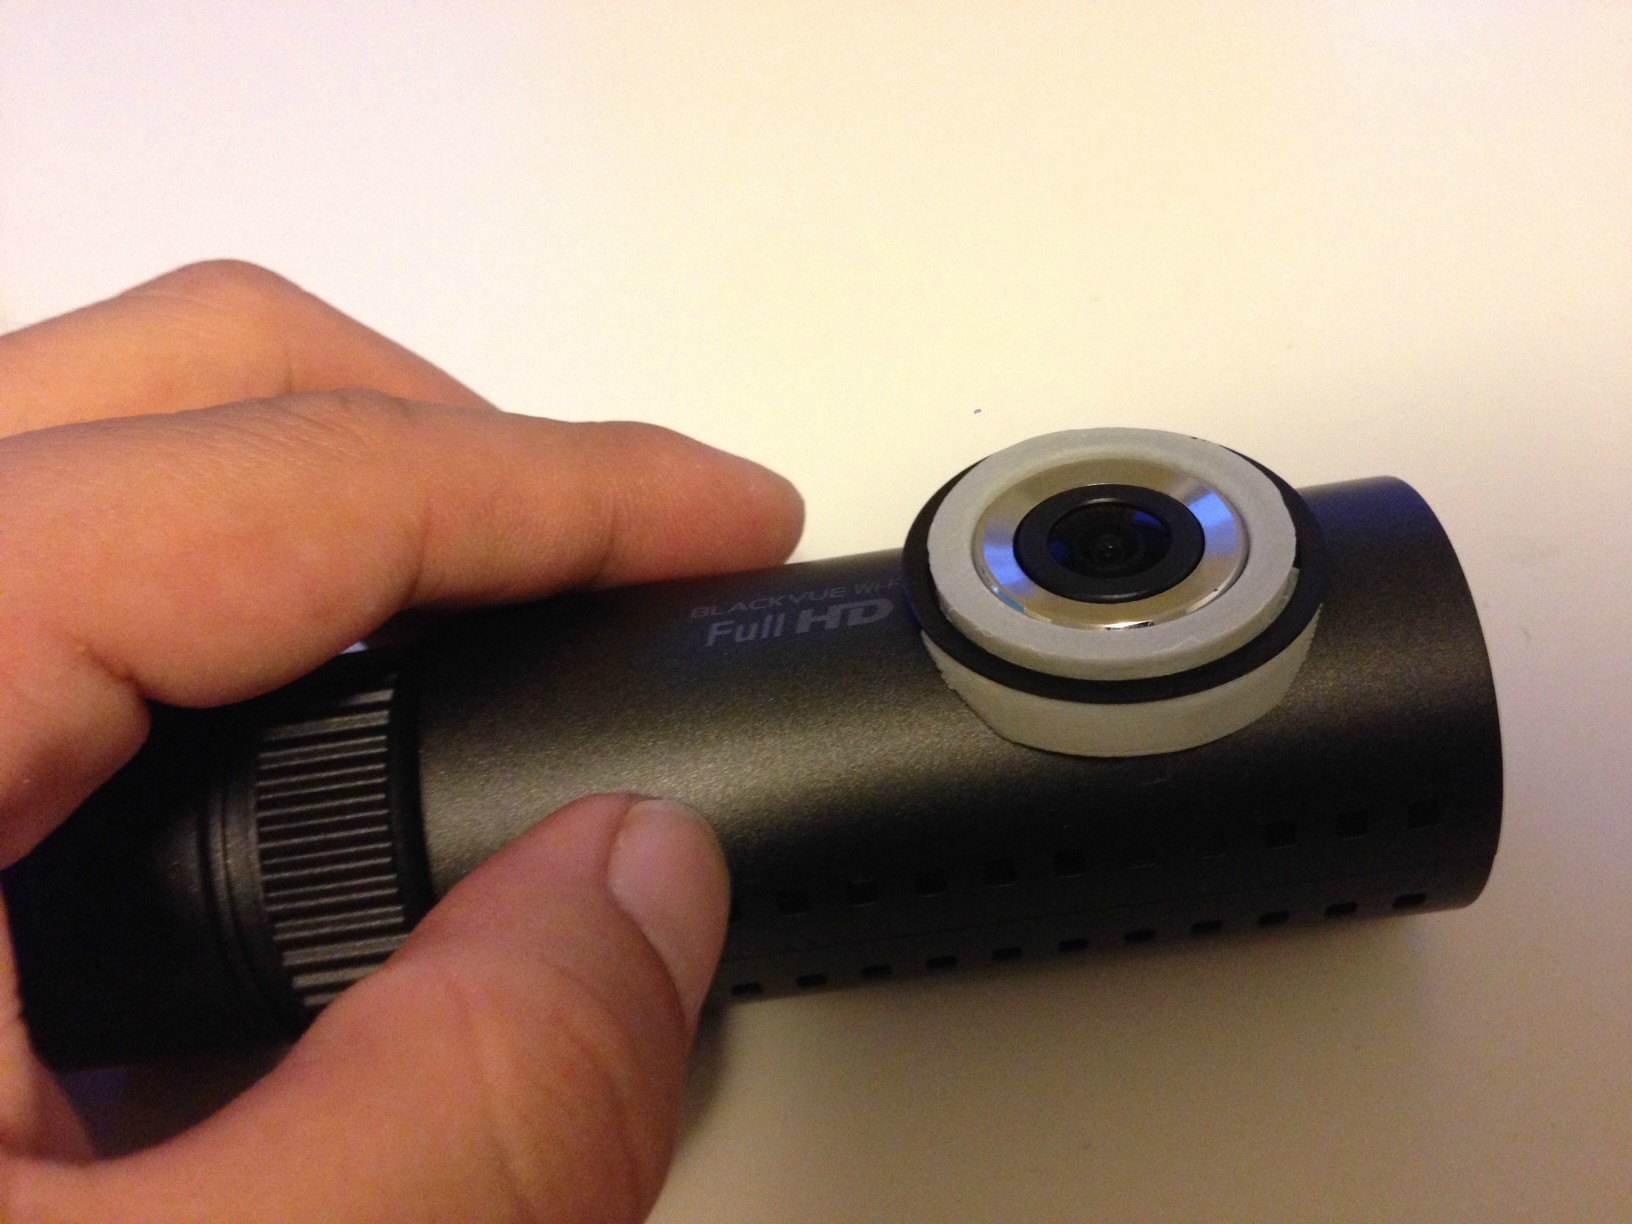
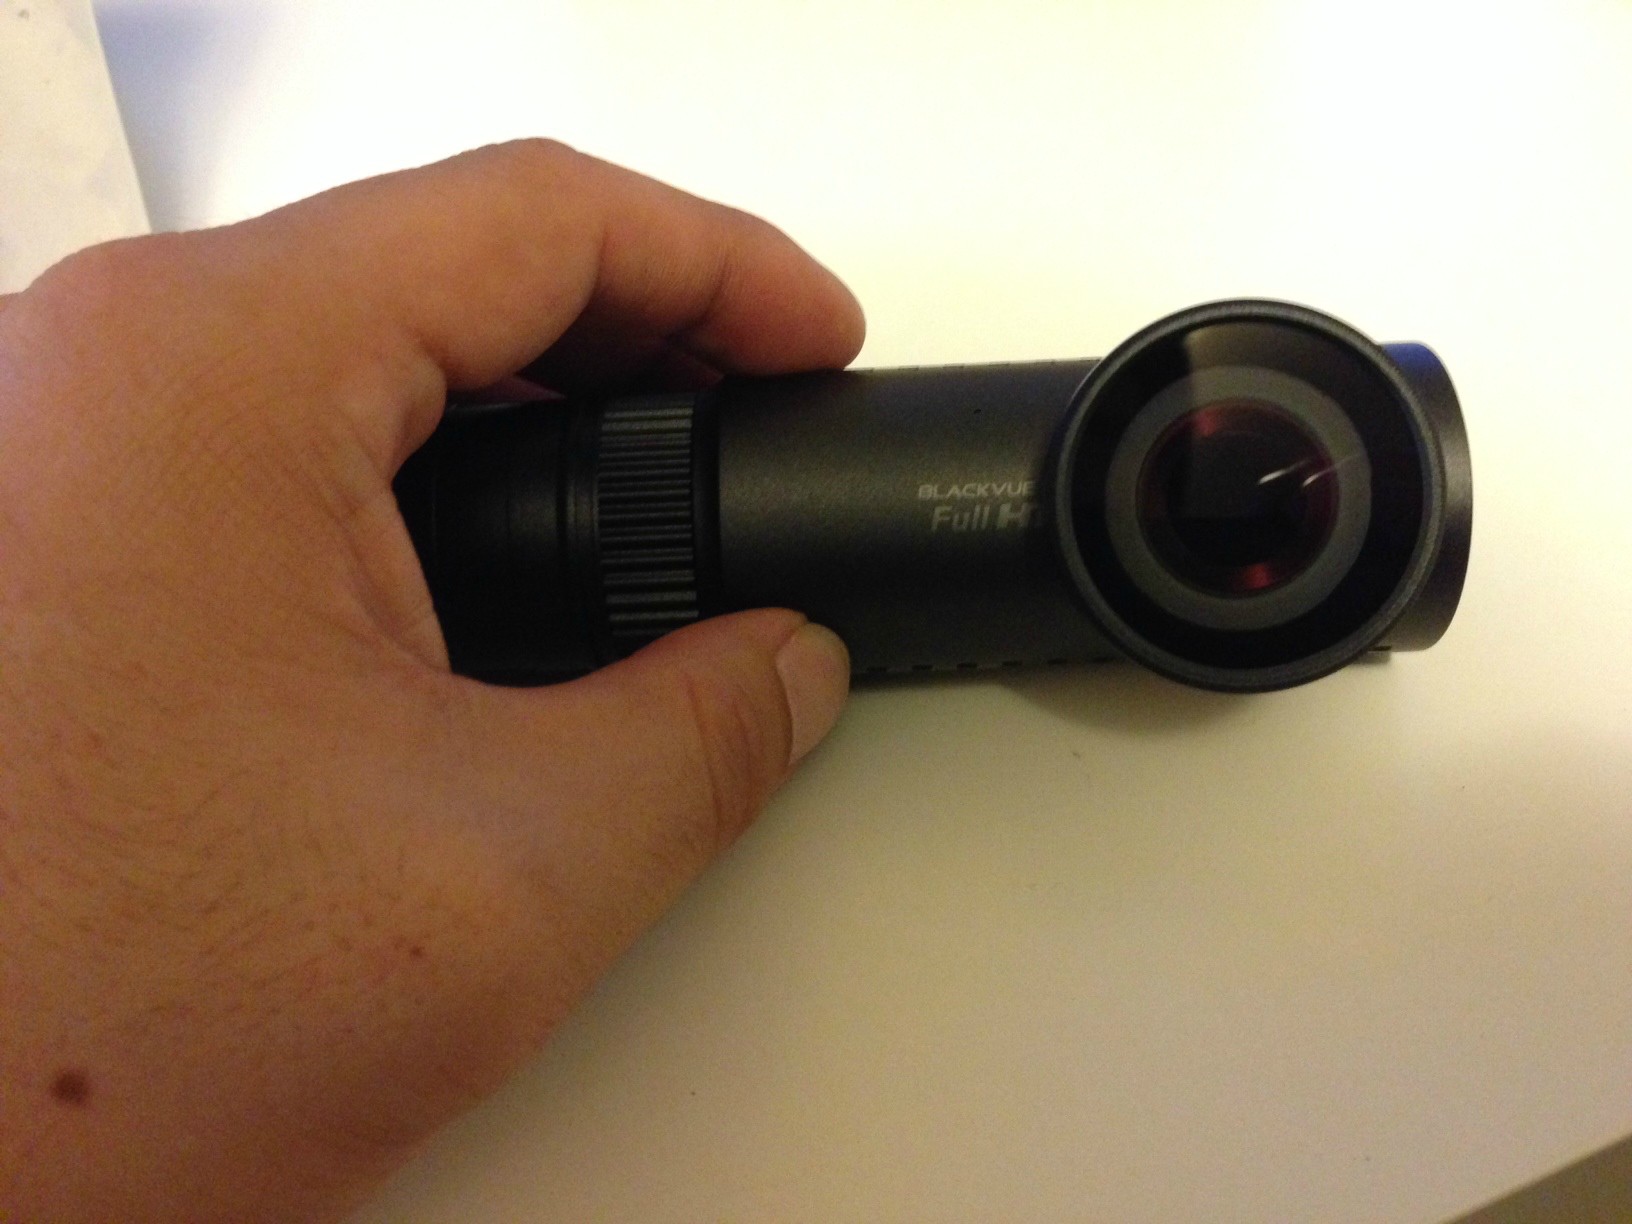
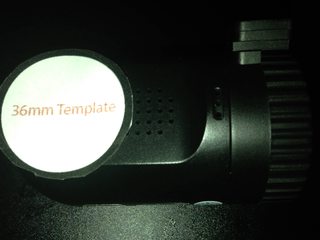
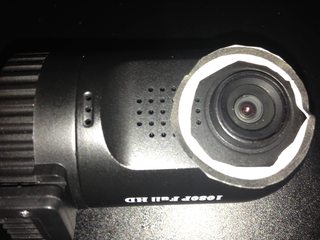
Thanks to the great posts in several threads it made me realize I needed to go slightly bigger to prevent vignetting (black border around the video image), due to the wide-angle lens.
Here's my updated DIY post:
viewtopic.php?f=31&t=2343

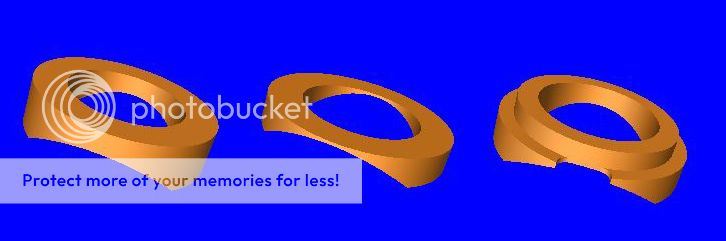
Thanks to the MakeXYC.com site mentioned, I made friends with someone in San Francisco that has a 3D printer
http://www.makexyz.com/printer/lasergno ... f5260ace9b
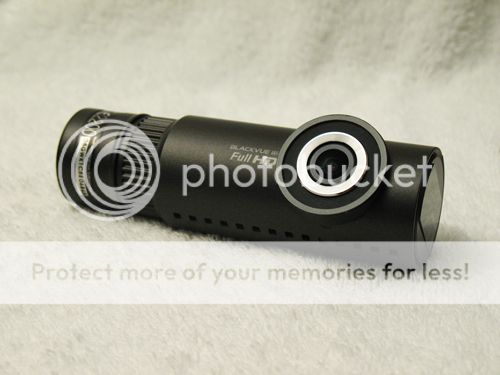
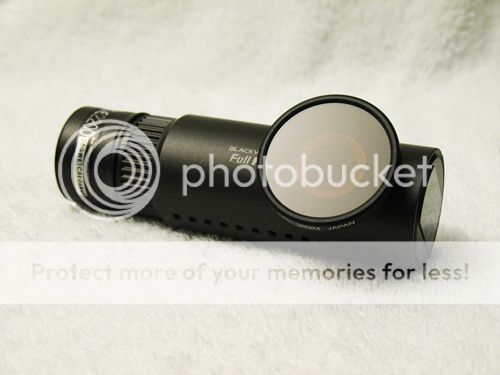
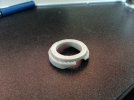
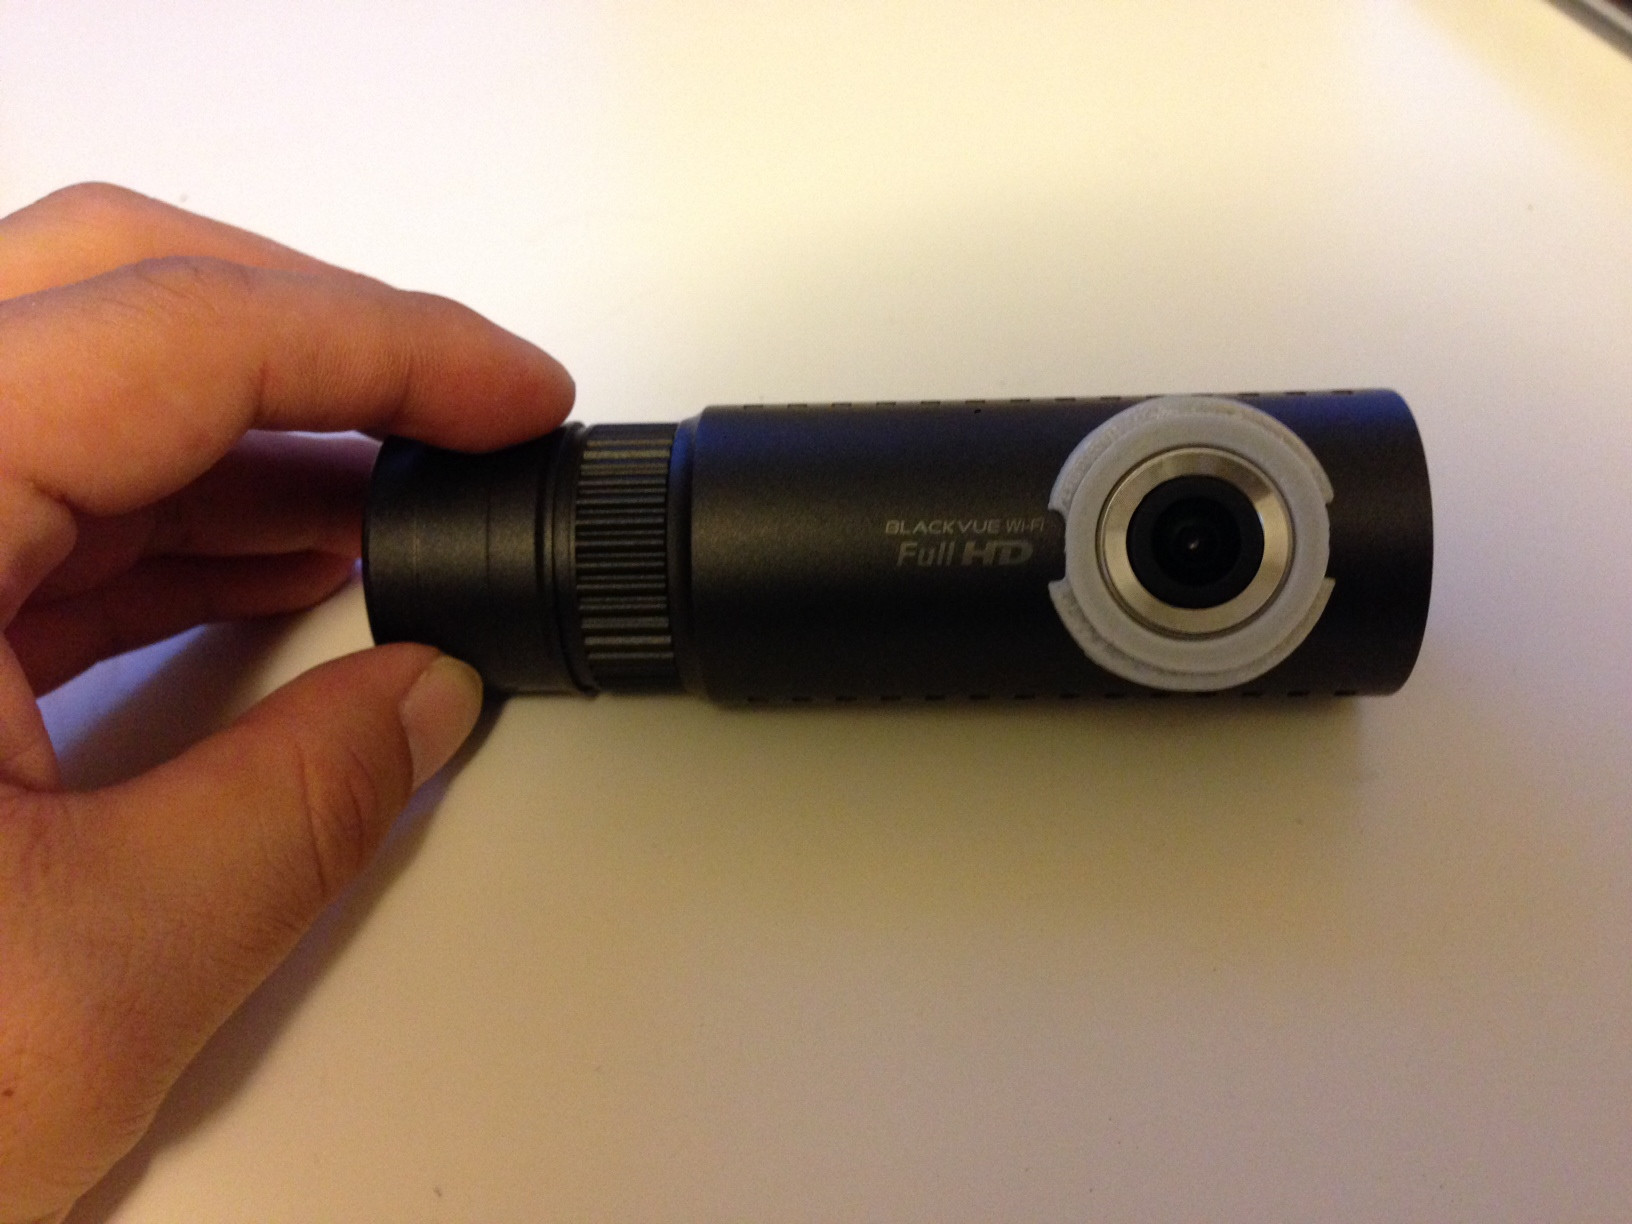
He said I can stop by any time to work on an adapter ring to fit over my 0801 Ambarella. (similar to what you have done)
DQL3YI5m.jpg

NuplStgm.jpg

I might be able to get away with not 3D printing anything, but I still want to try 3D printing something so might as well go for it! (fun times) The floor needs to be brought up to the height of the lens at the very least. (guessing)
 
Last edited by a moderator:
I started the original thread. This is a progress report.

My DIY adapter to fit a CPL filter to the DR500GW-HD is almost perfect! :rolleyes:

There was a slight vignette in two corners of the video. I sanded down the adapter ring mounting surface and got it down to a tiny black shadow in one corner of the video. The sanding moves the filter closer to the BlackVue lens. To get rid of the black shadow completely, my adapter would have to be sanded to the point where it would be very fragile and there would be little surface left for a secure press fit to the BlackVue. (Solution at the end of this post.)

Anyhow, here is a closeup of the BlackVue with my adapter at an intermediate sanding stage, followed by photos of the BlackVue without and then with the filter.

adapter-recess_zps3152e39f.jpg


mounted-without-filter_zps022201bc.jpg


mounted-with-filter_zps15daa08f.jpg


The CPL filter rotates easily and is easy to remove. I put a little yellow sticky dot on the filter rim to show me the best orientation to reduce glare. The glare reduction is impressive.

Anyhow, I redesigned my adapter and have a tentative cost quote, with shipping, for about $16. (My local 3D printer guy has a broken printer. :( )

Here's the adapter evolution.
Left: Original design
Middle: Shows effects of necessary sanding - the thin middle part is .5 mm. The part would probably break, and there is little remaining surface for a secure press-fit around the lens of the BlackVue.
Right: New design. Added central barrel to strengthen the adapter and restore good surface for press fit. Removed thin .5 mm area since it would probably break. The magnetic ring for the filter is strong and can span the gap with no worry. The inside surface of the actual filter glass is about 1 mm away from the BlackVue lens.

three_zpsc0afbe70.jpg
 
Last edited:
Excellent update! I don't blame you having to try again a second time to get it right. (don't settle for "good enough" once you go all out) The stick on dots is a good idea so you know which position is best. I plan on doing a clock position 1,2,3,4,5,6,7,8,9,10,11,12 test and then picking the best one. There might even be more than one "best" position and then I'll need to remember to spin it to that spot depending where the sun is etc.

As I said in my own DIY I bought the same MagFilter as you.
I'm dropping off my min 0801 cam to Laser Gnomes tonight. He's going to desgin something similar to create a solid support base for the metal sticky ring to attach on. I agree the magnet is strong and you can get away with gaps if needed.

Until I get I get mine, I recorded a "test" recording holding the same 36mm MagFilter up by hand and slowly rotating. We should compare final videos once complete


I've since painted those silver trim rings you see black via plasti-dip spray on rubber coating.
Bv7MvBTm.jpg


RAW files..........

https://www.dropbox.com/s/ti2qfnw20nizj1w/AMBA0022.TS
(I've since upgraded to a new September firmware that records to .MOV instead of .TS with a bumped up 12Mbps bitrate)

A cheap ALTERNATIVE option is to by the $1 "jelly lens" on eBay, break it out of the monical shell, and secure it directly to the lens.
(not adjustable, lower quality, but might be ok for budget)
viewtopic.php?f=31&t=2343&start=10 <~~~ see here for samples
2Fb5ZF9s.jpg


But yeah, I 'm glad you discovered the very nice 36mm MagFilter, it seems high quality!
 
Last edited by a moderator:
FYI the 36mm MagFliter is clearly a high quality lens. I just got in my cheap 30.5mm Green-L from eBay today, and it's no match when I compared them back to back.
I posted a video if anyone is interested.
viewtopic.php?f=31&t=2343&p=25099#p25099
 
Last edited by a moderator:
JazJon said:
Excellent update! I don't blame you having to try again a second time to get it right. (don't settle for "good enough" once you go all out) The stick on dots is a good idea so you know which position is best. I plan on doing a clock position 1,2,3,4,5,6,7,8,9,10,11,12 test and then picking the best one. There might even be more than one "best" position and then I'll need to remember to spin it to that spot depending where the sun is etc.
Thanks, JazJon! I guess obsessive compulsive disorder (OCD) has its advantages! :D

Anyhow, it was so close that I did not want to settle for even a tiny a shadow in one corner of the video. So, I got more skilled at CAD design and did a lot of thinking. I considered making my own rectangular filters with a fixed polarizing angle but I could not find reasonably priced glass polarizing material. Only thin plastic films were available, which would likely warp and suffer in the heat. I had tentative designs for rectangular frames for the filters, with magnetic attachment. However I'm more pleased the design I finally settled on.

My local 3D printer guy is still out of commission, so I ordered a part that will have to be shipped. With letting the paint on the part dry properly, it will be more than a week before I can post the photos of the results.

Let us know how your 3D printing solution works out.
 
How well does the magnetic lens work on, say,a very bumpy road, could it vibrate off or change orientation? And when can you take my money order for the adapter :)?
 
tonymy01 said:
How well does the magnetic lens work on, say,a very bumpy road, could it vibrate off or change orientation? And when can you take my money order for the adapter :)?

I can't say for sure, but it's a pretty strong magnet, I don't anticipate it moving even on bumpy roads. Only time will tell once erewhon and I have them mounted and put some miles on. This is the first DashCam/fixed Automotive application of a Magnetic CPL that I know of.

Justin (LaserGnomes) said he loves printing obscure needs such as ours. His place is actually walking distance from the MakerBot Headquarters in San Francisco. He regularly walks over to get new parts and talks with the other engineers. He had to explain to them what the DashCam craze is all about, what a CPL is, and why we want it. (said they were amazed and interested) I was told this project is exactly what he likes to use his printer for. (pushing new ideas/niches)
 
tonymy01 said:
How well does the magnetic lens work on, say,a very bumpy road, could it vibrate off or change orientation? And when can you take my money order for the adapter :)?
Hi tonymy01,

I have been using my original design CPL filter mount (with slight vignette in one corner) for about a week. It has been very solid. The magnetic mount does not rotate or fall off. The press-fit of the CPL filter mount to the BlackVue is also solid. The CPL filter and my DIY mount are very light, so I do not anticipate any problems. I don't take my car off-road, but the car does have a firm ride. I'm pleased with the performance so far (except for the minor vignette). The design has a slight interference fit between the DIY mount and the BlackVue. That was intended. Light and easy sandpapering with 220 grit paper allowed me to get just the right amount of custom snugness.

My new design will eliminate the vignette and provide a bit more bearing surface between the mount and the BlackVue (see my earlier posts in this thread).

I'm still awaiting arrival of the new 3D printed version of my design. The mad scientist in me has taken over and I have actually ordered 4 copies -- two from hobby level printers and two from commercial printers, using a variety of technologies.

(1) hobby level print job using a heated print head to melt plastic from a spool. $7.47 without shipping (the printer is local)
(2) hobby level printer using more precise UV light on resin - stereolithography. $16.46 with shipping
(3) commercial grade laser sintering of polyamide powder. $15.51 with shipping
(4) commercial grade stereolithography. $20.24 with shipping

I'll figure out which I like best and let you know. It will be a week or more before all the stuff arrives and I complete my evaluation.

I plan to make the STL file available to those who send me a PM (personal message) so you can arrange your own printing. I also plan to put it on sculpteo so you can order the part from them (sculpteo is option 3 above).

EDIT: changed 100 grit to 220 grit.
 
Last edited by a moderator:
erewhon said:
I plan to make the STL file available to those who send me a PM (personal message) so you can arrange your own printing. I also plan to put it on sculpteo so you can order the part from them (sculpteo is option 3 above).

Hey erewhon, thanks for posting the progress so far. Your results so far are very interesting. Do you think you might be able to send me your STL files? I have access to a 3D printer at work and would like to try printing out your design. I'll send you a PM.
 
exhaustnote said:
Hey erewhon, thanks for posting the progress so far. Your results so far are very interesting. Do you think you might be able to send me your STL files? I have access to a 3D printer at work and would like to try printing out your design. I'll send you a PM.

Sure. Just be aware that I don't yet have the actual physical result of my latest design. It might not work!
 
Thanks for the headsup. No worries, I may be able to print it out this afternoon and check.
 
As I mentioned in earlier posts, you will need to do slight sanding to custom size the DIY part for a good press-fit to the BlackVue.

A small piece of 220 grit sandpaper works nicely. Rotate the part around the bit of sandpaper.
sanding_zps952ae7be.jpg

(This is an original design part, not the new design.)

Check the dimensions frequently. Get diameters 90 degrees apart to make sure you are not making an oval, and measure the diameters from both the top and bottom of the part to ensure consistency. The process is easy and goes quickly. Do frequent trial fits to the BlackVue.
calipers_zpsea88ae7c.jpg


I got my digital calipers from Harbor Freight. JazJon found some on eBay.
 
Got it. Thanks! I'll try to print it out tonight and see how it goes. My filter should be coming in the mail tomorrow.
I'll post some pics of it all fitted
 
Here's Erewhon's latest design printed out. There were some heat and nozzle issues on the printer hence the bumpiness/unevenness. I'm reprinting it so hopefully it'll turn out better on the next run. I'll attempt an install on the camera tonight and will post more pictures.
 

Attachments

  • image.jpeg
    image.jpeg
    131.4 KB · Views: 109
Hi exhaustnote,

Thanks for the photo. We look forward to your additional posts!

I'm still waiting for the four parts I ordered of my design, to evaluate commercial vs hobbyist printers and different print technologies.

However, I talked to one printer guy doing a job for me, with a hobby level printer using the common fused plastic wire method, and he is not getting the best results. He printed four and said that none came out quite right. I pick them up on Friday (Sep 13) and he said that I could have all four for the price of one.

Perhaps the part is a bit too small and requires a bit too much detail for the hobby technology capabilities. My remaining yet-to-be-delivered jobs use stereolithography or sintering and they should deliver more precise parts. My original part was done with UV stereolithography and was good quality.

exhaustnote - I'm curious how easily the CPL filter fits over the part. With the dashcam mounted on the windshield, the part is not easily visible. I did another design with a rounded edge that should guide the CPL filter magnet more easily to connect to the adapter ring, so that it does not matter if you cannot see things that well.
designC-rounded_zps2edf24b4.jpg
 
Well I didn't have time to reprint the part but it didn't matter as this one works perfectly! I had to sand down the inner hole a tiny bit as it was a little too tight and I couldn't slide the piece all the way over the lens. Once I got that fit, everything else lined up very nicely. Thanks Erewhon!

erewhon said:
Hi exhaustnote,
exhaustnote - I'm curious how easily the CPL filter fits over the part. With the dashcam mounted on the windshield, the part is not easily visible. I did another design with a rounded edge that should guide the CPL filter magnet more easily to connect to the adapter ring, so that it does not matter if you cannot see things that well.

No problem whatsoever without the rounded edge.

I'm about to go test it out to see if I get any vignetting but thought I'd post some pics first.

Fitting the part
0MMuKHJ.jpg


Magnetic ring attached
K1rHFzV.jpg


With lens
8IftmLK.jpg

TLbqVOh.jpg
 
JazJon said:
exhaustnote said:
Well I didn't have time to reprint the part but it didn't matter as this one works perfectly!

Looks great!

Thanks! Yours is looking good too!

So I just confirmed that there is no vignetting! Please note that I have a DR550 so my fov is lower that the 500. I can't guarantee that the 500 won't have vignetting, we'll just have to wait for Erewhon to fit his on and see. Unfortunately it's dark right now so I can't really test the actual lens itself but I'll do so tomorrow and post some video.

Now time to spray this with a little plastidip...
 
Thread starter Similar threads Forum Replies Date
E DR500GW-HD 18
J DR500GW-HD 1052
Back
Top