coffeefiendlol
Member
- Joined
- Sep 5, 2014
- Messages
- 78
- Reaction score
- 8
- Country
- United States
I was given the Vantrue E1 Pro dashcam to review, and I wasn't provided with any guidelines or instructions on what to include in my review. Everything you read here is based solely on my own opinions and experiences with the product. There is no text nor information I was instructed to include (or not).
I'll go over some major categories which are important to me in the use of a dash cam. Note: I am not a super pro user by any means (at least, not when it comes to dash cams). I think that my review compared to some of the other ones are likely less technical but considered from a more "average user" type of experience.
On screen navigation:
The Vantrue E1 Pro dashcam has a lot to offer, but I found the on-screen interface to be a bit overwhelming. When the screen is on, it’s cluttered with various icons and functions, which makes navigating through the options quite distracting and difficult to follow. It takes a while to get the hang of it, and I found myself fumbling around more often than I’d like, so I eventually gave up on trying to navigate and make changes on the device itself.
I think this may be due to having to awkwardly push the buttons to navigate on the screen (like the old school tech devices when I was much younger). On the other hand, the screen is so small that touchscreen navigation would've also been almost impossible for my fat fingers.
Therefore, control via the app is almost a necessity for easy navigation and settings changes.
Another issue I had was not being able to intuitively figure out what the dashcam side buttons do without having to read the manual. Usually, it's quite easy to figure out these things without needing to read the manual, but not the case here for me. However, once I did spend some time with the manual, I determined that the buttons are sensibly placed and oriented.
On the hardwire kit:
Unfortunately, I was not able to test the hardwire kit (and therefore, unable to test the parking function of the dashcam).
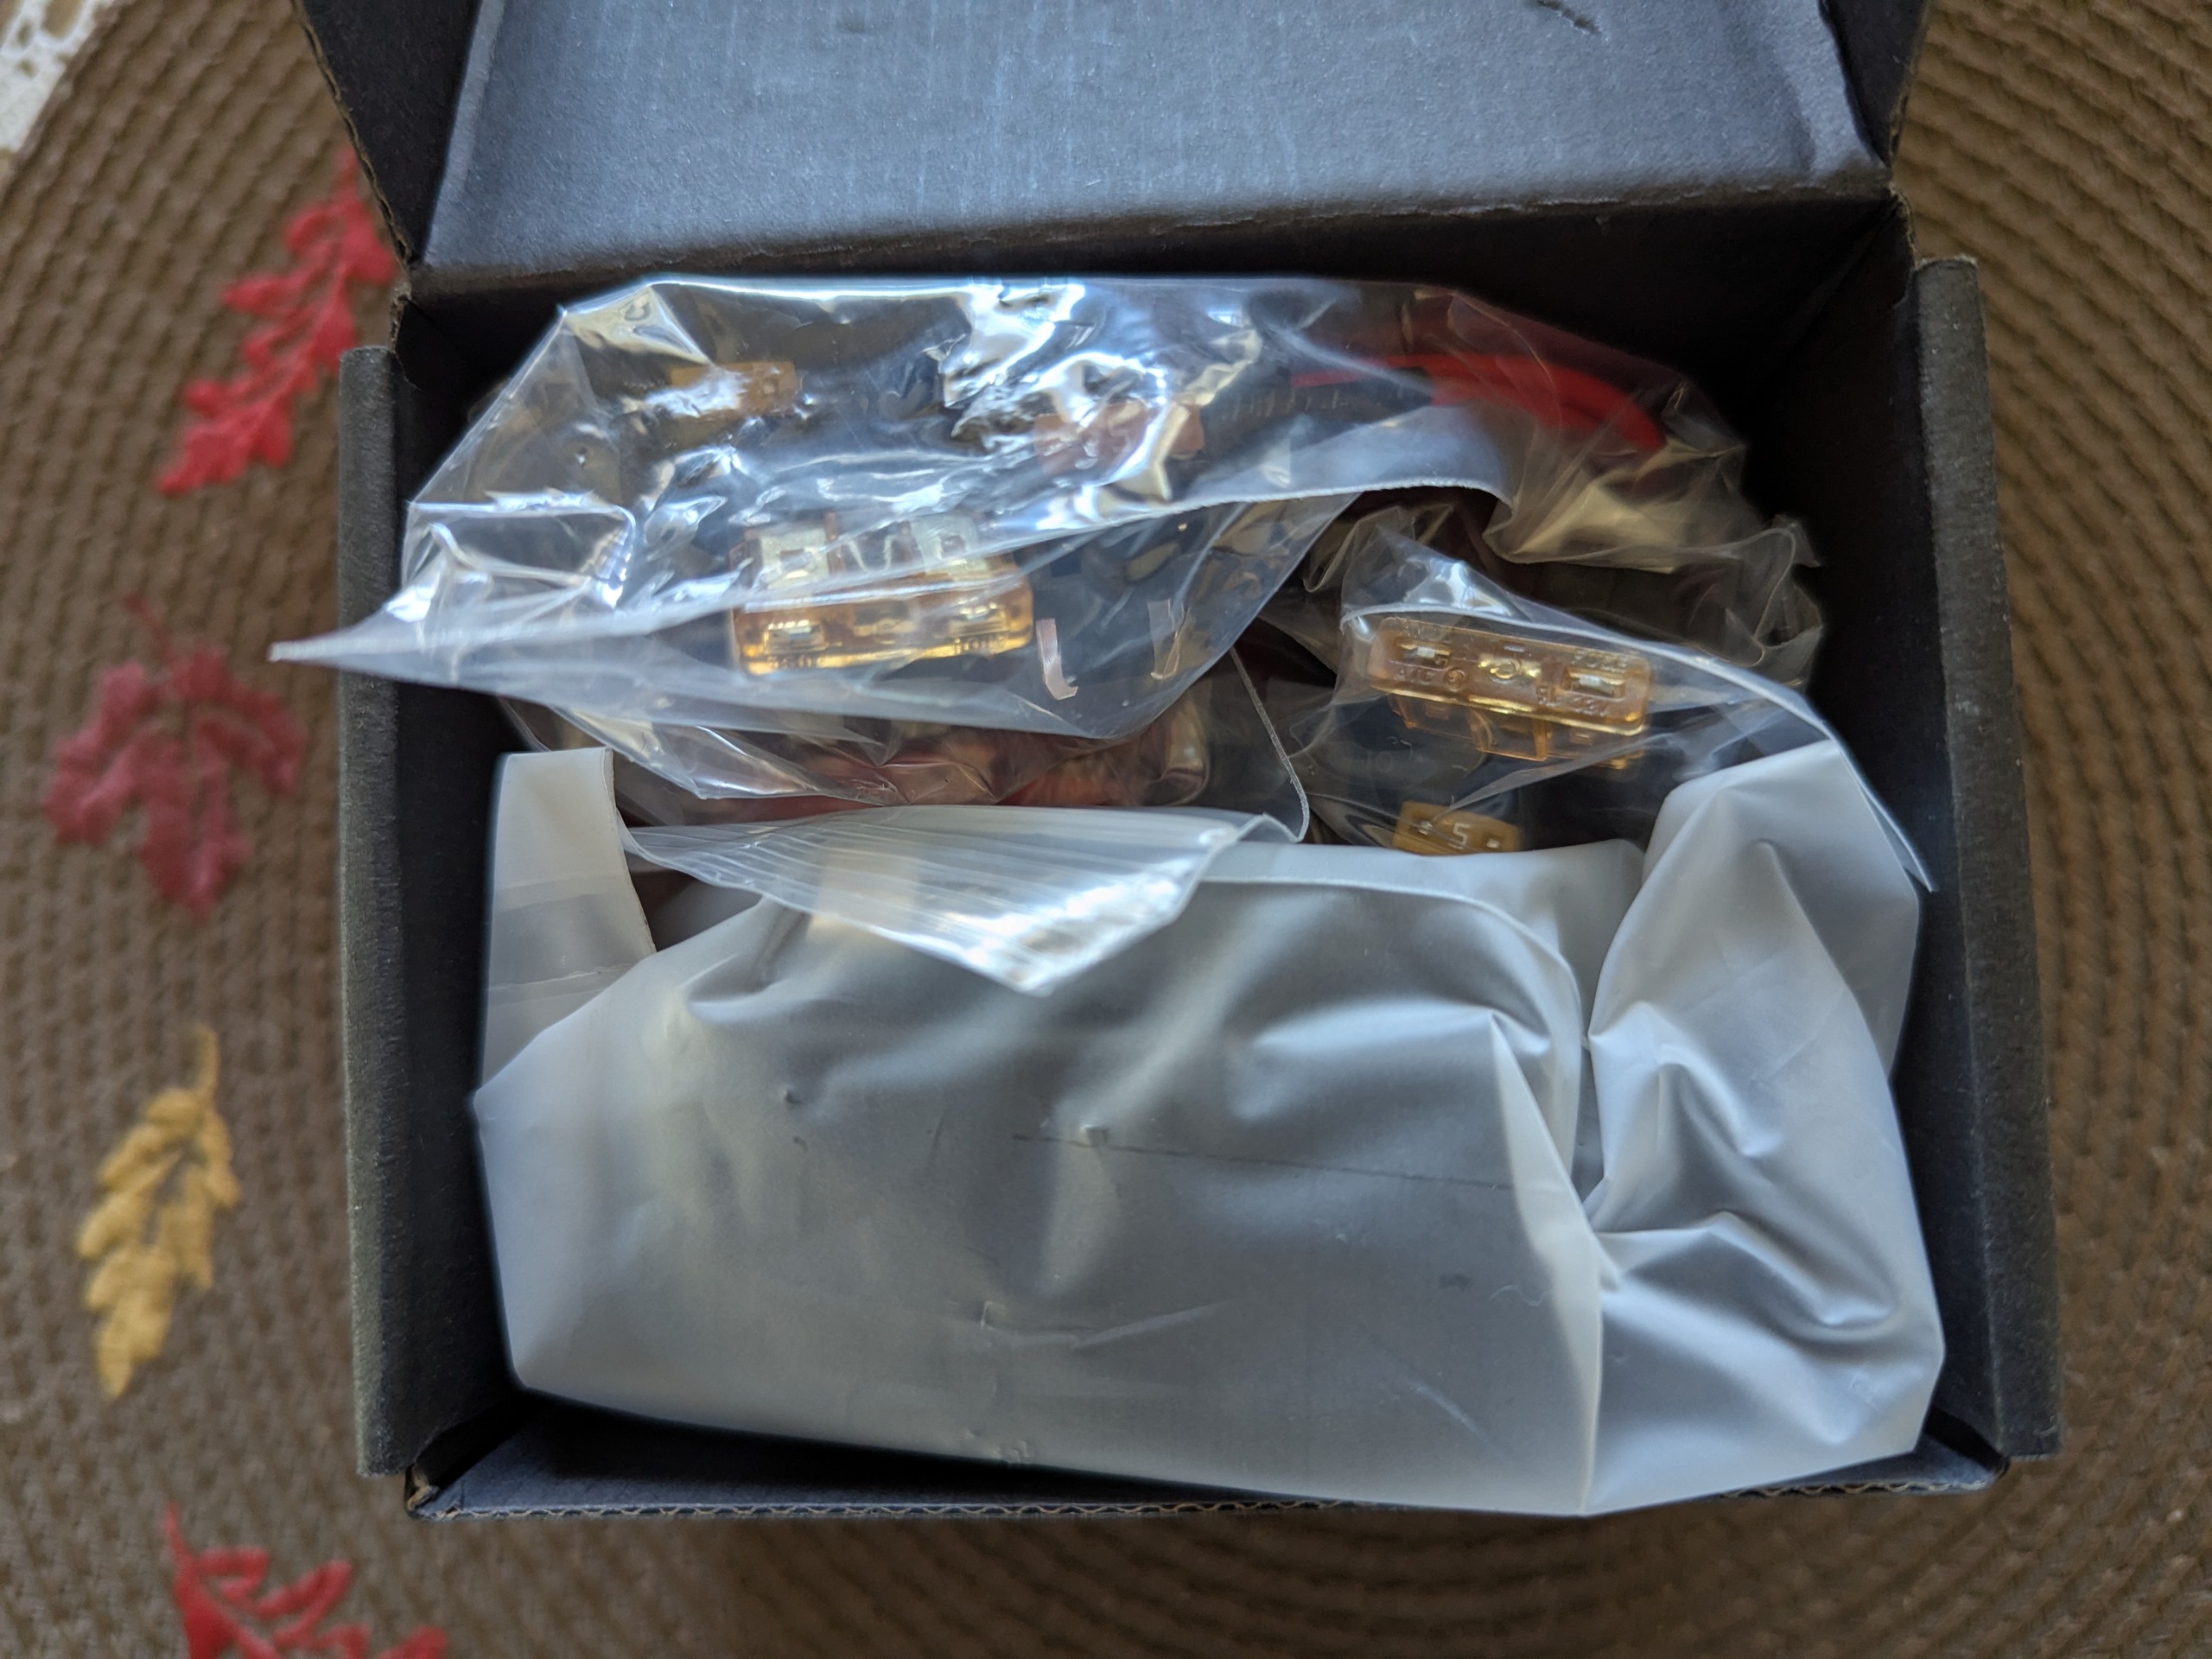
The first hardwire kit (and the second) did not deliver any power to the device. I even had my mechanic test the hardwire kits, and while it seemed that power was being delivered to the transformer unit, no power was transferred from the transformer component to the actual dashcam. This was a disappointing setback, as I was unable to use the hardwire kits for a consistent power supply. Essentially, what we determined was that the multimeter was able to detect voltage when directly connected to the car's fuse box on the driver's and passenger's side. We were able to pull 11-12v appropriately. Then, when the hardwire kit was connected to the fuse tap, and the multimeter to that, we read 0 voltage. This occurred with having the 3-wires connected appropriately (red to constant power, yellow to ACC, and then the last to ground). No power whatsoever.
To make sure it wasn't an issue with my car, the mechanic even tried his portable battery pack which we were able to test as delivering 12v of power when directly connected to his multimeter. When we connected the hardwire kit to his portable battery, again, we were unable to get any power.
I researched online and tried some solutions mentioned on reddit but it did not yield any results. We did read the manual to confirm that the mechanic was installing it correctly but to no avail.
I will say that the Vantrue team was very accommodating and shipped out a replacement (the second one) kit very quickly. Unfortunately, that too, did not work.
As an aside: I purchased a mini-USB to USB-connector online (random generic brand) to see if my old hardwire kit for my now almost 11-12 year old Mobius would work since the voltages were identical to the Vantrue kit. And it did! Vantrue has indicated that I should not be using the dashcam in this fashion when connected to my old hardwire kit, so I won't, but I just wanted to see if it was a car issue, a dashcam issue, or what now appears to be confirmed as a hardwire kit issue. Instead, I am powering the dashcam via the 12v power (cigarette lighter) from the car. It works perfectly with the supplied power.
On resolution and clarity:
I was quite disappointed to learn that none of the supported resolutions support 60 fps. I've been accustomed to 60 fps, even with my decade-plus old Mobius dashcam, albeit you did have to reduce the resolution to obtain 60 fps recording. This seems like a missed opportunity although I am sure there is most likely a technical or cost-reason associated with its exclusion.
That being said, the video quality for the Vantrue is sharp. There is a feature called "PlatePix" which enables easier reading of license plates. However, this comes at a cost of reducing the light exposure on the recording. However, this seems like a worthy trade off considering part of the reason we use dashcams is to capture license plates if something goes wrong.
I took this video (3840x210P at 30 FPS) on an overcast day with HDR on (and later off) and PlatePix permanently on. I intend on keeping PlatePix on permanently since I'd want to take advantage of the ability to get a better view on license plates. Firmware was updated to the most recent.
I did notice that the HDR would constantly attempt to recognize and readjust for changing conditions. I was visiting a friend and drove all the way to his place and decided to take some footage where he said there would be changing lighting conditions because of the hills and trees. For the first part of the daytime video (up to 6 min), HDR is on. After that, it's off.
You can clearly see that the HDR-on portion of the video is darker and the color/brightness levels are changing as HDR tries to adjust.
Note: both videos are uploaded to YT in MKV format.
<iframe width="420" height="315"
src="
">
</iframe>
Once HDR is turned off, the colors become more vibrant and the general brightness is increased. HDR off represents more of what I saw when driving and appears more accurate to me.
The nighttime drive was similar. I had HDR on until the 8 minute mark. At that point, I turned it off for a comparison. Unfortunately, I was not able to capture longer footage outside of this area before I needed to return to the airport. PlatePix remained on the entire time.
<iframe width="420" height="315"
src="
">
</iframe>
Any starbursts or halos were not the camera's fault. They were mine. I had a little bit of condensation developing towards the bottom of the windshield and needed to use the wipers to take it off as the defogger function was not working well. Using the wipers introduced some moisture onto the glass towards the end of the video and it created some halos.
I am quite pleased with the STARVIS 2 sensor during its nighttime performance.
You can also have the dashcam stamp the GPS settings, speed, and time, if you choose.
Overall, I did find the video resolution to be fairly good, especially for the price. When compared to popular wedge-shaped competitors that are in the $179.99 (2k) - $289.99 (4k), the Vantrue E1 Pro delivers strong performance for a more cost effective price. Some people may strongly prefer the E1 Pro square shape which--if your windshield is not highly angular--can be hidden pretty well under the frits (as I had done with my prior dashcam). With an angular windshield, this is a bit more challenging. However, the pricing for this dashcam at MSRP, especially when it includes the STARVIS 2 sensor, is great! And, if you couple the MSRP with the 10% coupon that's often found on the Vantrue homepage, this is an even more compelling deal for people that need only a front dash cam.
I'll go over some major categories which are important to me in the use of a dash cam. Note: I am not a super pro user by any means (at least, not when it comes to dash cams). I think that my review compared to some of the other ones are likely less technical but considered from a more "average user" type of experience.
On screen navigation:
The Vantrue E1 Pro dashcam has a lot to offer, but I found the on-screen interface to be a bit overwhelming. When the screen is on, it’s cluttered with various icons and functions, which makes navigating through the options quite distracting and difficult to follow. It takes a while to get the hang of it, and I found myself fumbling around more often than I’d like, so I eventually gave up on trying to navigate and make changes on the device itself.
I think this may be due to having to awkwardly push the buttons to navigate on the screen (like the old school tech devices when I was much younger). On the other hand, the screen is so small that touchscreen navigation would've also been almost impossible for my fat fingers.
Therefore, control via the app is almost a necessity for easy navigation and settings changes.
Another issue I had was not being able to intuitively figure out what the dashcam side buttons do without having to read the manual. Usually, it's quite easy to figure out these things without needing to read the manual, but not the case here for me. However, once I did spend some time with the manual, I determined that the buttons are sensibly placed and oriented.
On the hardwire kit:
Unfortunately, I was not able to test the hardwire kit (and therefore, unable to test the parking function of the dashcam).
The first hardwire kit (and the second) did not deliver any power to the device. I even had my mechanic test the hardwire kits, and while it seemed that power was being delivered to the transformer unit, no power was transferred from the transformer component to the actual dashcam. This was a disappointing setback, as I was unable to use the hardwire kits for a consistent power supply. Essentially, what we determined was that the multimeter was able to detect voltage when directly connected to the car's fuse box on the driver's and passenger's side. We were able to pull 11-12v appropriately. Then, when the hardwire kit was connected to the fuse tap, and the multimeter to that, we read 0 voltage. This occurred with having the 3-wires connected appropriately (red to constant power, yellow to ACC, and then the last to ground). No power whatsoever.
To make sure it wasn't an issue with my car, the mechanic even tried his portable battery pack which we were able to test as delivering 12v of power when directly connected to his multimeter. When we connected the hardwire kit to his portable battery, again, we were unable to get any power.
I researched online and tried some solutions mentioned on reddit but it did not yield any results. We did read the manual to confirm that the mechanic was installing it correctly but to no avail.
I will say that the Vantrue team was very accommodating and shipped out a replacement (the second one) kit very quickly. Unfortunately, that too, did not work.
As an aside: I purchased a mini-USB to USB-connector online (random generic brand) to see if my old hardwire kit for my now almost 11-12 year old Mobius would work since the voltages were identical to the Vantrue kit. And it did! Vantrue has indicated that I should not be using the dashcam in this fashion when connected to my old hardwire kit, so I won't, but I just wanted to see if it was a car issue, a dashcam issue, or what now appears to be confirmed as a hardwire kit issue. Instead, I am powering the dashcam via the 12v power (cigarette lighter) from the car. It works perfectly with the supplied power.
On resolution and clarity:
I was quite disappointed to learn that none of the supported resolutions support 60 fps. I've been accustomed to 60 fps, even with my decade-plus old Mobius dashcam, albeit you did have to reduce the resolution to obtain 60 fps recording. This seems like a missed opportunity although I am sure there is most likely a technical or cost-reason associated with its exclusion.
That being said, the video quality for the Vantrue is sharp. There is a feature called "PlatePix" which enables easier reading of license plates. However, this comes at a cost of reducing the light exposure on the recording. However, this seems like a worthy trade off considering part of the reason we use dashcams is to capture license plates if something goes wrong.
I took this video (3840x210P at 30 FPS) on an overcast day with HDR on (and later off) and PlatePix permanently on. I intend on keeping PlatePix on permanently since I'd want to take advantage of the ability to get a better view on license plates. Firmware was updated to the most recent.
I did notice that the HDR would constantly attempt to recognize and readjust for changing conditions. I was visiting a friend and drove all the way to his place and decided to take some footage where he said there would be changing lighting conditions because of the hills and trees. For the first part of the daytime video (up to 6 min), HDR is on. After that, it's off.
You can clearly see that the HDR-on portion of the video is darker and the color/brightness levels are changing as HDR tries to adjust.
Note: both videos are uploaded to YT in MKV format.
<iframe width="420" height="315"
src="
</iframe>
Once HDR is turned off, the colors become more vibrant and the general brightness is increased. HDR off represents more of what I saw when driving and appears more accurate to me.
The nighttime drive was similar. I had HDR on until the 8 minute mark. At that point, I turned it off for a comparison. Unfortunately, I was not able to capture longer footage outside of this area before I needed to return to the airport. PlatePix remained on the entire time.
<iframe width="420" height="315"
src="
</iframe>
Any starbursts or halos were not the camera's fault. They were mine. I had a little bit of condensation developing towards the bottom of the windshield and needed to use the wipers to take it off as the defogger function was not working well. Using the wipers introduced some moisture onto the glass towards the end of the video and it created some halos.
I am quite pleased with the STARVIS 2 sensor during its nighttime performance.
You can also have the dashcam stamp the GPS settings, speed, and time, if you choose.
Overall, I did find the video resolution to be fairly good, especially for the price. When compared to popular wedge-shaped competitors that are in the $179.99 (2k) - $289.99 (4k), the Vantrue E1 Pro delivers strong performance for a more cost effective price. Some people may strongly prefer the E1 Pro square shape which--if your windshield is not highly angular--can be hidden pretty well under the frits (as I had done with my prior dashcam). With an angular windshield, this is a bit more challenging. However, the pricing for this dashcam at MSRP, especially when it includes the STARVIS 2 sensor, is great! And, if you couple the MSRP with the 10% coupon that's often found on the Vantrue homepage, this is an even more compelling deal for people that need only a front dash cam.