Complete Review BlackSys CF-100. 2Ch 1080p Sony Exmor CMOS + 720p, GPS, 24/7 Parking.

Am I correct in thinking that this camera can take 12v or 24v without need to convert to 5v?
 
Am I correct in thinking that this camera can take 12v or 24v without need to convert to 5v?
Correct. Works directly from 12 and 24V power source.

Edited: CH-100B Has built in BDP ( battery discharge prevention device ) for full 24/7 parking mode with pre-buffer recording.

CF-100 HAS NO built-in BDP !!!, but has automatic parking mode !
 
Last edited:
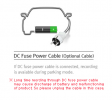
Are you sure it's built-in? I thought it was an extra cost optional accessory...

View attachment 13673
My bad. I mixed up replay with other Blacksys model I am testing now ( CH-100B ).
CF-100 has automatic parking mode, but NO BDP !
 
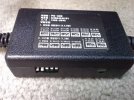
it is not built into the camera. i had to buy the protector circuit separately. and in fact that looks an awful lot like the picture i took of the device i bought. ;)
 
Last edited:
it is not built into the camera. i had to buy the protector circuit separately.
Correct. I mixed up CF vs CH 100 series. I have both of them and mixed up threads when trying to replay quickly. Need to slow down ;)
 
Thanks to the forum, I ordered one from Amazon and installed on my wife's car.

Yesterday was the first day she used and whole setup went smoothly.

After taking a micro sd card out and ran through the videos, it was overall pretty good. I haven't setup the rear camera yet though.

Now that it's price is the lowest according to CamelCamelCamel ($89.94) on Amazon, I want to order one for me as well.

http://camelcamelcamel.com/Blacksys-CF-100-2-Channel-In-Car-Camera/product/B00LBQGKX8
 
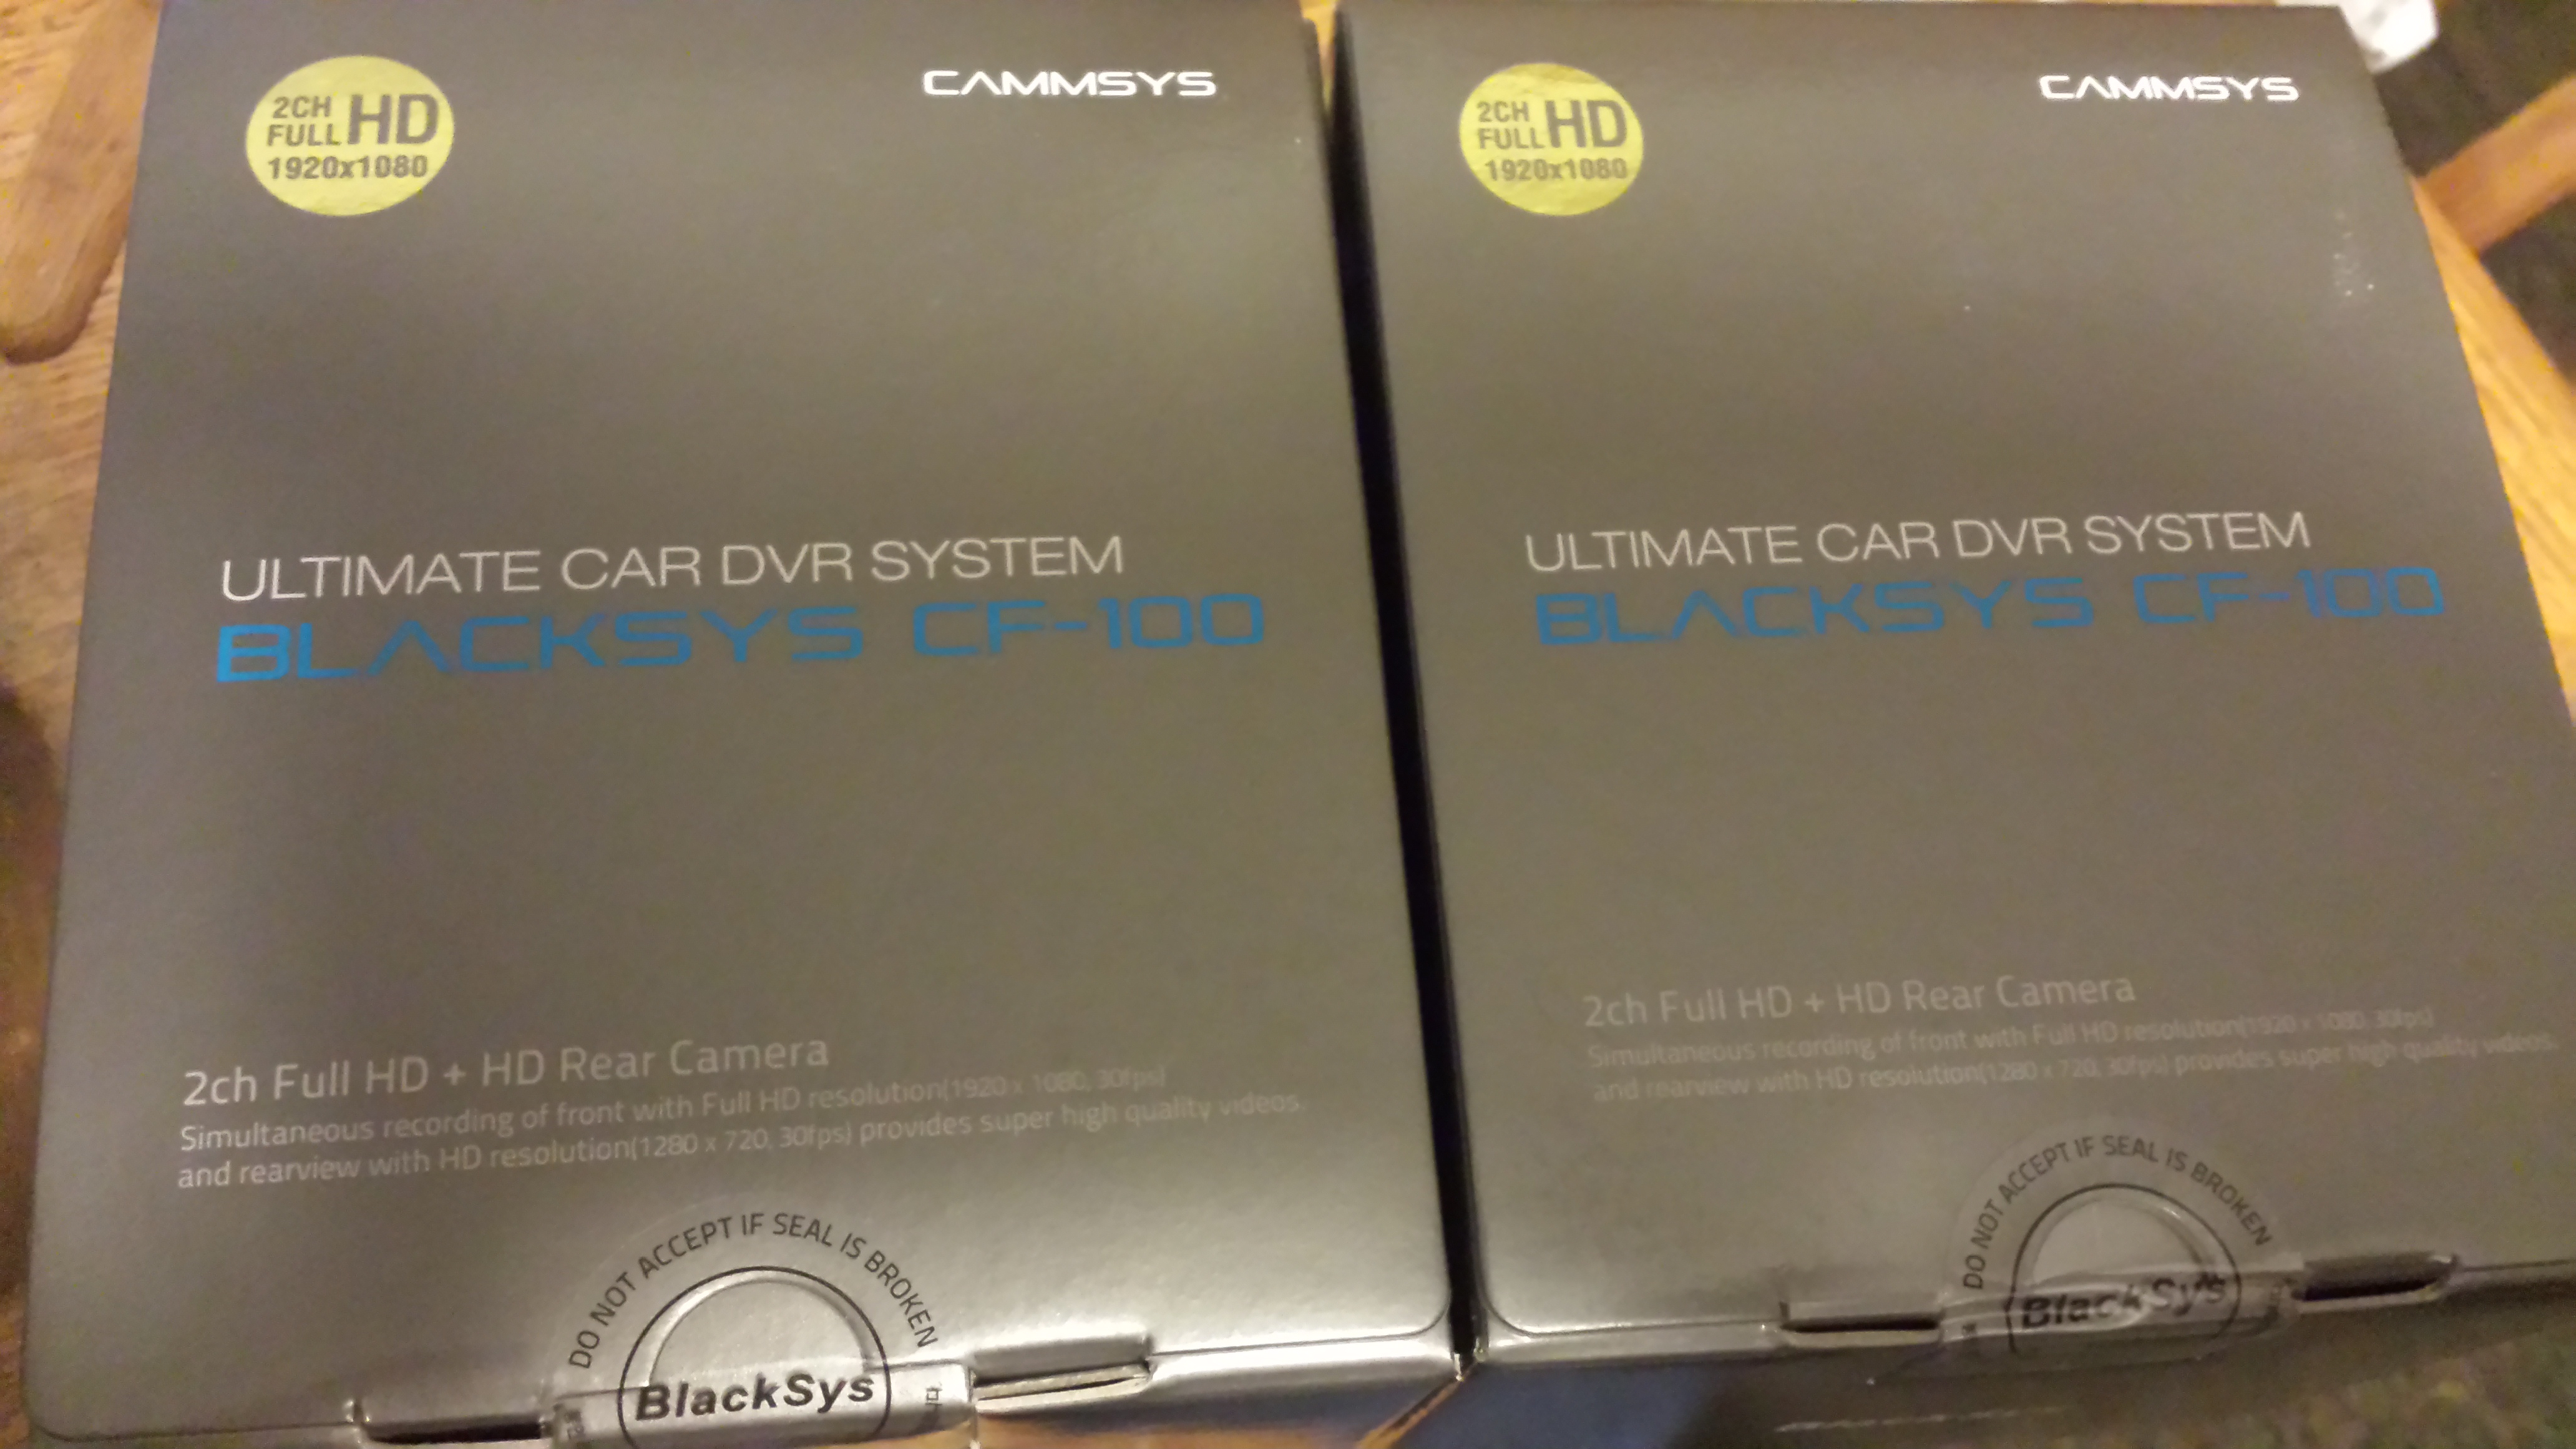
As most of you know I recently purchased two sets of the Blacksys CF-100 in order to create a 4 camera system. As posted in the other thread they both came in the other day, and while niko always does a great job I just wanted to throw some more pictures up.

VphgKtx.jpg


4g1d0OA.jpg

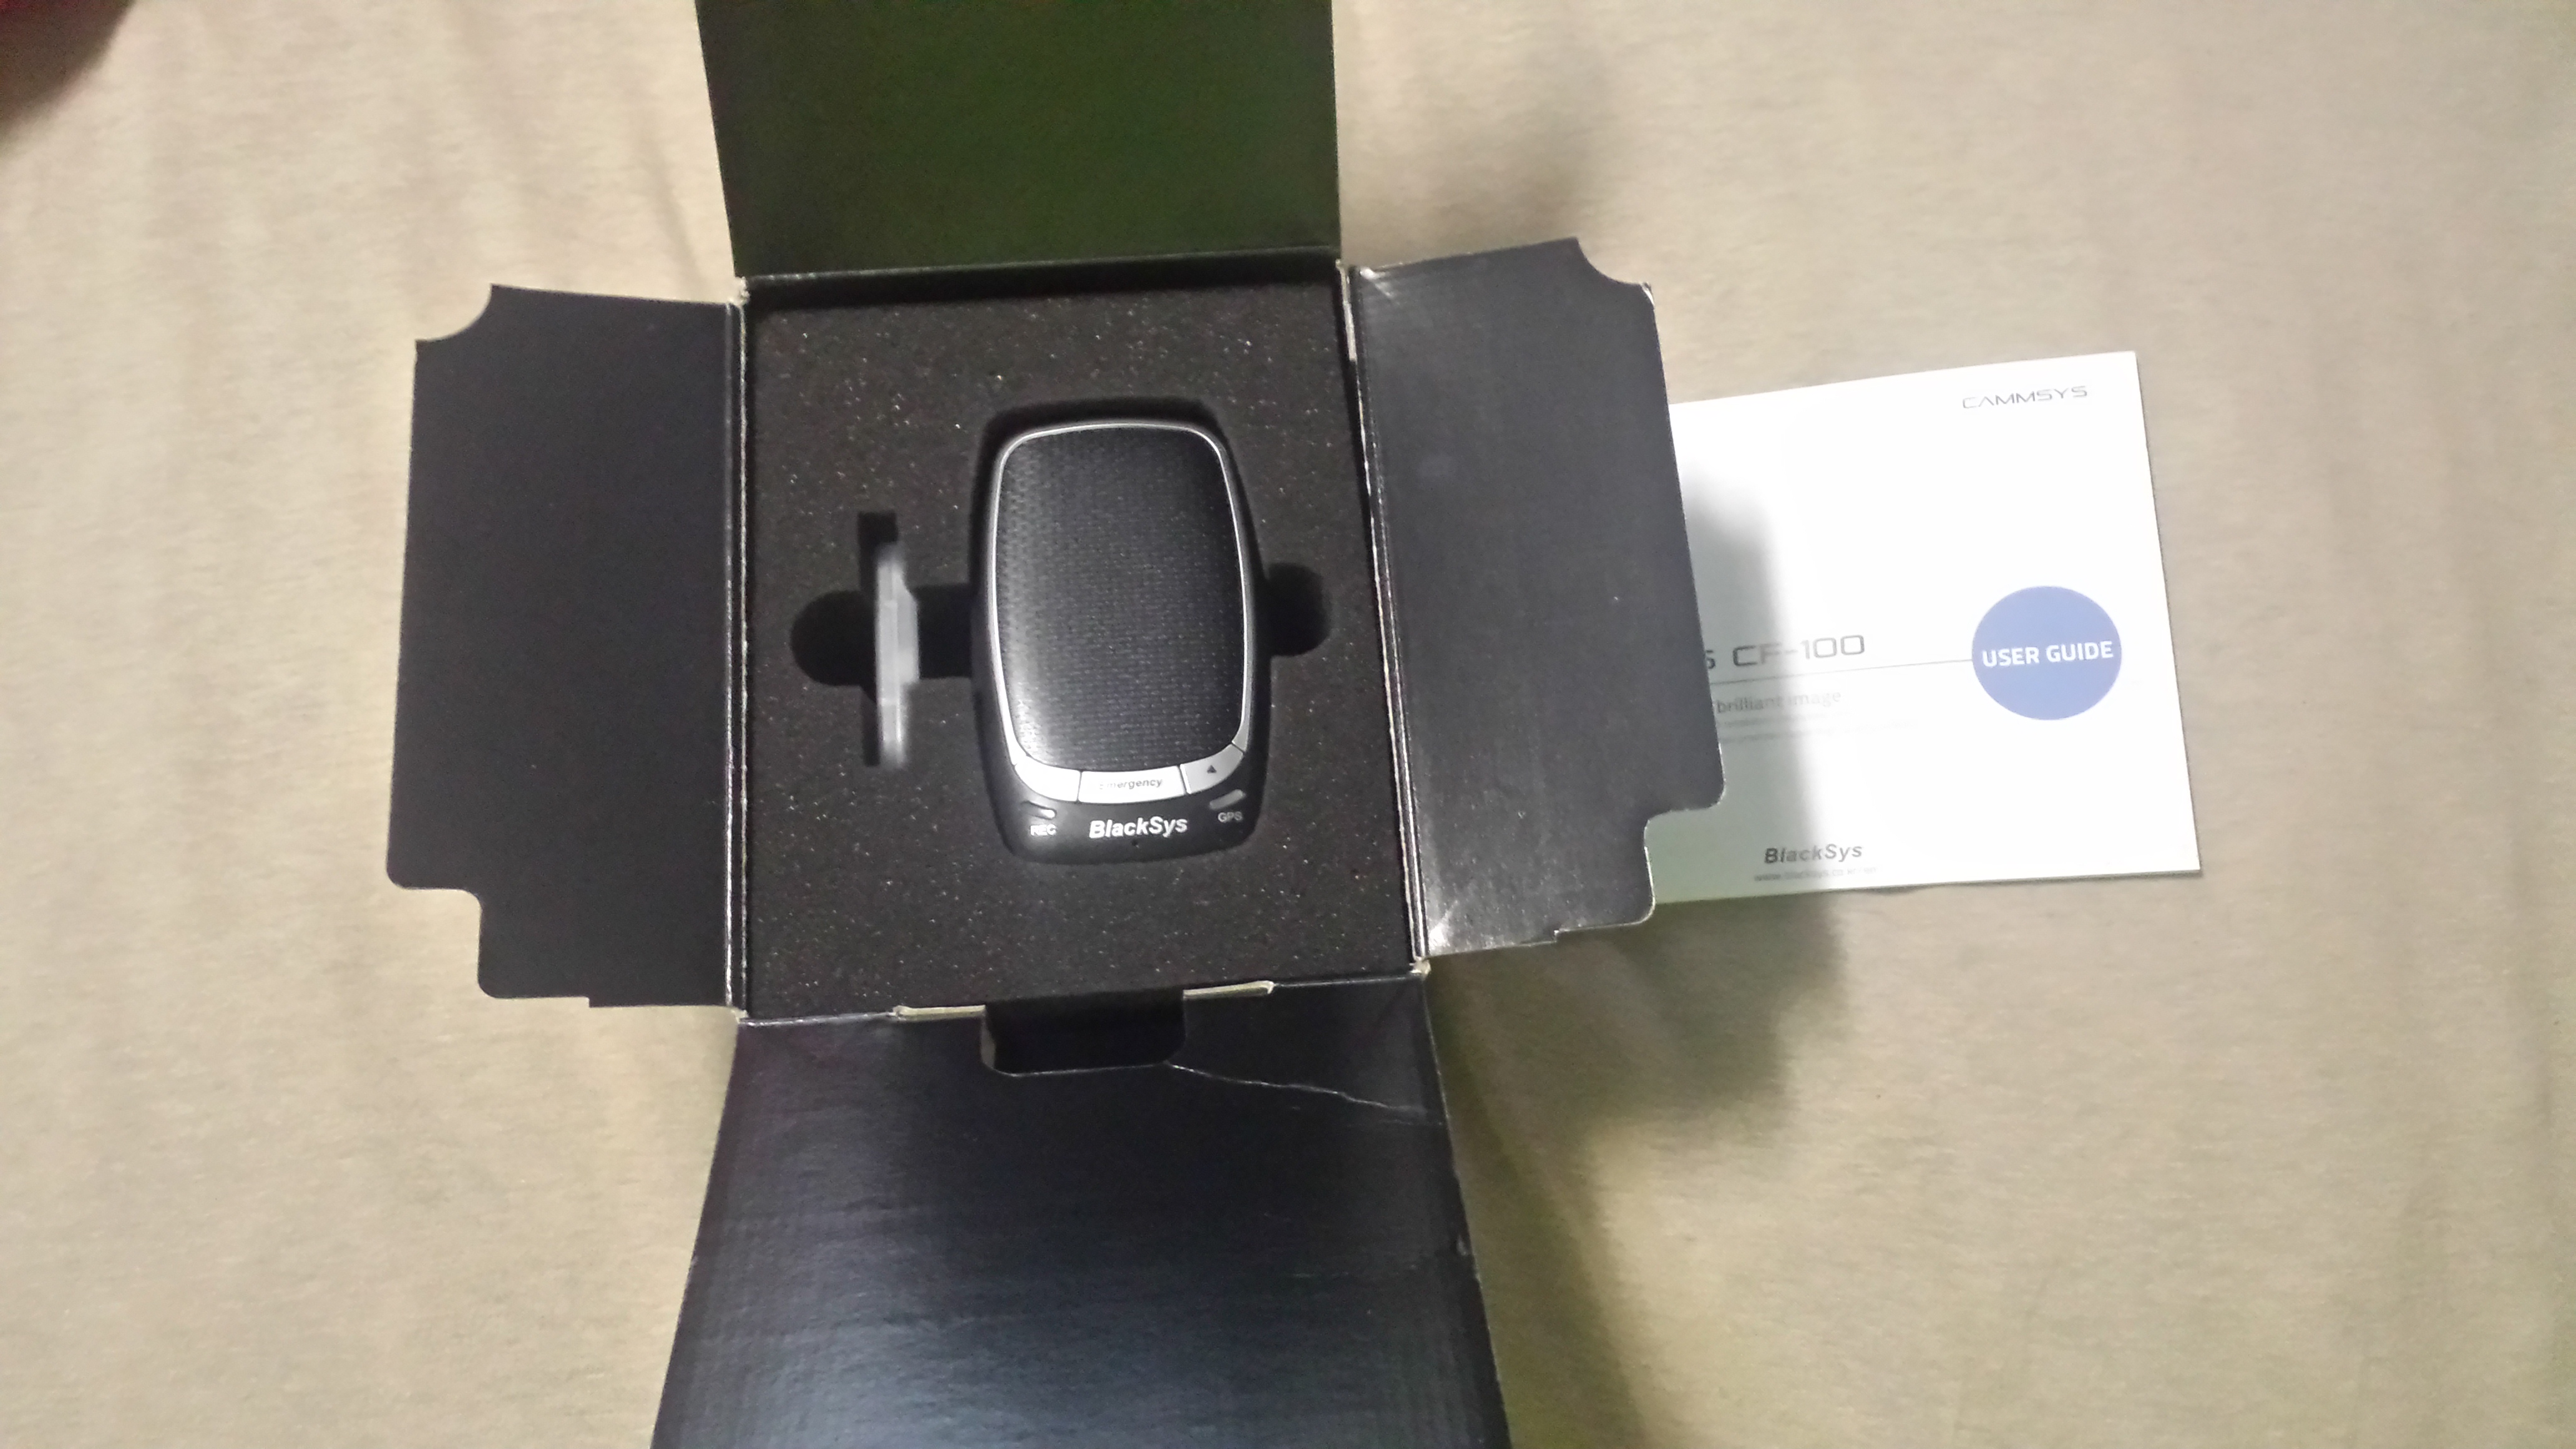
I like the emergency button placement. I'll see how piratical it really is once I install everything.

yYWafiz.jpg


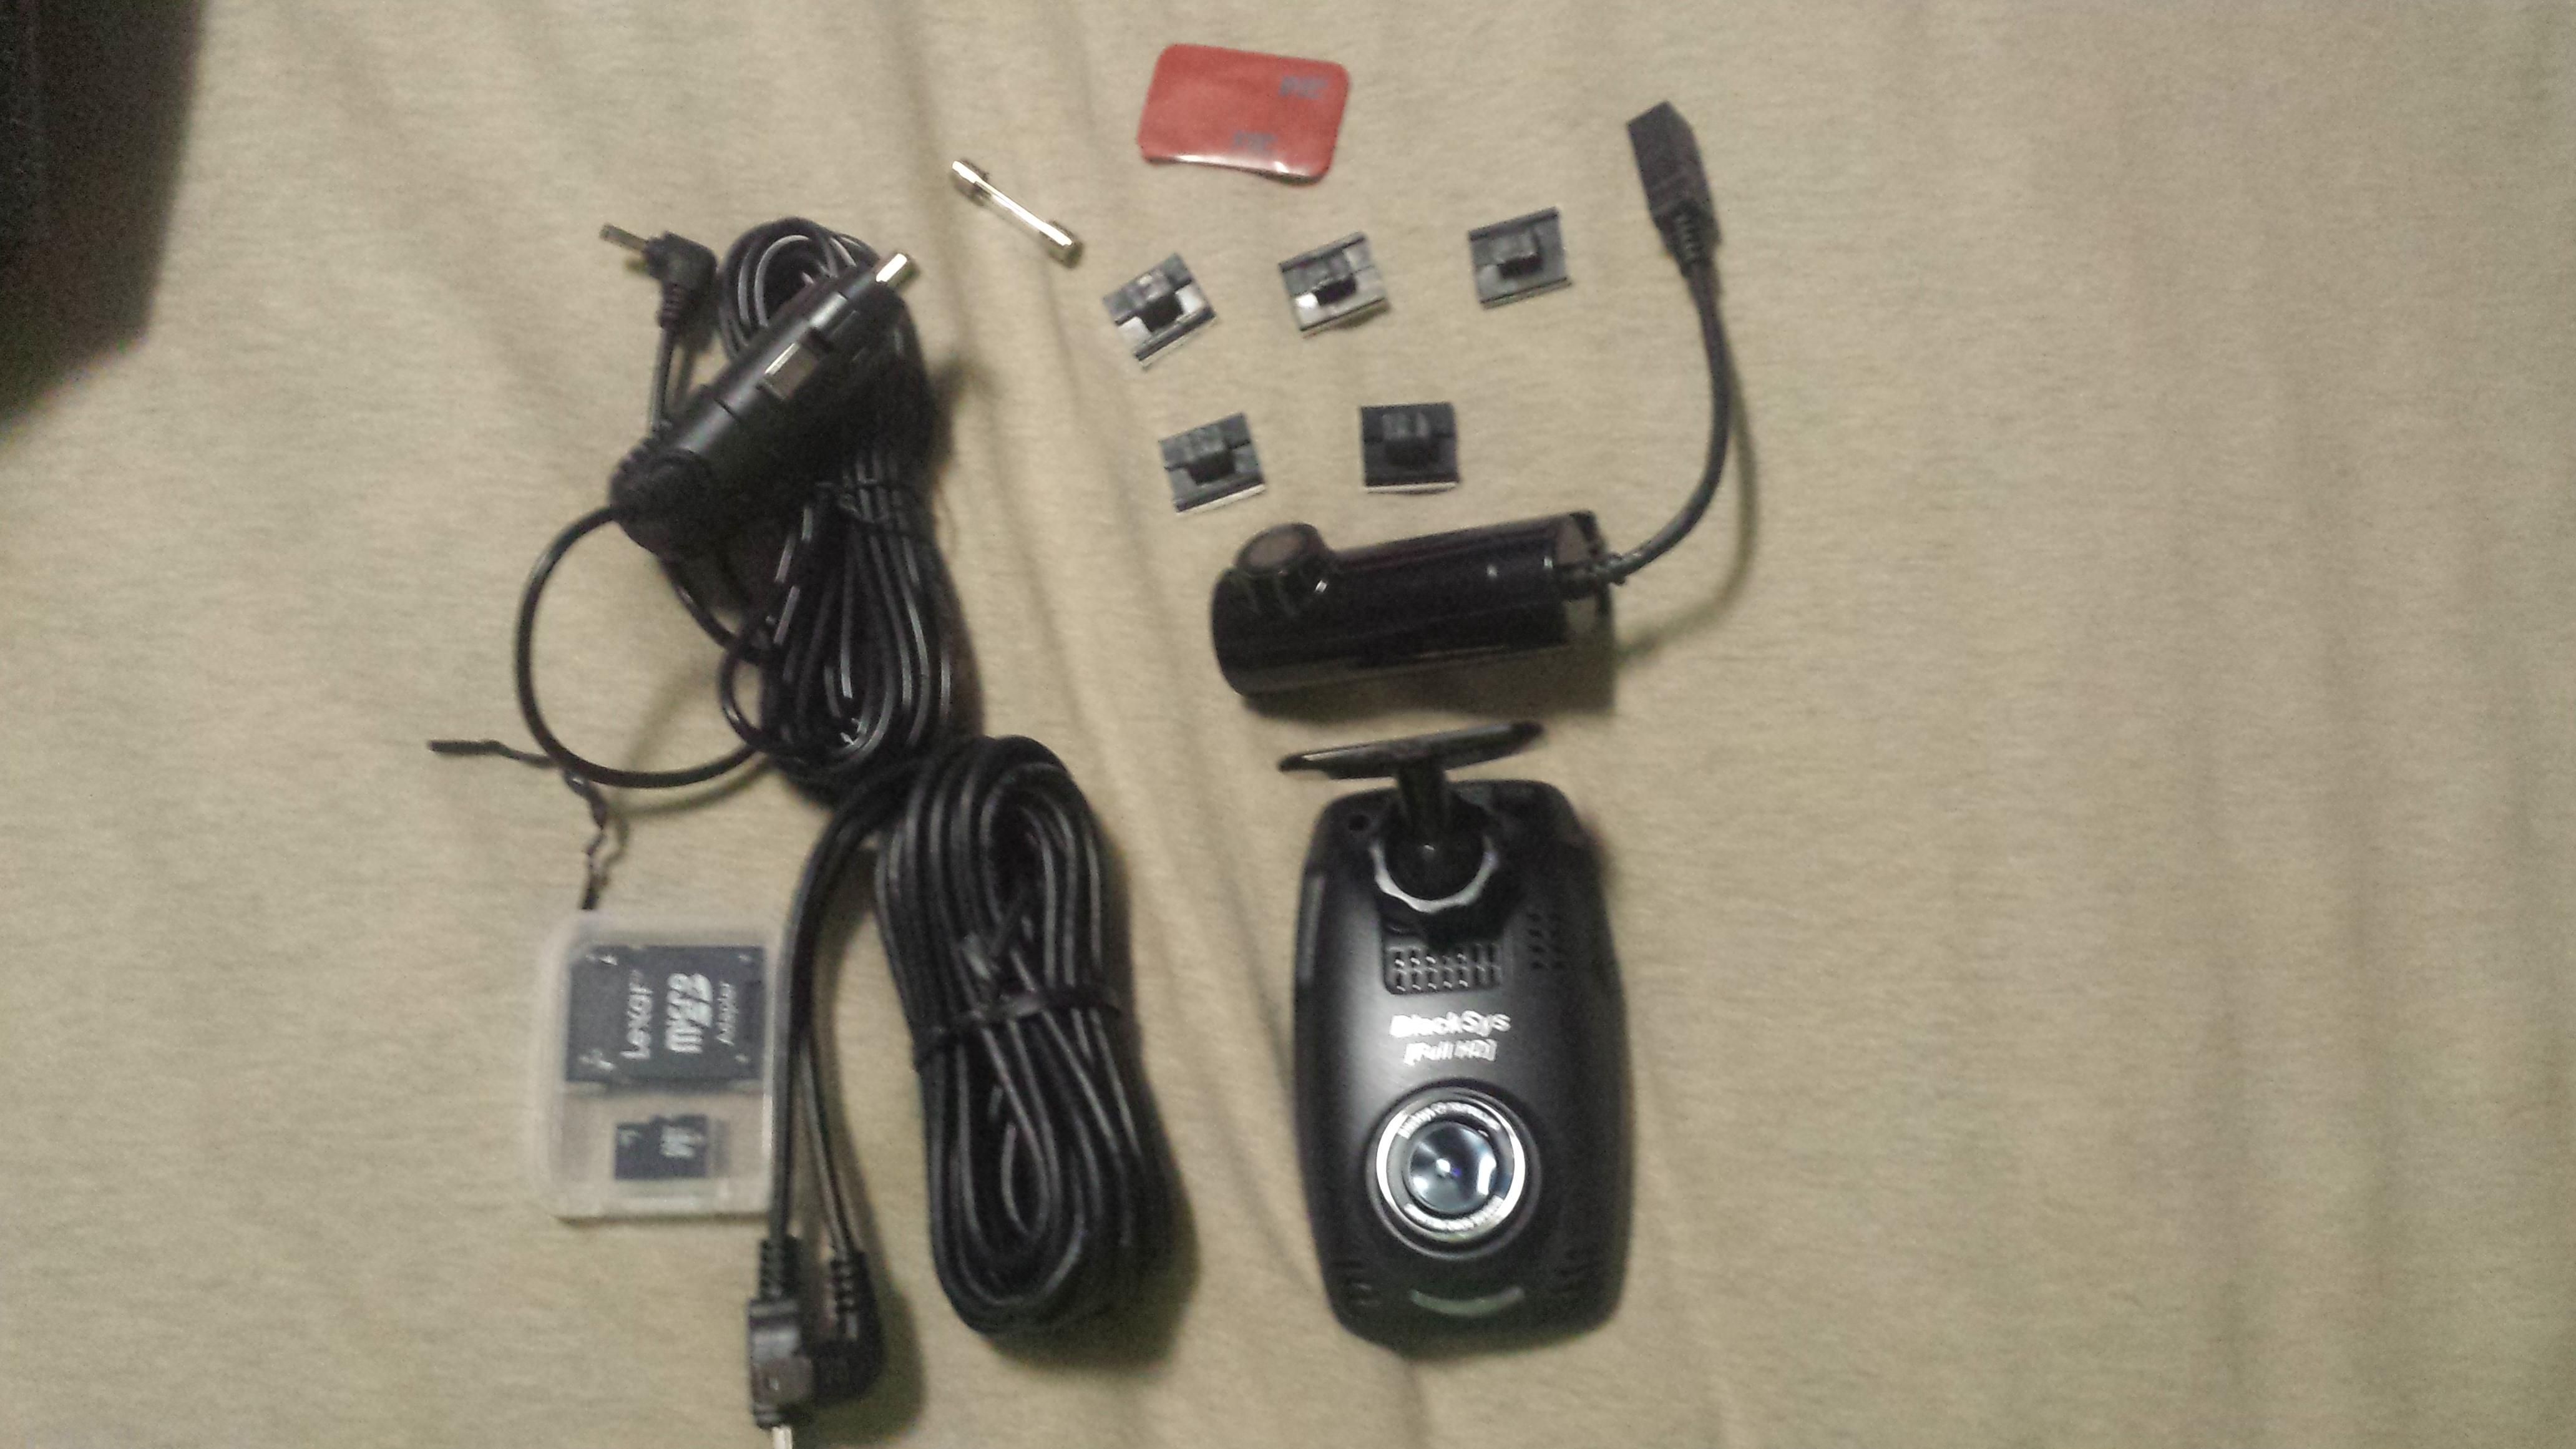
It is really nice to see the 3M pad come not applied so that I don't have to go through the hassle of taking it off to apply 3M dual lock. Although the rear camera has it pre-applied.

The cable clips are also a nice addation even though I more then likely will not use them.

At first glance look if a suction cup mount is needed it looks like it might be interchangeable with a Vicovation Marcus style suction cup that has the same looking kind of bend to it.

It is also nice to see cable clips included as well as an extra fuse for the plug, and that the rear camera cable looks to not be proprietary in case it needs replace down the line.

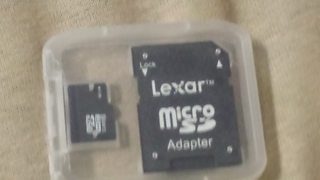
I also find it interesting that it looks like they shipped with a Lexar card adapter, but a no name card.
r3K9crDm.png
 
Last edited by a moderator:
mine came w/ a lexar card. but 16gb is pretty much useless, esp if you use parking mode. i never actually used it in the dashcam except to do the firmware upgrade (which btw you should upgrade to M1.3 asap if you haven't already).

i find the button placement to be great, and very easy to use. i usually have my index finger on the front of the camera just below the lens and press emergency with my thumb, to keep myself from moving the camera.

based on niko's disassembly pics, i plan to make a simple metal bracket to replace the ball socket. this will get the whole thing closer to the windshield. i don't really expect it to cut dash reflections that much, but it WILL make it a little less likely to be covered by the sun shade while parked, since we do use parking mode. also make it near impossible to be knocked out of aim either by the sun shade or pressing emergency or just accidentally bumping while cleaning the windows.
 
mine came w/ a lexar card. but 16gb is pretty much useless, esp if you use parking mode. i never actually used it in the dashcam except to do the firmware upgrade (which btw you should upgrade to M1.3 asap if you haven't already).
I put it on the card it came with. As soon as it stops raining I am going to go toss it on the seat of the car to upgrade the firmware.

Does the camera delete the firmware file or do I have to do it manually after updating?

:Edit: I guess I could do it in the house if I find a Mini B cable and phone wall plug
:Edit 2: Realized camera has a different power plug end
 
Last edited:
i don't know if it deletes it or not, since i put my 64gb card back in after the upgrade. make sure your rear cam is plugged in during the upgrade, as it updates the firmware inside that as well. i assume you already found the firmware upgrade thread... :)

if it doesn't delete, it's a simple matter to format the card in the camera - hold emergency till it asks you if you want to format, then press up (right button) to confirm.
 
i assume you already found the firmware upgrade thread...
I found the instructions on the downloads page for the firmware. I forgot there was a firmware upgrade thread sorry.
 
I found the instructions on the downloads page for the firmware. I forgot there was a firmware upgrade thread sorry.
come on, you mean you don't have a mental record of every thread on this site????!?!?! you're such a slacker! :p

it's not hard, just not exactly obvious, and sometimes the messages it gives can kinda give the impression that something went wrong because it starts repeating itself. and their published instructions don't really cover that.
https://dashcamtalk.com/forum/threads/cf-100-firmware-update-instructions.9153/
 
Last edited by a moderator:
I got one of my CFs updated. I took it for a ride set up normally one front and one rear with my GoSafe200 as a secondary front since I always run two when testing a new camera for the first time.

Everything went okay. Got the camera updated went for a drive to get more dual lock so I can install both tomorrow as 4.
When I got home I reviewd the footage. The rear camera seems brighter then the front. I hope I can figure out how to get the front brighter. It makes it look later in the day then it really is.

I was able to use your script to seperate the files so thank you for that. Now I just need to figure out how to get them picture in picture with VDC Video editor and I will be set.
 
Last edited by a moderator:
Thanks. I seen one of the users there uses Kdenlive. I was able to put that on my Lubuntu box (Ubuntu with LXDE) and in about 5 mins was able to do what I needed. I'll try to do the VDC tutorial on my windows box tomorrow. Hopefully at some point someone is able to convert Gibson99 awesome splitting script.
i think you mean vsdc, not vdc. ;) it can do PiP (thats what i used to make the 610-10-290 video, using cf100 footage) but it can be a little tedious. i recommend rendering all the front views together into one long file, then same with rear, THEN do the PiP. will make it much less tedious. hindsight's 20/20, right?

anyway, now that i have wiped the win10 preview and installed mint (kde - go with what you know right?), i may take a stab at converting my splitter script to bash. at a former job, i had to convert a bunch of simple bash scripts to vbscript (it was a mess of case statements with file operations), so i ought to be able to go the other way now that i have a test machine.

i'm also looking at 3 diff video editors in linux: cinelerra (sp?), lives, and kdenlive. i think kdenlive actually came standard in the kde distro of mint, but either way i'll give it a shot. right now the most annoying thing is that i can't work directly with files on my win12r2 server via smb... maybe i can enable nfs sharing on the server to make mint happy.

does bluefish do context highlighting for bash scripts? i absolutely love notepad++ in windows, but i only ever used bluefish for html and css editing at another former job. not trying to dredge up the eternal vi/emacs debate of course... notepad++ was able to do it for the scripts i converted, so i figure something like that must exist in *nix. :)
 
Last edited by a moderator:
I'm not sure unfortunately. I have a basic understanding of Linux and can use it day to day, but i'm not to good under the hood. (I have used about 6-7 Debian based flavors for the past 10 years or so) but I love how snappy it is on this nettop I just bought. It took about 5 mins to convert a 1 min video that I used kdenlive to do a picture in picture with after splitting it on my built windows box with your script.

If you could port it to linux so that I could use Lubuntu for all my CF-100 editing that would be really cool for sure. I wish I could help more but like I mentioned the only hood I am okay under is a car.
 
I've tossed everything in. I have the two 1080P cameras front and rear then put the two 720P cameras on rear side glass that does not go down with the window.
The wires are a little bit of a mess at this point, but I'll make a few test runs between now and next week to see what everything looks like.

I was able to update all 4 cameras with no issues. The updates delete by themselves (I was not sure if they did or not, and didn't want to keep re-flashing my camera.)

At this point it seems best if you put whatever card you plan to use into a Windows PC first and run the proprietary program to generate a config file before you use it even more so since it seems to default to the FINE setting and I had to change it to SUPER FINE in the program.

I'll trying running it with my Papago GS200 up front because I always run two cameras up front when testing a new set up, but from prior tests with the one camera set up as just a regular front and back other then the front being a little to dark everything seems okay.
 
Thread starter Similar threads Forum Replies Date
USDashCamera BlackSys / Cammsys 24
Similar threads
CH-100B Video Review
Back
Top