Been a long time lurker here, looking for the perfect discreet camera and looking for inspiration at the installations done in this thread.
So I went and bought a second Mobius - long story short, I sold my previous one when I sold my last car which I had never got round to fitting.
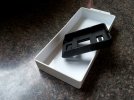
This is a C lens model.
I had come up with a plan to install it as discrete and integrated as possible, didn't want wires everywhere, suction cups, velcro stuck to the dash etc.
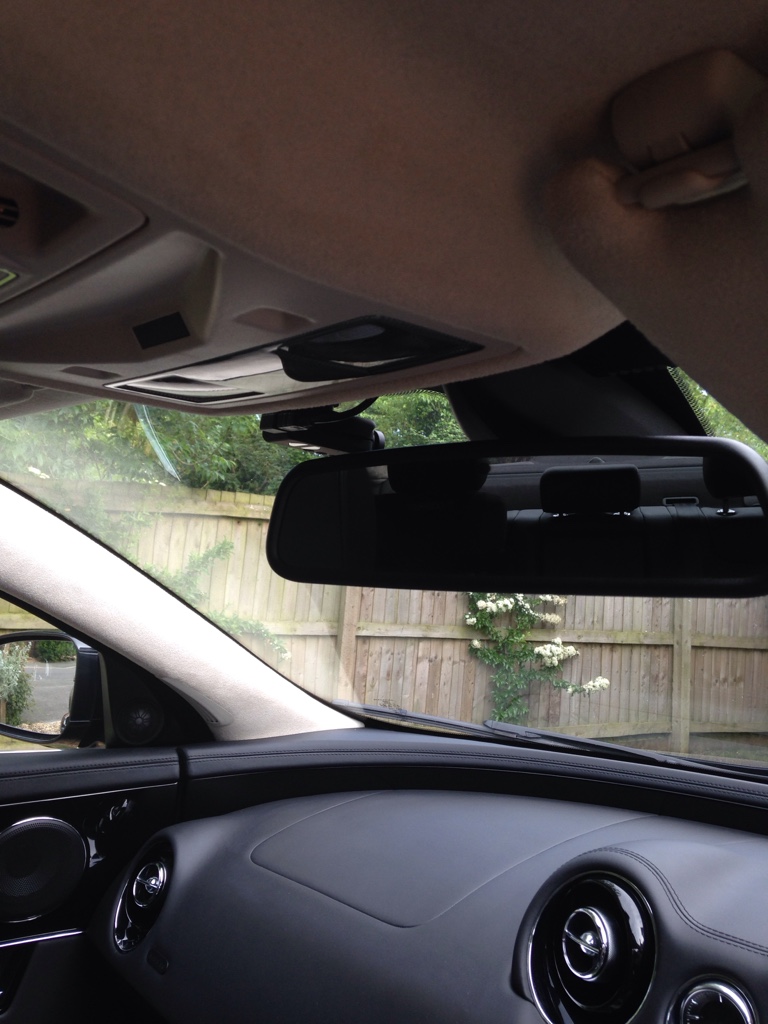
Having found that my Mini (2002 Cooper S) could be fitted with a number of different rear view mirror options, I thought that there must be some space in there for other electronics - and I was right.
Opening it up found space for putting in a Mobius camera once deconstructed with relatively little modification needed to get what I needed.
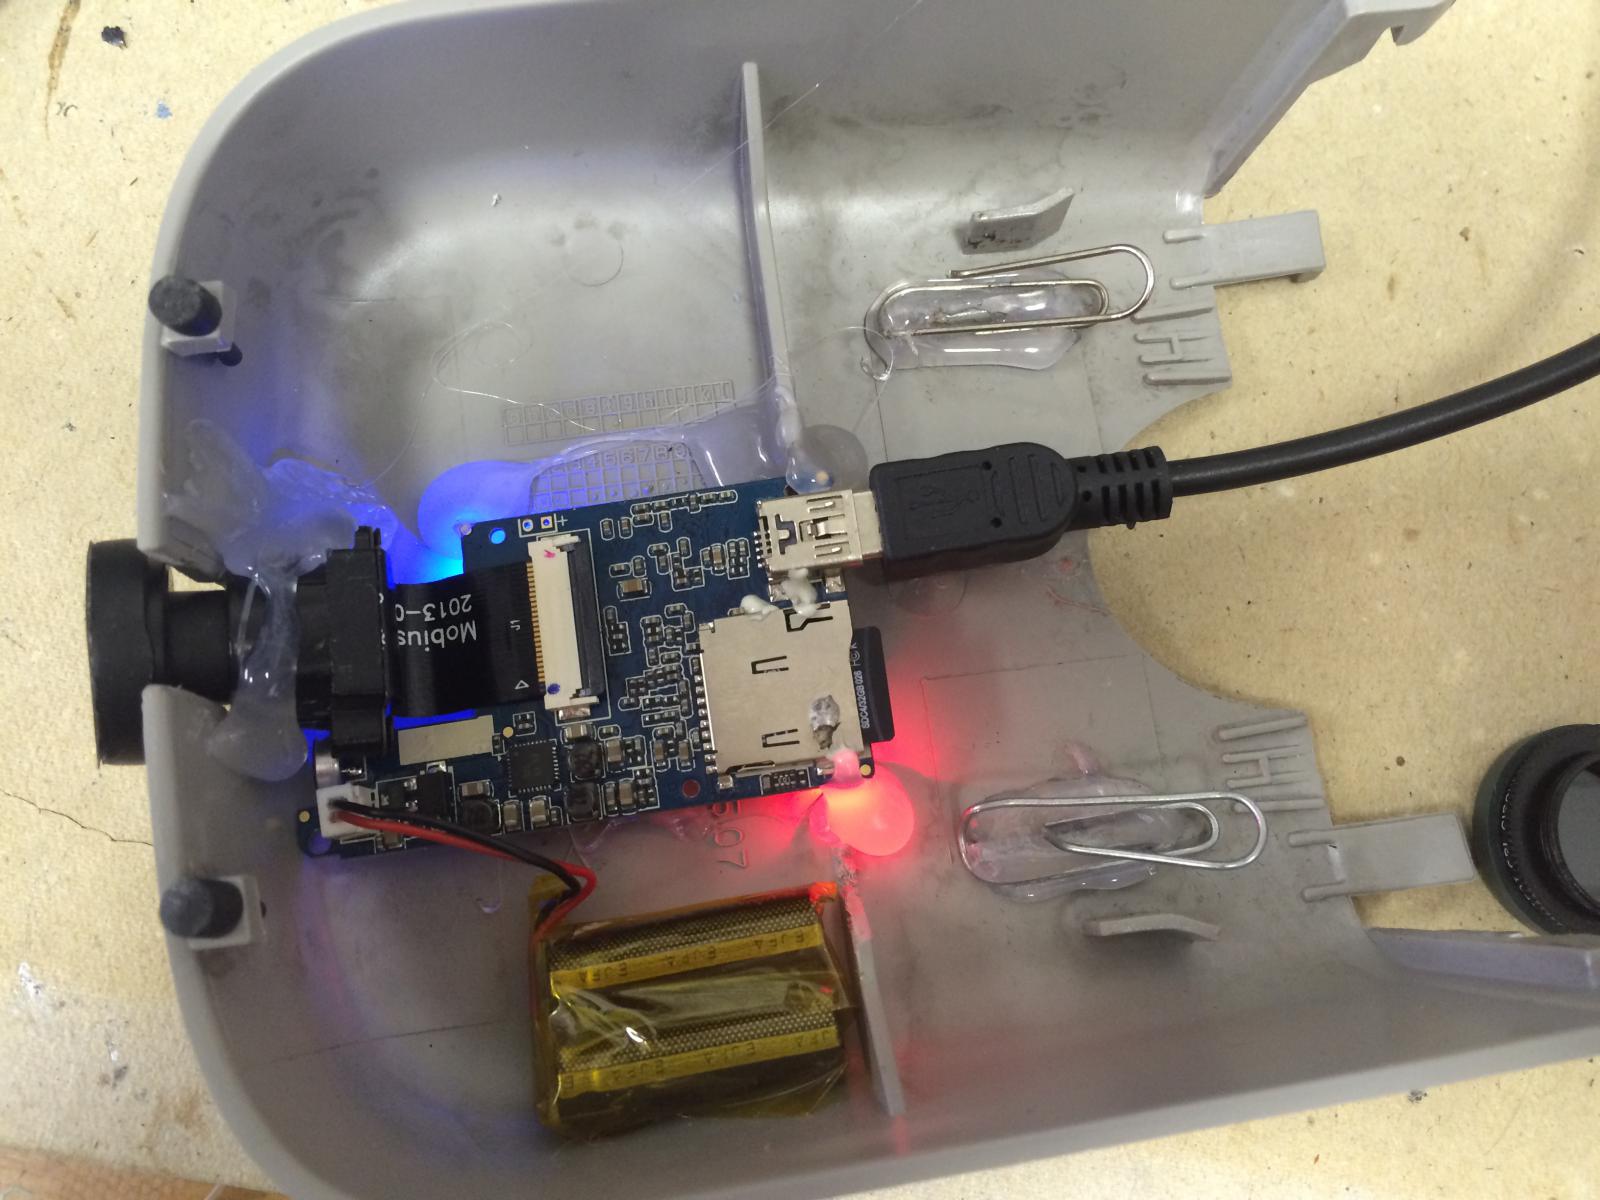
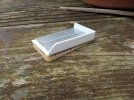
This is the work in progress, I am still waiting on a couple of bits at the moment - compact USB right angle, super capacitor and a 12v to 5v conversion circuit. The mirror is technically "scrap" as another one is on the way now that I have played about with the mounting options it should be a matter of a two holes to drill and removing a small piece of plastic inside to route cables.
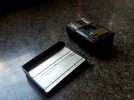
Starting with stripping down the Mobius, I decided to increase the cooling capacity by adding a proper heat sink to it. It seems to be doing the job and can't hurt given that it is going to be enclosed mostly - I have the option of adding some cooling holes to the back of the mirror case if it gets too much. This was scavenged from an old BT Fibre modem, near enough a perfect size for the Mobius mainboard with not too much height.

Motherboard prepared with new heat transfer tape, a piece was also added to the bottom of the cooler which takes in the height difference between the memory and CPU with the small circuit by the usb port. A small dab of CPU heat paste added to keep in place.
I made a small cut of the motherboard by the microphone which just removed the mounting screw point for when it is in the case

Attached to the motherboard and secured with hot set glue. Bit messy but not ever going to be seen.
Test fitting of electronics and lens. Power lead from the super capacitor (currently using the battery) will be extended and fitted over by the lens area
Main board still needs a mounting solution. Currently thinking of a pair of rare earth magnets so that I can access the memory card if needbe (doesn't seem that I will be needing to get at it every trip and the mirror is easily unclipped to get inside) Other option is to print out a frame and a guide "chute" to the outside edge for the card.
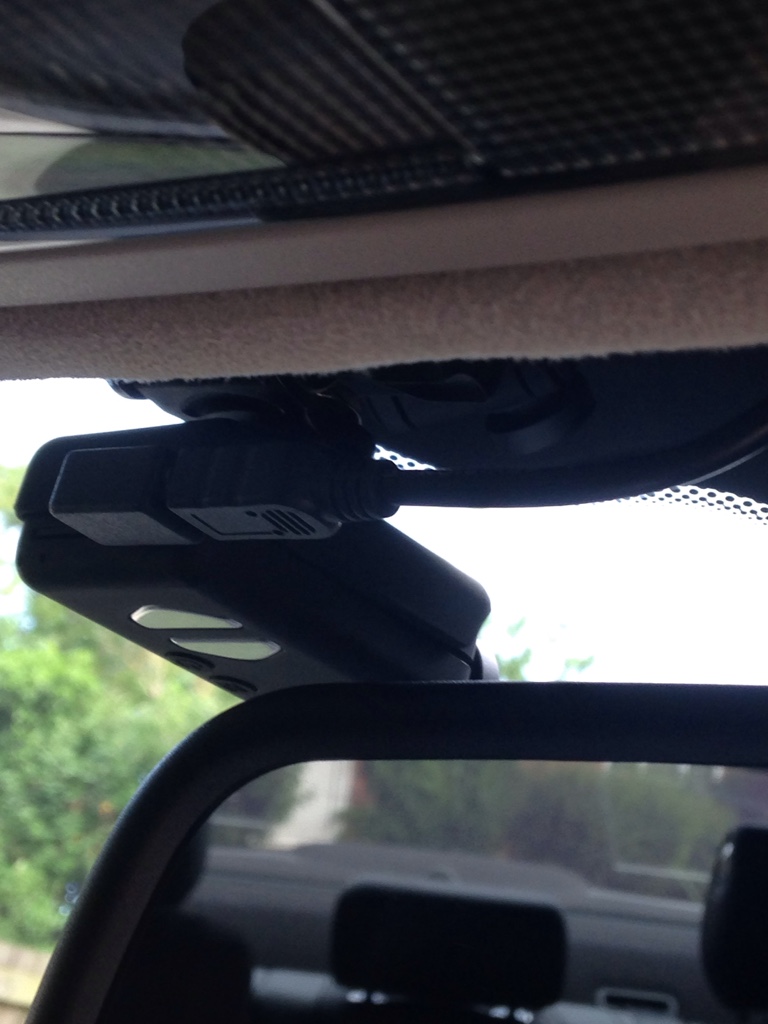
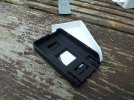
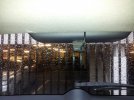
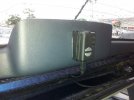
After an hour or so messing around with the odd shaped housing found a position that worked well and gave plenty of clearance for the cables.
The hole in the middle opens up the factory pathway which is for the electronic dimming mirror - will be routing the 5V down this and the USB power convertor will be hidden in the headlining above. A quick disconnect will be added so that the entire mirror can be removed as it simply twists 90 degrees to remove from the car.

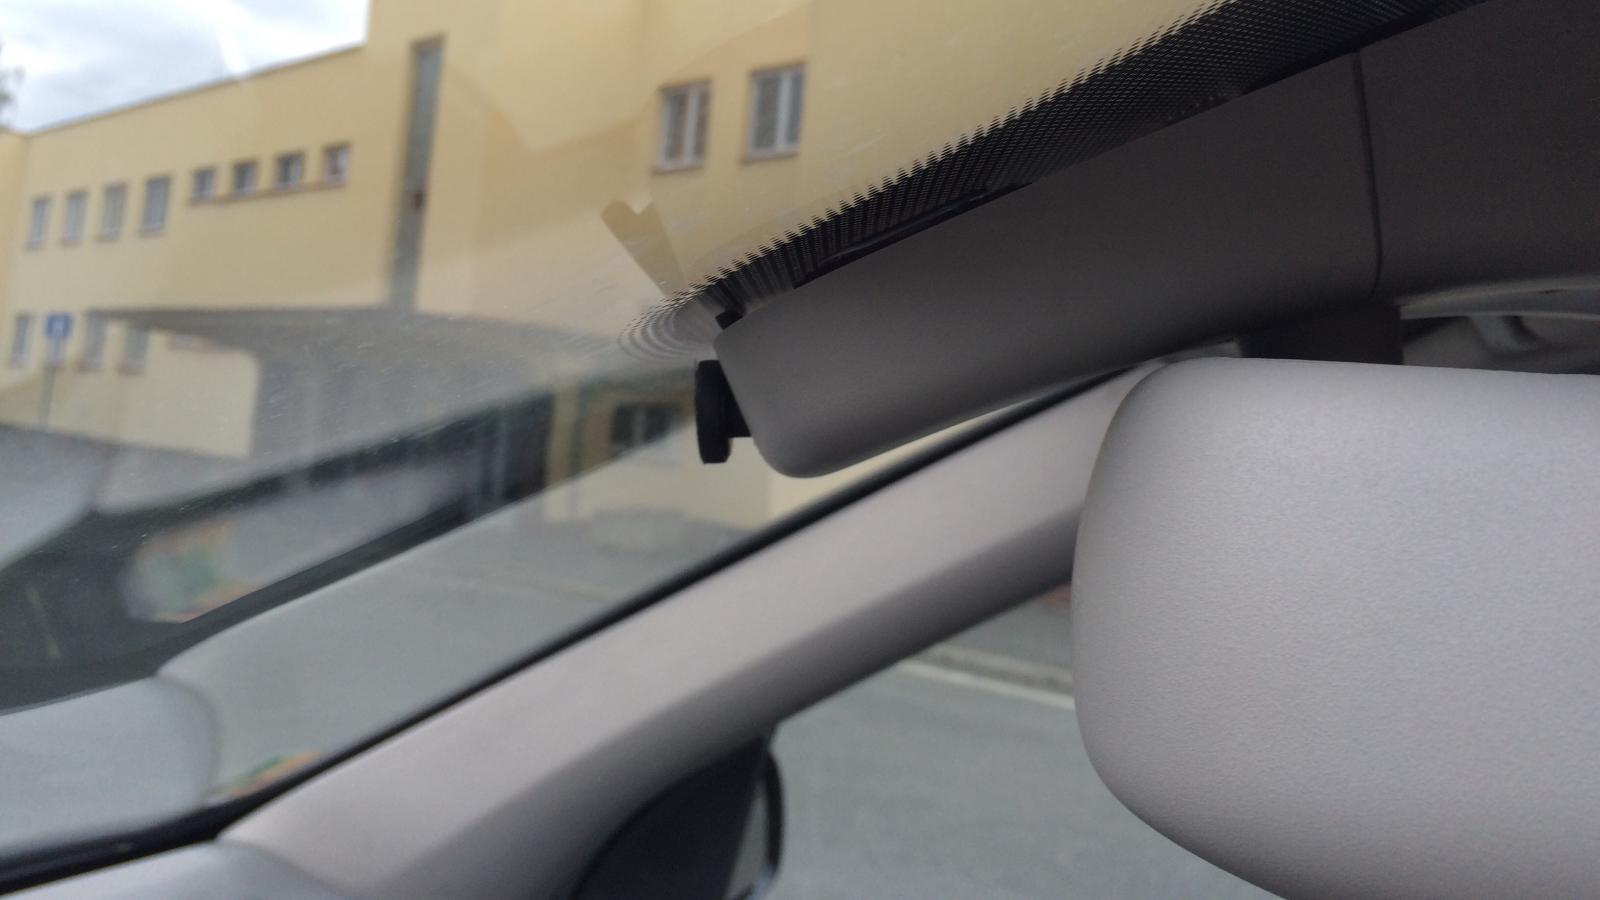
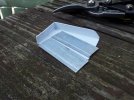
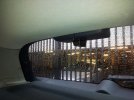
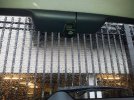
A view of the external. Off centre sadly as there is not any room behind the mechanism in the middle to get it all in and maintain the operation of the dazzle system. However this does then become close to straight on with the window once the mirror is adjusted to my normal driving position and the wide lens means we shouldn't be missing anything. There is some options on putting it in the mirror pivot cover at the top of the picture but would require quite a bit of fabrication.

Will post an update once the rest is complete and ready to mount


")

")