Please be much more careful when posting comparisons and do them in the correct way and not in the easy way. I know that some people from another forum is admiring your work, but do the best for them so you can keep your high standards. Show them the truth and not the mistakes.
My comments are based on my samples but can be the same for any other side by side comparison.
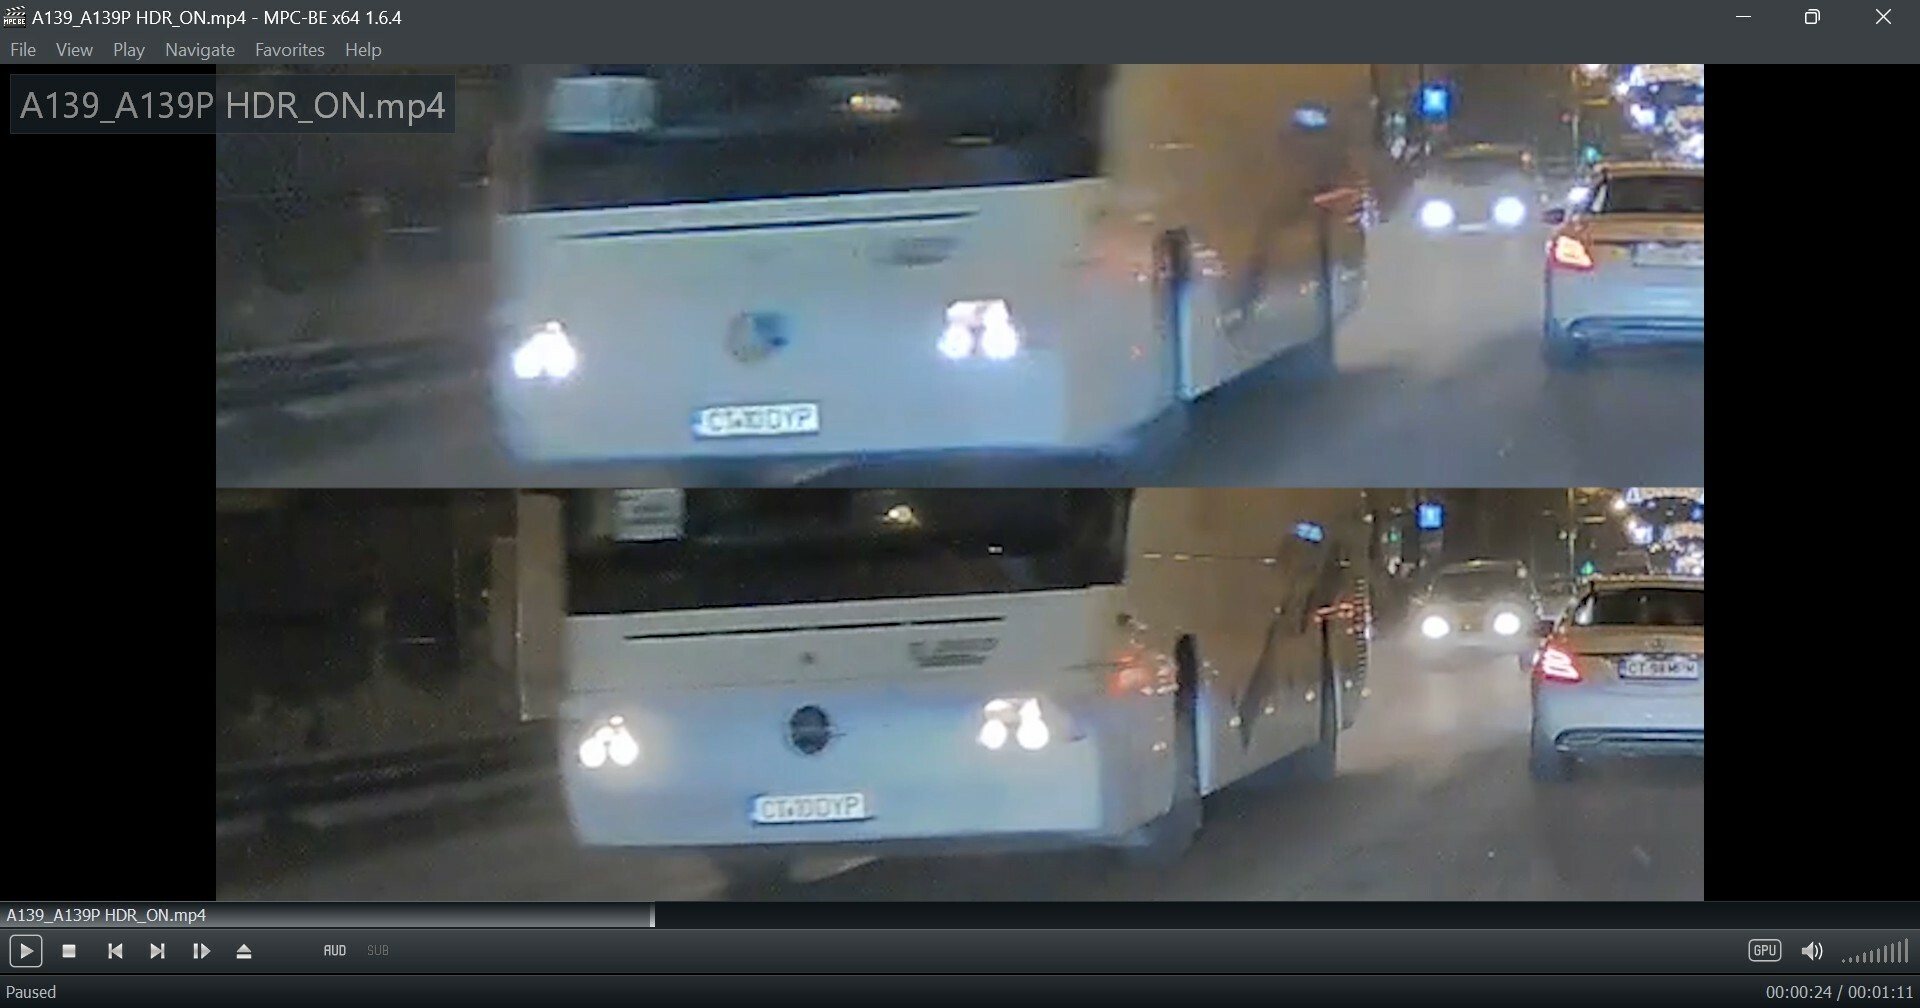
1. At least when you are analyzing license plates or features like HDR which are processing the brightness,
find the best frame! They don't need to be at the same position.
If the cameras can be mounted exactly in the same position on the windshield we can say that the best frame of both vides are at the same frame from the street position. For example in my two videos there is a distance of about 10 or 20 cm between all 3 cameras. The 10 cm distance was between an upper camera and a lower camera and the 20cm distance was between the exactly same level cameras but one was in the middle of the windshield and the other more on the right. Always a dashcam will be a little more in advantage, but taking the best shots for each can balance a little the situation.
2. If you will not use my method of the best frame you will look for one camera to have the best position and always the second dashcam will be disadvantaged. Also you cannot chose one best frame for one dashcam and for the next frame to use the best snapshot from the other dashcam and alternate them. Choosing the middle quality for both is bad for both dashcams because you cannot show the best for any of them.
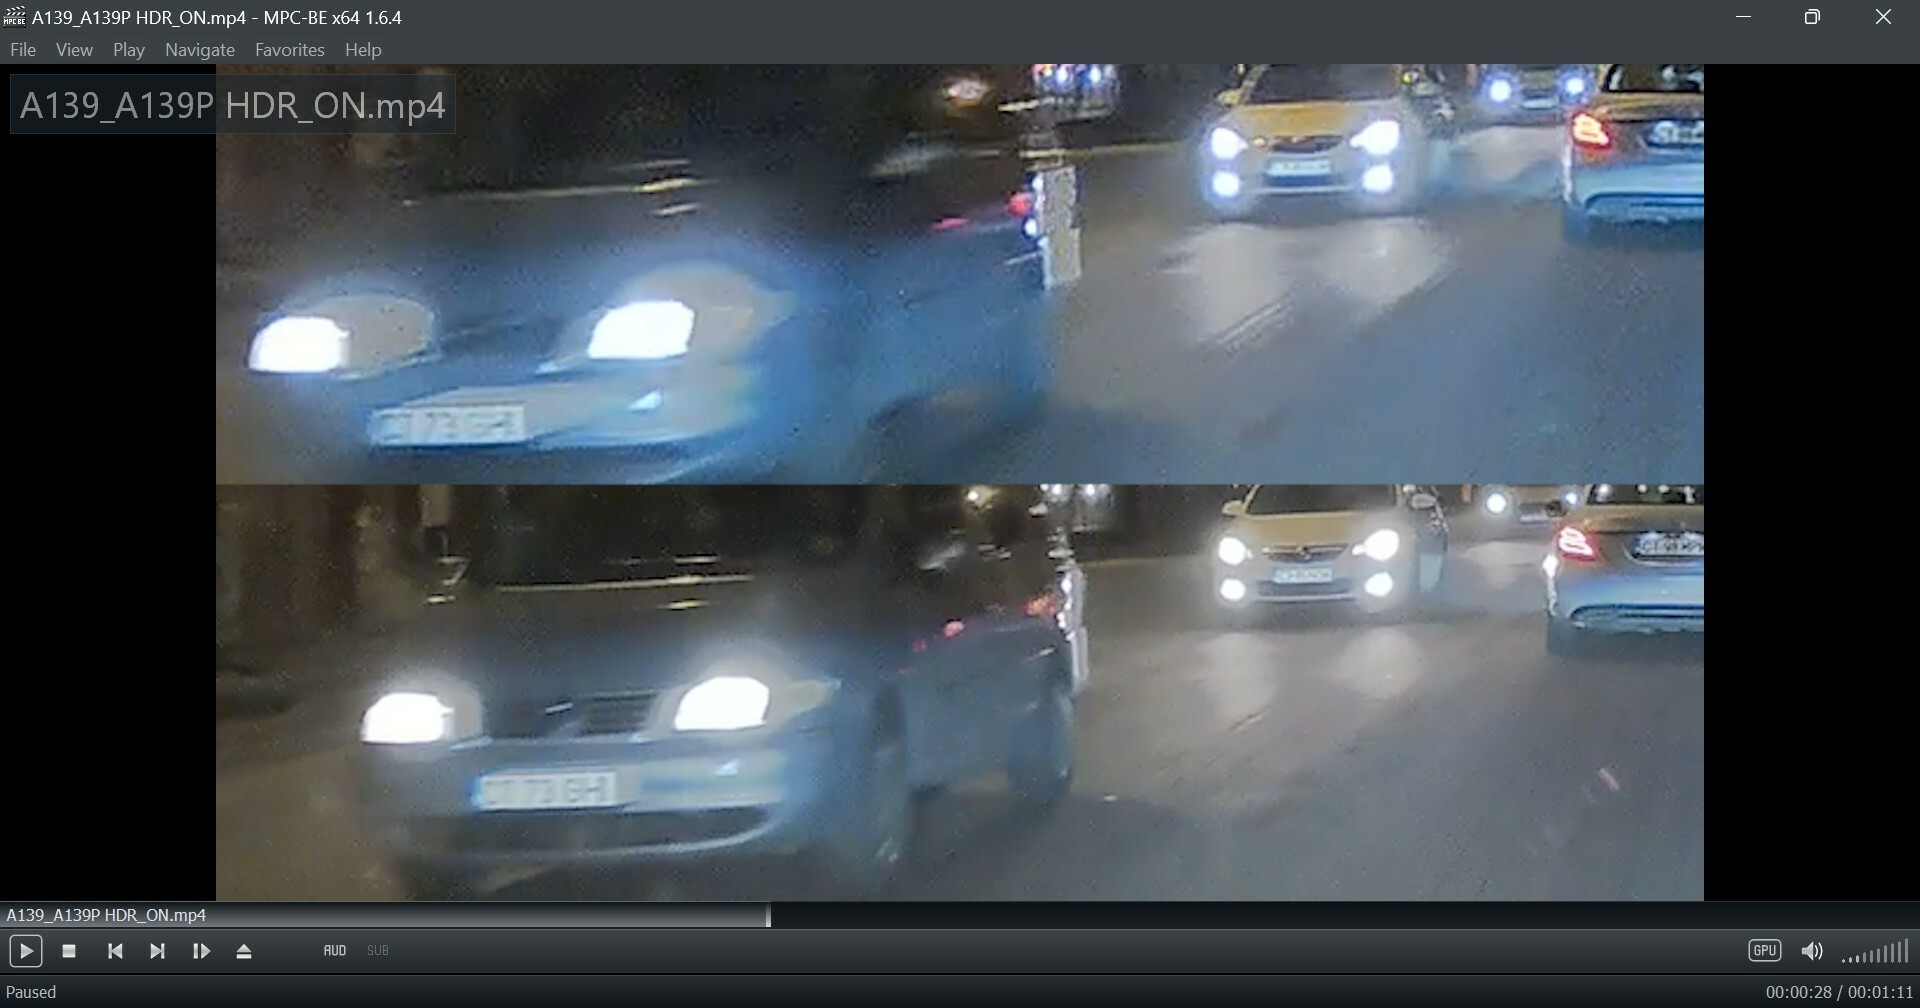
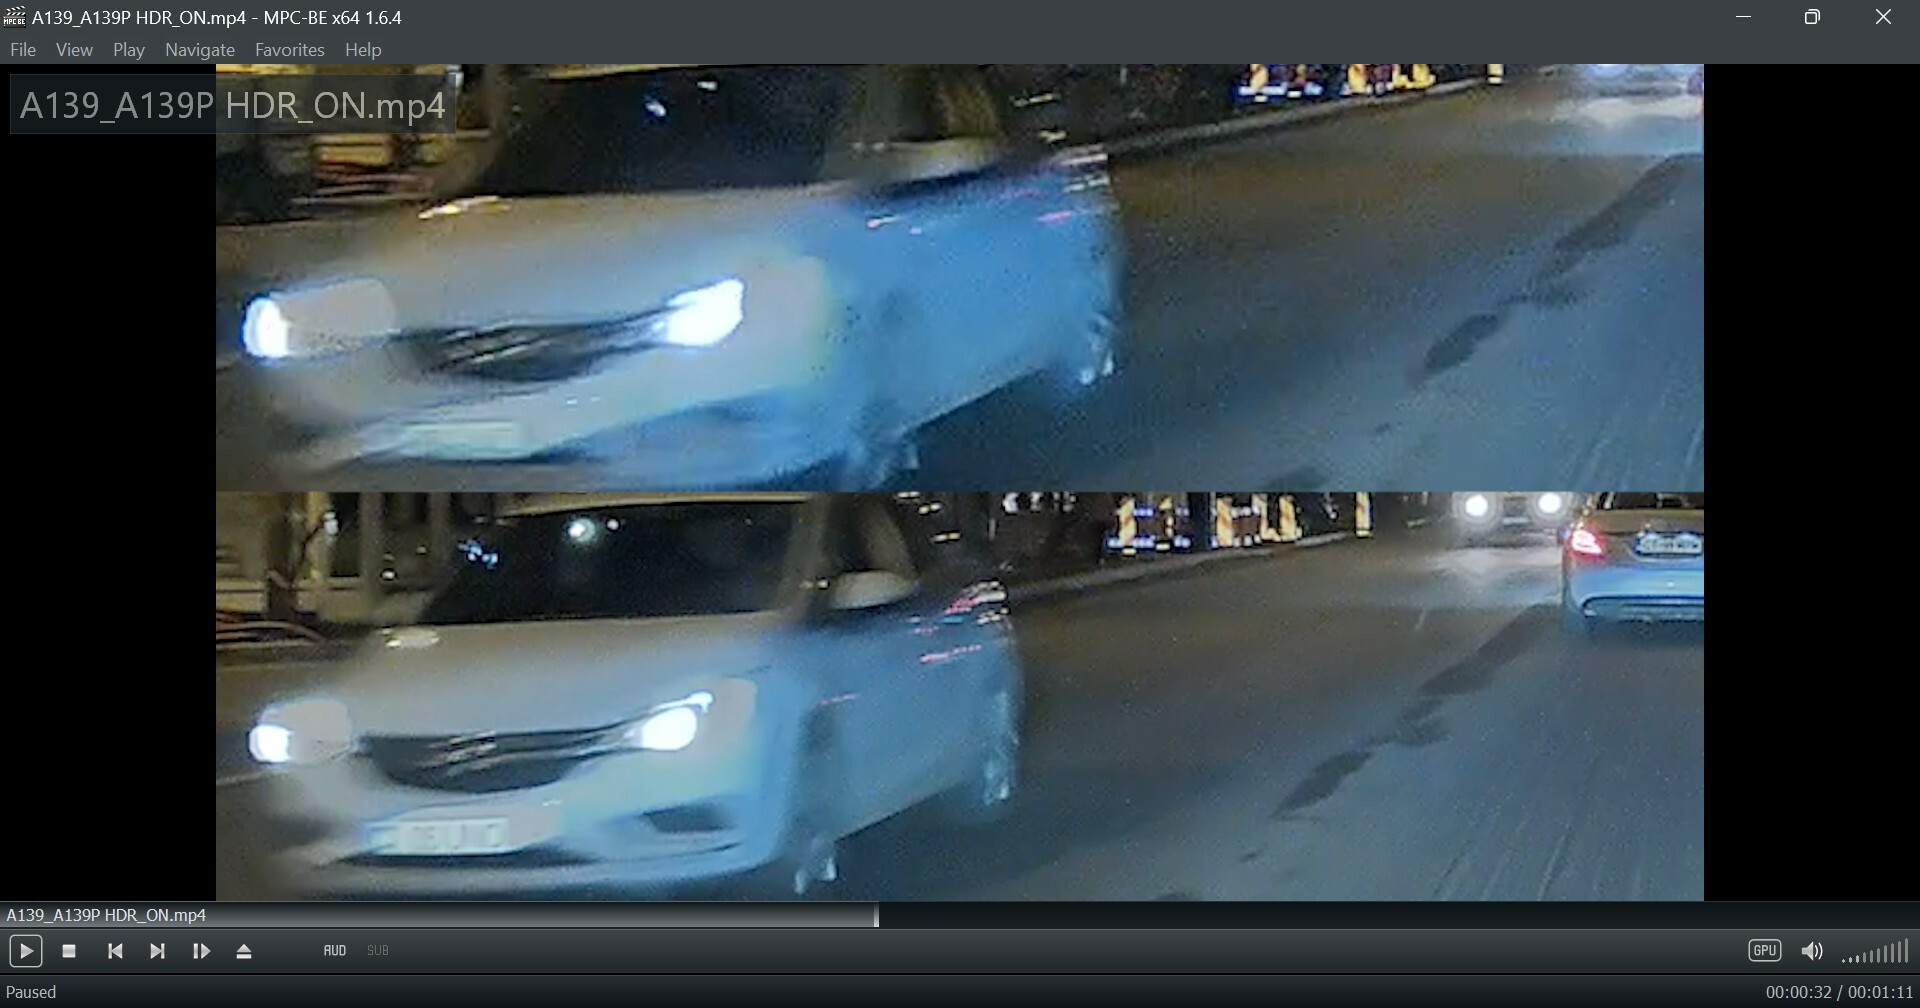
3. Be careful with night snapshots because the best frame is more in the middle of the image compared to the day situation. At the day it can be very to the side of the image because of no motion blur.
4. If you want to do snapshots use the original source only, take the snapshot and then use zoom to add them at the same lever. Or zoom in the player at the level you want until the sizes will fit. For example in my these 3 comparisons I used 3 zoom levels of A139 just trying to match the sizes of the plates.
People with more experience than me said that is better to zoom in the 2K snapshot instead of zoom out the 4K snapshot.
Now your sample and my samples. First, I know the original quality was downgraded by your encoding and this is normal. But my snapshots are not better because mine were taken from the original video but also I chose the best position I searched. I hope they were the best snapshot for each comparison.
You can see here that my snapshot positions are in another place compared to your snapshots positions. (The GIFs are low quality and are made just to show major differences. You can check the original snapshots
here. The A139 Pro 4K video was zoomed to 5x. )
In this latest snapshot just imagine if you will need the license number of the white car to show it to the judge to help you in some bad situation. Or think also for the situation when people on that forum asked you for some review about night performance of A139 Pro and you will offer them this HDR snapshot and not my snapshot. They will say that HDR at night is useless and A139 Pro is useless too, being too expensive for such poor performance.
GIFs are made with
https://ezgif.com/maker and the delay is 90. I still hope to find a better free no-logo gif maker to preserve more quality.
The player is MPC-BE. Zoom on video can be obtained by pressing 9. For zoom out press 1. For no zoom press 5. For moving the zoomed position into the player frame use Ctrl+2; +6; +8; +4. For advancing frame by frame press Ctrl+Right. For snapshot the original frame press left Alt+i and save as PNG. For snapshot the player window only press right Alt+PrtScr